Skip to search Skip to navigation menu Skip to main content Selecting option will reload page

Category: For the Home

Etched Mason Jar Candleholders

Etched_Mason_Jar_Candleholders
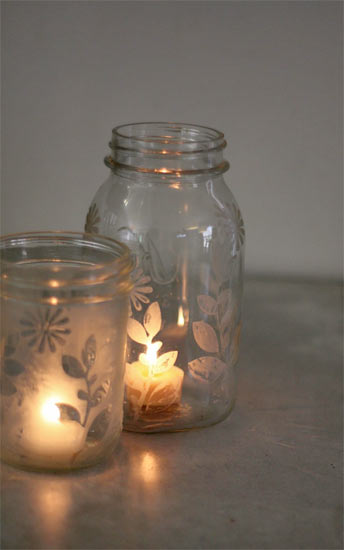
Etched votive holders have been around for a while and are always pretty on a dinner table, in the window or just about anywhere. DIY your own etched candle holders using cast off jars and create just the look you want!

Things you’ll need:
Jars
Contact paper
Etching cream
Foam brush
Craft knife or die cutter

Things to do:
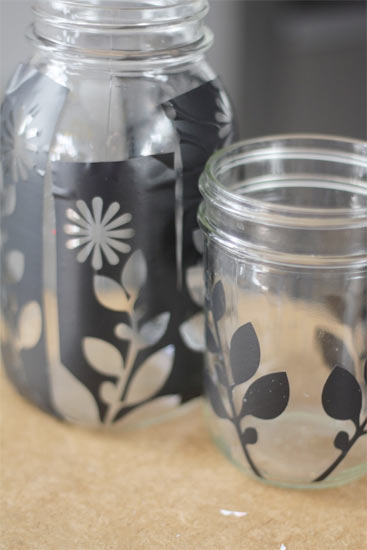
1. Using your craft knife or die cutter, cut pretty shapes out of the contact paper. You can either make a cut out stencil or use the pieces cut out and etch everything but the shapes.
2. Clean the glasses well and dry completely. Smooth the stencils on where you want the etching to be.
Etched_Mason_Jar_Candleholders2
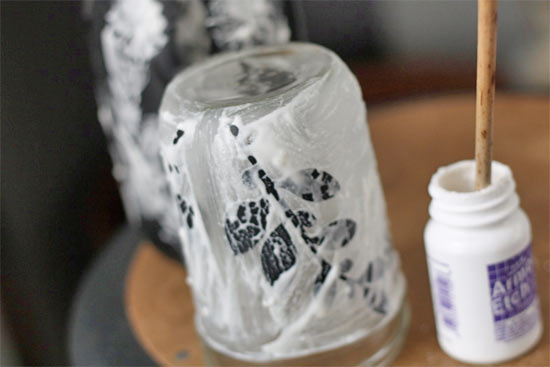
3. Brush the exposed glass with a thick coat of etching cream and allow it to set according to the manufacturers directions.
Etched_Mason_Jar_Candleholders3
4. Wash the cream away with warm water and remove the stencils. Dry and insert the candles for use.
Continue Reading

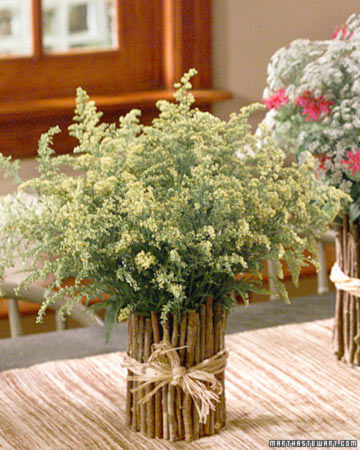
Upcycling: Coffee Can Twig Flower Vase

upcycling_twig_vase
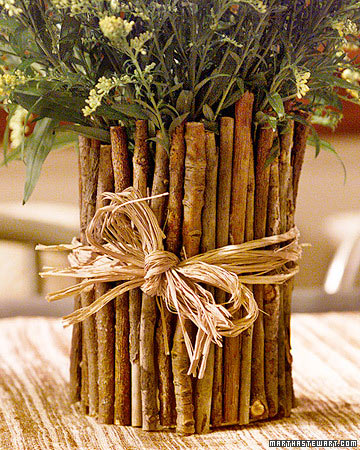
This craft is an exercise in creative upcycling! Inspired by Martha Stewart, turn an everyday coffee can into a lovely primitive flower vase. This would be perfect for a country floral arrangement or rustic wedding.

Things you need:
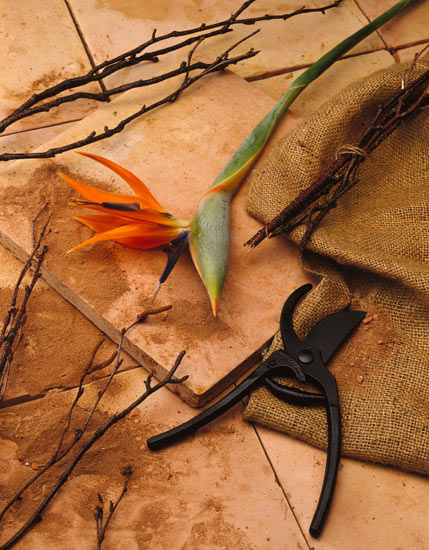
Slender branches and twigs 1/4″ to 1/2″ thick
A clean coffee can
Burlap Fabric
Hemp twine
A handsaw
Pruning shears
Hot glue gun and glue sticks
Newspaper

Things to do:
1. Use the handsaw to cut the twigs 1″ longer than the height of the coffee can. Use the pruning shears to remove any leaves or offshoots.
twig_vase
2. Cover the work surface with newspaper.
3. Cover the outside of the coffee can with burlap fabric. Fold in the top and bottom edges, then hot glue in place.
4. Place a twig against the side of the can, turning it to find the flattest side.
5. Run a bead of hot glue down the flat side of the twig, leaving the top 1″ clean. Press it onto the can. Hold it a few seconds until it sets.
6. Test each twig in this manner to find the best and flattest fit on each one. Keep gluing them until the entire surface of the can is covered.
7. Cut the twine into 18″ strands. Choose a starting point and tie the end of one strand to the top edge of a twig, knotting it in back and leaving a 5 tail. The loop should be level with the top of the coffee can.
8. Wrap each twig by passing the twine behind the twig then circling the front, then around to the back again. Keep going in this manner around every twig.
9. When the last twig is wrapped, tie the two ends together in back and trim the excess.
10. Fill 3/4 full of water and arrange fresh cut flowers. Change water and re-trim stems every day.
upcycling_twig_vase2

Continue Reading
Change Your Country
Please select your country, this will change the site to your country's currency:

Cancel