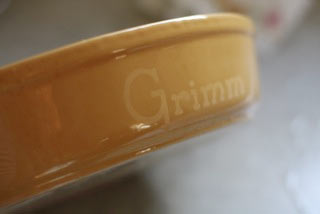
Really, I had no idea when my oldest child started elementary school that providing food for potlucks and parties would become such a regular thing. Sure, I could say no, but I don’t mind most of the time. And everyone has to do their part. Except, between teacher appreciation lunches, family nights, graduations and picnics, I’ve lost a fair number of dishes over the past few years. Some have simply walked away with another family, some I’ve forgotten, only to remember long after their stragglers have been hauled off to Goodwill. Sticky notes and tape with our name on the bottom never seem to help as they are quickly smudged or accidentally ripped off. Well no more. I’ve finally found the solution. In the form of Etching Cream. You’ll be surprised how simple this is, so easy, in fact, that you may just find yourself labeling all of your bakeware!
Things you’ll need:
Etching Cream
Paintbrush
Rubber gloves
Ceramic or glass bakeware
Contact paper
Digital cutter or craft knife and cutting mat
Things to do:
1. To begin, you need to create a stencil. While you can easily cut one out using a craft knife, it’s much quicker and sharper to use a digital cutter or die-cutting machine, so if you have access to one, use it to create a few stencils using the contact paper of your last name.
2. Peel the backing off of the contact paper and smooth it onto the area of the dish where you want your name to appear. The side works the best because it is easily seen and generally smooth, but the bottom will work as well.
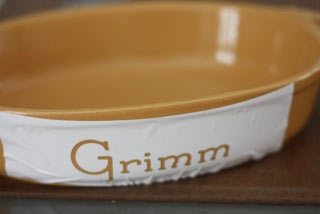
3. Apply a thick coat of etching cream to the stencil and allow it to set for about 5 minutes.
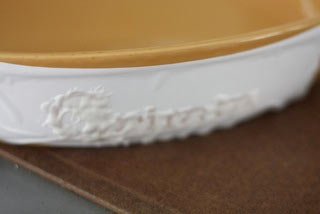
4. Peel the stencil away and, wearing your gloves to avoid any skin contact, wash the cream away with warm water. Your name should be permanently, but lightly, etched into the finish of the dish. Be sure to run the pan through the dishwasher before using to remove any traces of etching cream.
