Skip to search Skip to navigation menu Skip to main content Selecting option will reload page

Category: For the Home

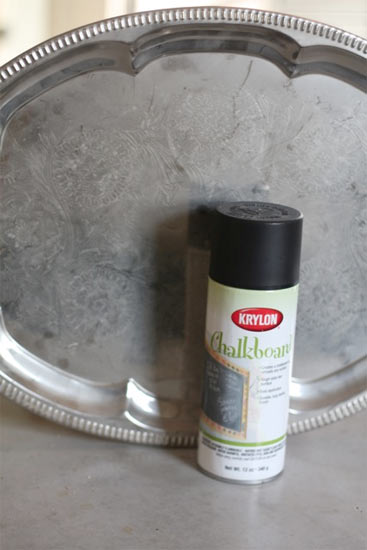
Upcycling a Serving Tray into a Chalkboard Platter

Chalkboard_Platter
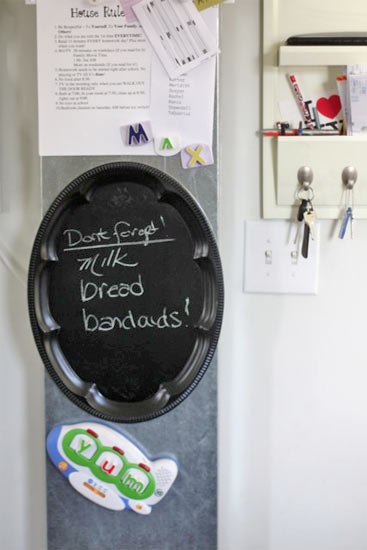
Having a place to post messages to my family (and to myself) is critical in my house, and the kitchen, as the grand central station of our home, is the best place for it. But maker boards are not my favorite; both because they tend to be ugly and because I hate the smell of dry erase markers. Instead we have a chalkboard. But not just an ordinary chalkboard! This one is made from a repurposed serving tray that comes with the added bonus of being easily taken down and washed as needed. And creating it took almost no time at all.

Things you’ll need:
Serving tray – metal is best because then it can be magnetic itself
Chalkboard spray paint
Sticky back magnet sheets or heavy-duty magnet blanks.

Things to do:
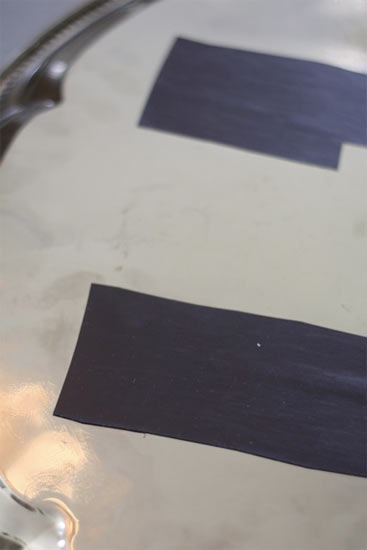
1. Cut large strips of magnetic sheeting and stick to the back of the tray or glue a few heavy-duty magnets to the back for easy hanging. If you don’t intend to hang this on a magnetic surface such as your fridge, picture-hanging hooks can also be glued to the back.
Chalkboard_Platter3
2. Spray the surface of the tray with three thin coats of chalkboard paint, allowing each coat to dry in between layers.
Chalkboard_Platter2
3. Allow the paint to harden for 24 hours before use.

Continue Reading

Personalized Mouse Pad

Personalized_Mouse_pad
My husband recently made the switch back from a laptop to a desktop, which meant the return of all those parts and accessories that you often don’t deal with when you work off of a laptop. Among these accessories were a mouse and therefore, a mouse pad. And because I have a hard time leaving anything just plain the way it came, I decided to give his boring mouse pad a makeover.

For his mouse pad I chose to use the first letter of our last name, but don’t limit yourself to letters. Any image you can cut out and that will fit on the pad will work. You could also use plain craft acrylic paint, but fabric paint has a better elasticity and will not change the surface of the mouse pad as much as craft acrylic paint will.

Things you need:
Fabric covered mouse pad
Fabric paint
Printed image
Freezer paper
Foam paintbrush
Scissors or Hobby knife
Iron

Things to do:
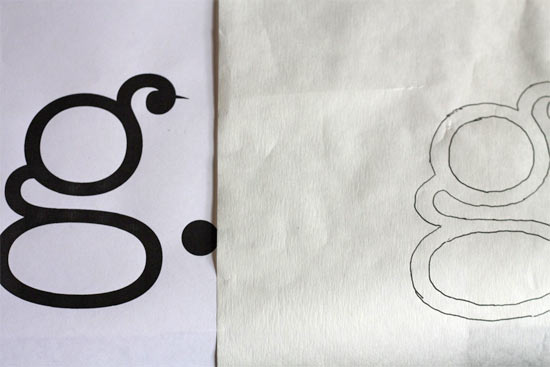
1. Trace the image you want onto your freezer paper. For this project I printed out the letter g” in 400 pt. type and American Typewriter Lite font.
Personalized_Mouse_pad2
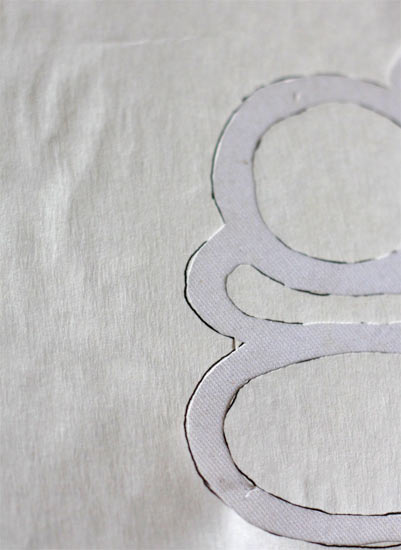
2. Carefully cut the image out from the freezer paper. Remember that you will be using the paper as a stencil, so pay more attention to the edges that remain than the ones you are cutting out.
Personalized_Mouse_pad3
3. Iron the freezer paper, shiny side down, with a low iron. The plastic coating on the back of the freezer paper will stick to the fabric without leaving a residue behind.
4. Sponge the paint onto the revealed fabric using a dabbing motion. Set aside to dry.
5. Peel the freezer paper off and set the paint by ironing lightly over the image.

Continue Reading
Change Your Country
Please select your country, this will change the site to your country's currency:

Cancel