Skip to search Skip to navigation menu Skip to main content Selecting option will reload page

Category: For the Home

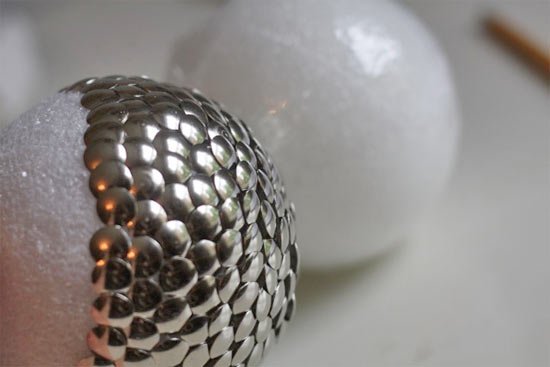
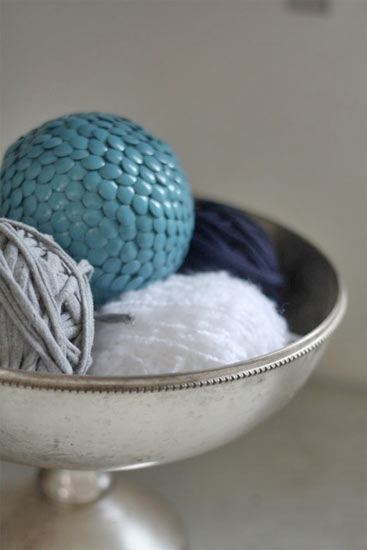
Decorative Thumb Tack Styrofoam Balls

Thumb_Tack_Balls
One of the easiest ways to spruce up the decor in a room is by bringing in small details with interest and impact. Decorative balls placed in a bowl or stacked in a large vase are an excellent choice for this and these thumbtack-covered balls are simple, inexpensive and visually striking. If you can’t find thumbtacks in a color you like, they can easily be painted, either before or after creating the ball.

Things you’ll need:
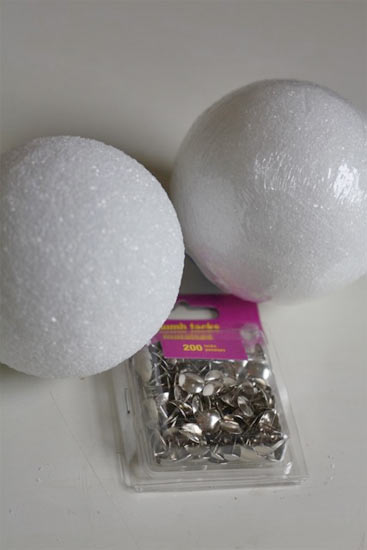
4-inch styrofoam balls
Flat topped thumbtacks, about 500 per ball
Spray paint (optional)

Things to do:
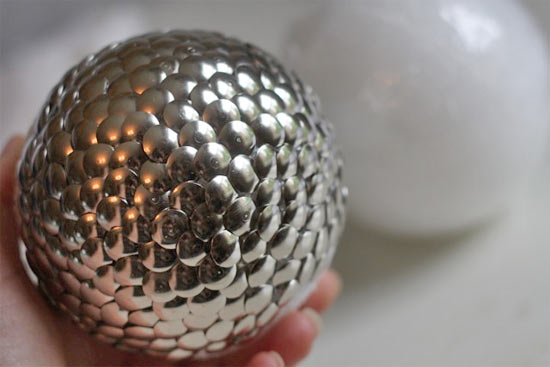
1. Firmly push the thumbtacks into the ball, overlapping the edges slightly to create a fish scale texture.
Thumb_Tack_Balls2
Thumb_Tack_Balls3
2. Continue to press the pins in until the entire surface of the ball is covered.
Thumb_Tack_Balls4
3. If desired, spray the ball with several light coats of spray paint, allowing each to dry before adding the next.
Continue Reading

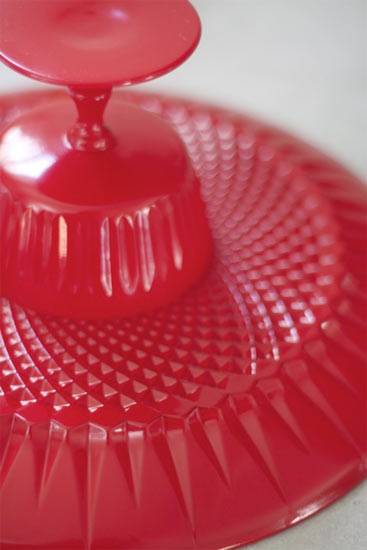
Upcycling: DIY Cake Stands

DIY_Cake_Stands
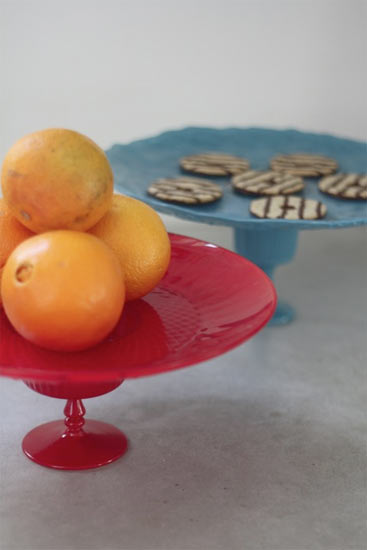
I love cake stands. It’s silly, but I’ve found that a cake stand can make any old cake, pie or treat look like something really special, just because it’s sitting on something pretty. And I’d like nothing more than to have a whole slew of them, just right for every occasion, but alas, I can’t seem to stand to spend all that money on something I use only now and then. Thankfully though, I’ve found a way around that little stumbling block with this simple craft.

Things you’ll need:
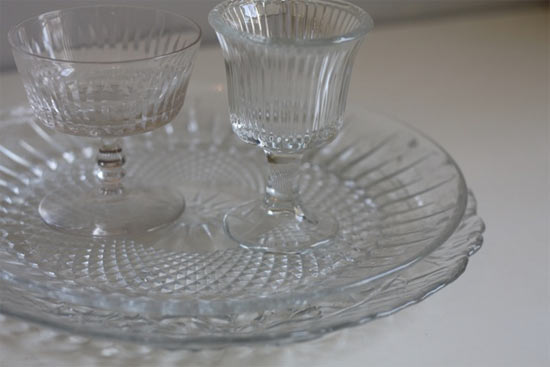
Crystal or glass goblet
Crystal or glass plate
Sticky Ass Glue or E6000
Spray paint

Things to do:
1. Clean the plate and goblet well and dry.
DIY_Cake_Stands2
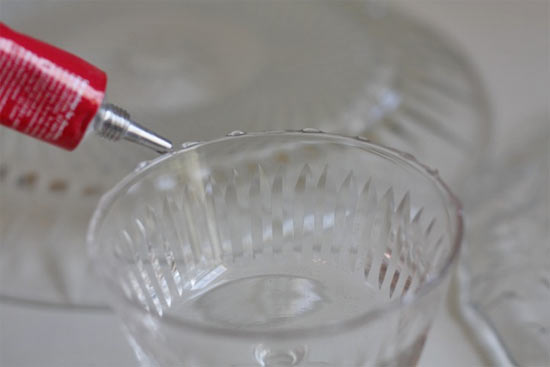
2. Apply a thin bead of glue to the rim of the glass
DIY_Cake_Stands3
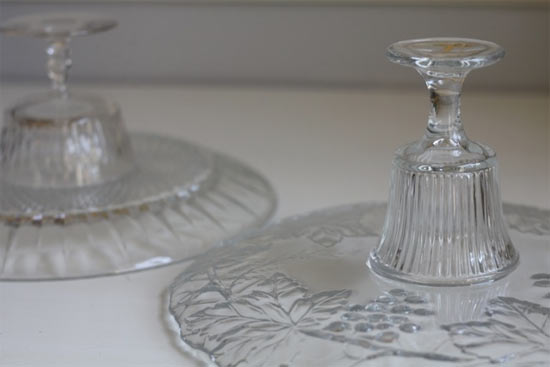
3. Center the glass on the bottom side of the plate and press down, turning slightly to help spread the glue a bit. Allow the glue to dry completely.
DIY_Cake_Stands4
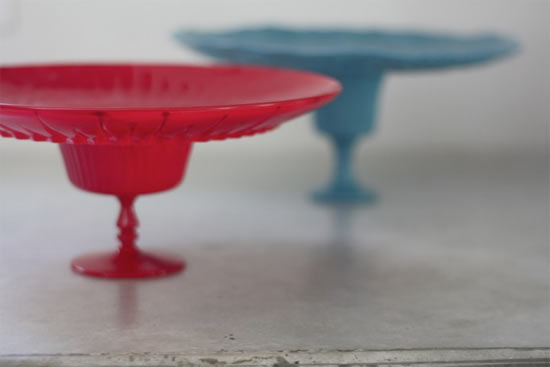
4. With the stand upside down on a covered and well-ventilated work surface, spray the entire underside of the stand with two to three coats of spray paint.
DIY_Cake_Stands5
5. Allow the paint to dry, flip right side up and serve!
DIY_Cake_Stands6

Note: Any spray paint will do. We used Krylon spray paint. The picture shows the food touching the stands directly but this was for picture propping, but for general purposes if you arent sure if your spray paint is food safe you should definitely use some sort of liner on top or you could also leave the top unpainted.

Continue Reading
Change Your Country
Please select your country, this will change the site to your country's currency:

Cancel