Skip to search Skip to navigation menu Skip to main content Selecting option will reload page

Category: For the Home

Little Ribbon Bookmarks

Little_Ribbon_Bookmarks
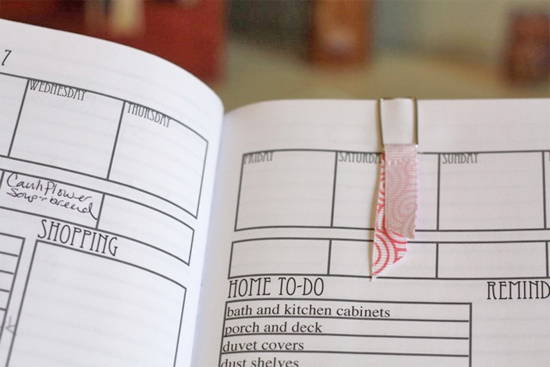
While my kids like to have big book marks to mark their spots and to help them follow along as they read, I prefer something small for my own reading materials. And also something that wont just fall out when my book (inevitably) falls to the floor as I rush off to clean up spilled milk or to find a lost doll. Which makes these little bookmarks perfect. Pretty, simple and a great way to use up scraps from other projects, they are my new favorite little thing.

Things you’ll need:
Ribbon scraps
Square paper clips
Sewing machine and thread
Scissors

Things to do:
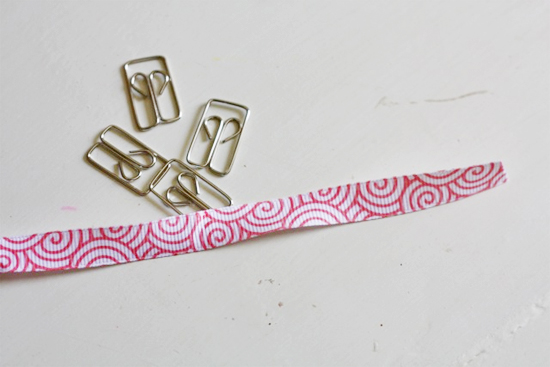
1. Loop the ribbon through the wider end of the clip and fold over on itself.
Little_Ribbon_Bookmarks2
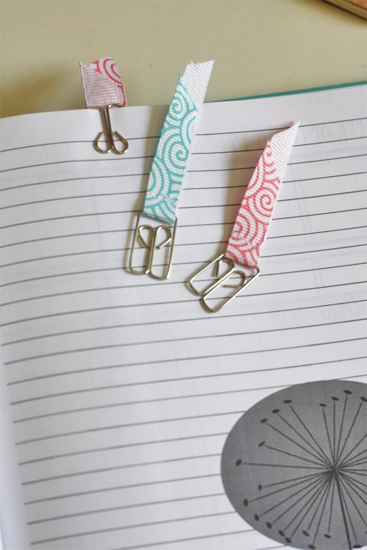
2. Stitch about 1/4 inch up from the end of the clip, backstitching to lock the stitches.
3. Trim the threads and then the ribbon at opposite angles. Clip in place and flip the ribbon up or down as you please.
Little_Ribbon_Bookmarks3

Continue Reading

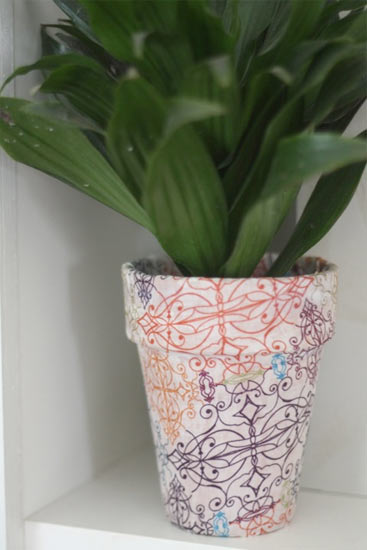
Fabric Covered Pot

Fabric_Covered_Pot
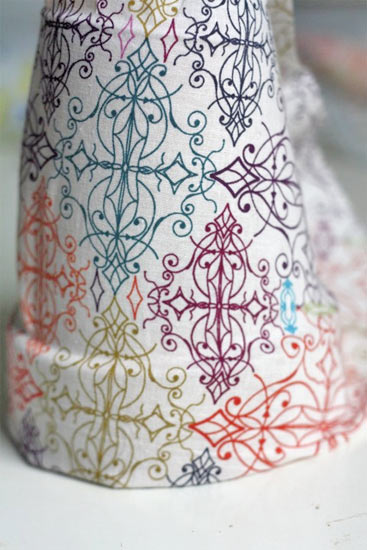
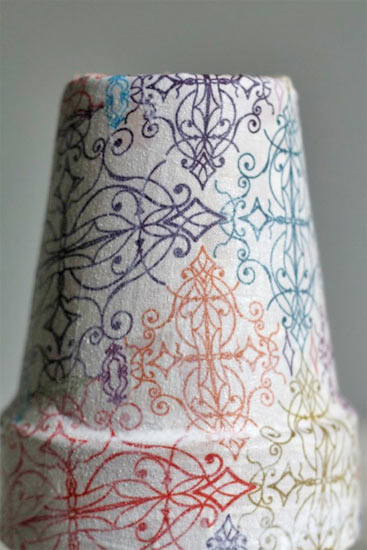
Perfect a simple sweet gift or something pretty around the house, these fabric-covered pots turn your old terra cotta vessels into something with a little more zing.

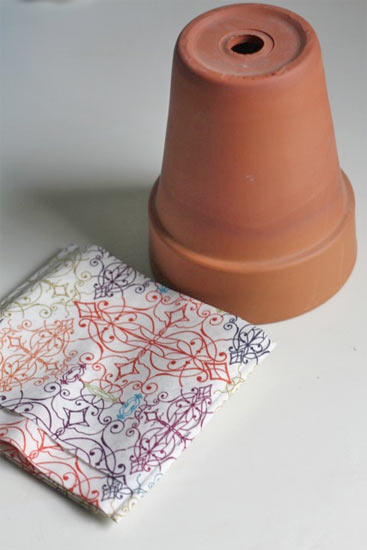
Things you’ll need:
Terra cotta pots
Fabric
Mod Podge Outdoors
Paintbrush
Scissors

Things to do:
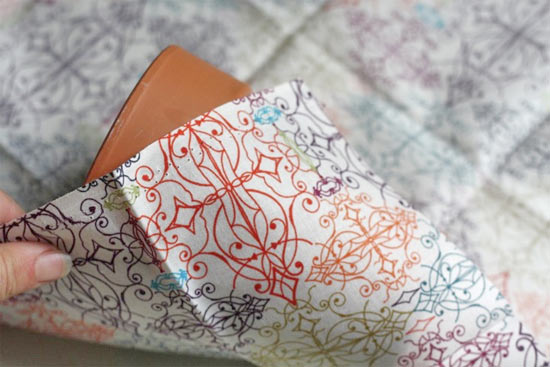
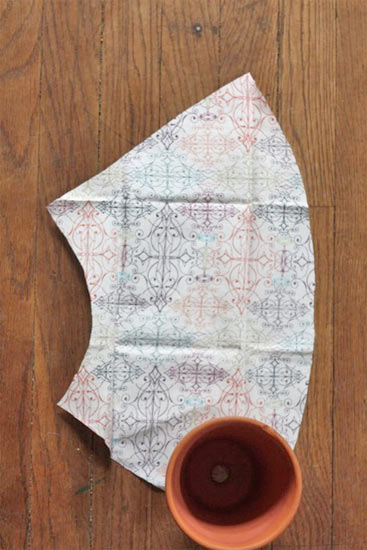
1. Starting at one corner of the fabric, roll the pot up until covered and trim away most of the excess at top and bottom, leaving about an inch on each end to extend over the edges of the pot. This should leave you with a slightly arched shape.
Fabric_Covered_Pot2
Fabric_Covered_Pot3
Fabric_Covered_Pot4
Fabric_Covered_Pot5
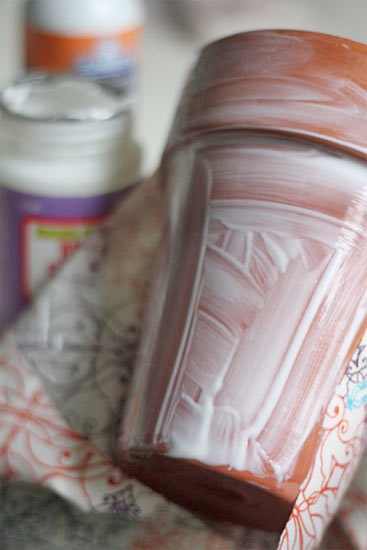
2. Paint a thin coat of Modge Podge along the length of the pot, about 1 inch wide, and smooth the edge of the fabric along it. Give it a few minutes to set up and then cost the pot in on inch wide section with Mod Podge, smoothing the fabric on as you go. Continue until you have worked all the way around the pot. Add a small amount more and work in the cut edge so that it is smooth.
Fabric_Covered_Pot6
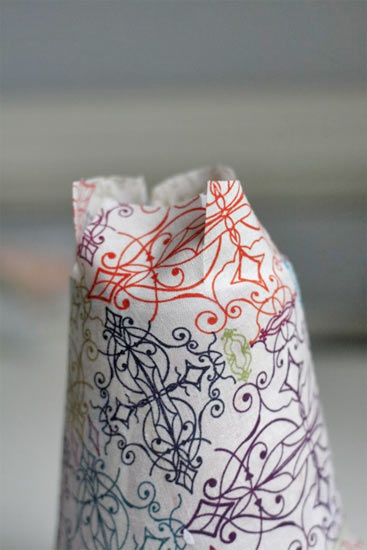
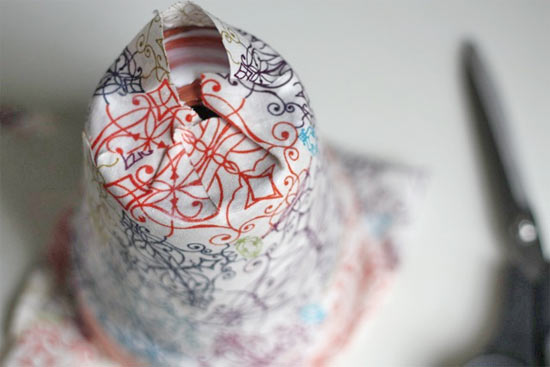
3. Cut the top and bottom excess into small sections, about 1 inch wide. Smooth down each with Mod Podge, one at a time, making sure the edges have a few creases as possible. Allow the Mod Podge to dry.
Fabric_Covered_Pot7
Fabric_Covered_Pot8
Fabric_Covered_Pot9
4. Coat the entire surface of the pot in two coats of Mod Podge to protect it, allowing the layers to dry before moving onto the next.

Continue Reading
Change Your Country
Please select your country, this will change the site to your country's currency:

Cancel