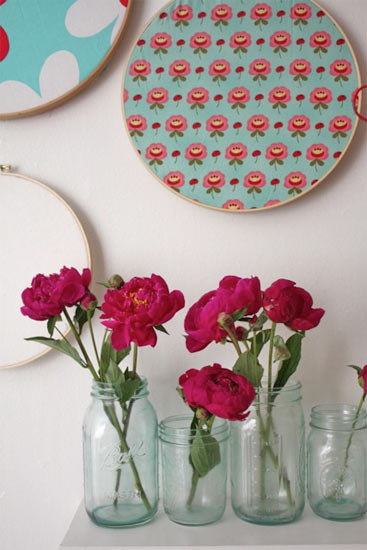
Have you ever seen those beautiful old mason jars in shades of blue and teal? Beautiful in almost any decor, they are getting more expensive every day and harder and harder to find. If you’ve been craving a few for your shelves, try this little DIY version.
Things you’ll need:
Mason Jars
White school glue
Blue and green food coloring
Water
Foam brush
Things to do:
1. Wash and dry the jars before starting.
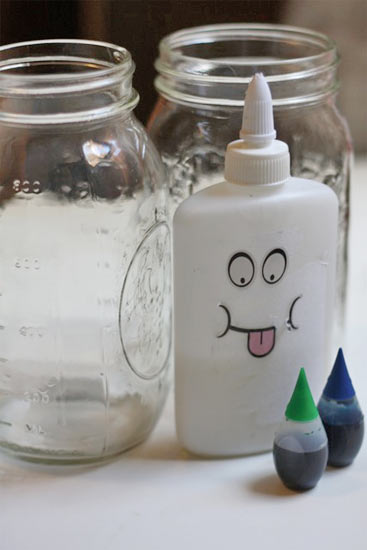
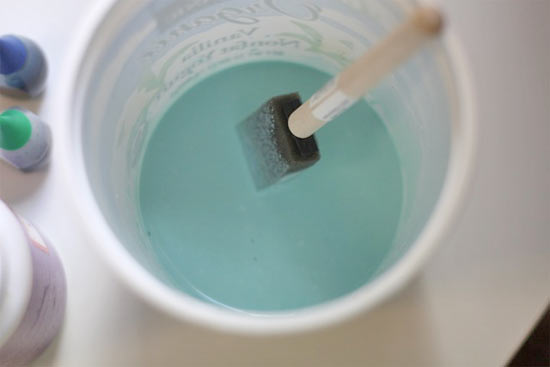
2. Mix 2 teaspoons of glue, 3 teaspoons of water, 2 drops of blue food coloring and one of green in an old cup.
3. Dip your brush lightly in the mixture and, starting at the bottom, press the side of the brush against the side of the jar and work around, pulling up as you go. Be sure to coat the bottom as well.
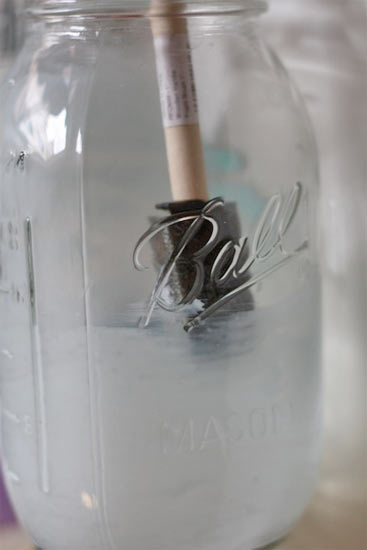
4. Allow the glue to dry slightly and then, as it collects a bit on the bottom, use it to coat the inside of the jar with a second coat.
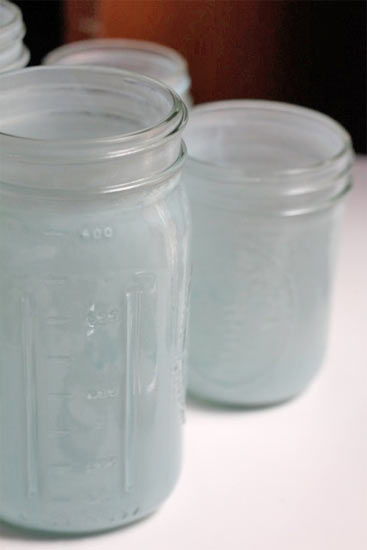
5. Continue to add coats until the jar had reached the tone of blue that you want.
6. Allow the jars to dry overnight. Once the jars dry, they will be a clear blue-y color and not a milky color.
* These jars are not appropriate to use as vases as water will wash away the paint. If you would like to use them as vases, paint the outside of the jars for a similar look. *
10 Comments
I also love the blue jars. I found a 2 quart one at a yard sale. I use them as canisters.
Is the final picture the end result?? Is it a milky hue or do the jars dry more clear? Neat Idea. Just have a couple of the real thing myself.
The pictures are kind of confusing, sorry about that! But they do dry clear and not that milky hue.
so the pic on top with the flowers are the end result?? Wow they look like the real thing
Well, butter my butt and call me a biscuit.Who thunk this up? Brillant!
What a great idea… could even use it on other glass jars and in different colors if decorating for occasions with a color scheme such as weddings, showers, etc.
I make these using Mod Podge and food coloring. I shake them instead of painting them and turn them upside down in a disposable container. When extra paint has dripped out I put the jars on a pan in 175 degree oven and bake for 1 hr. Let cool before removing from the pan.Also, I recently purchased a product named Vitrea which is used for painting glass to try this but I havent tried it yet.I use spaghetti sauce jars, etc. to make my jars and store my sea glass, shells, buttons, ribbons, etc. in them.
This sounds like a great idea for using these jars to hold all the odds and ends!
It is lots of fun to make these and they do come in handy for storing little what nots. I love them sitting on the windowsill and letting the sun shine through them too. I used various colors on mine…I did a clear crystal candleholder in a pale pink. It turned out gorgeous. I found by baking them it removes more of the bubbles. There are several blogs on the internet that give better directions than I did. lol. Enjoy and have fun with this!P.S. If you would like the name of one of the blogs with the directions let me know and I will be happy to post it for you.
Gee we have tons of them here in Indiana – pretty inexpensive too!