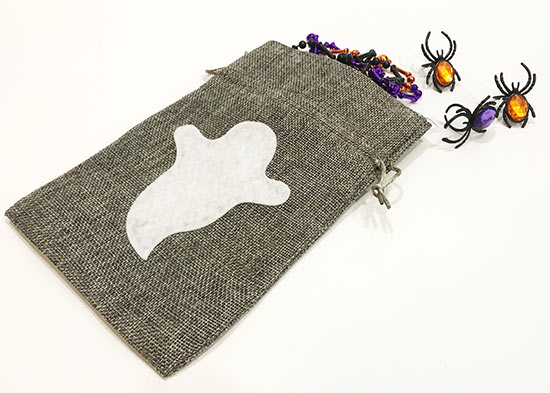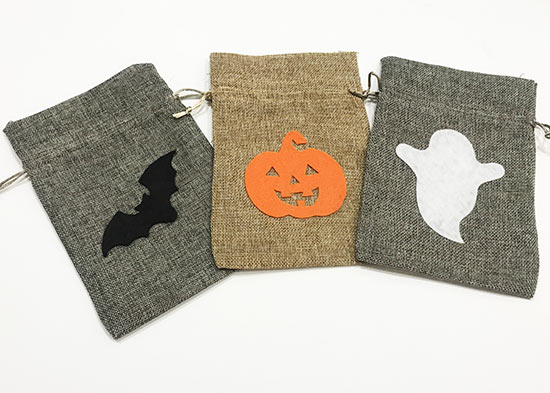
Surprise the guests of your Halloween bash with festive treat bags. Choose from a pumpkin, ghost, or bat design or use the idea to create your own!
Difficulty level: Beginner
Time required: 1 hour
Age range: 8+
Things you’ll need:
Grey burlap bags or natural burlap bags
Felt
Hot glue
Hot glue gun
Scissors
Wax paper
Template
Things to do:
1. Gather your supplies and print your spooky templates. The templates print at approximately 3 inches by 4 inches. Scale these up or down for bigger or smaller bags.
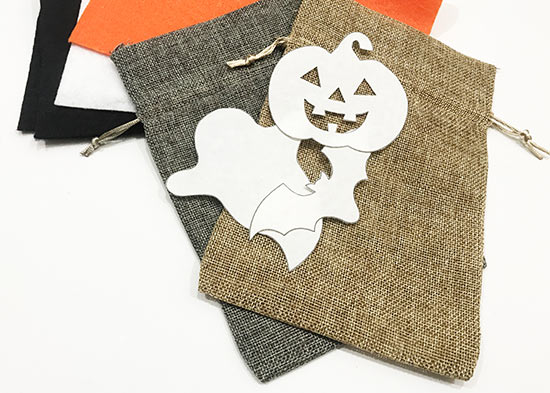
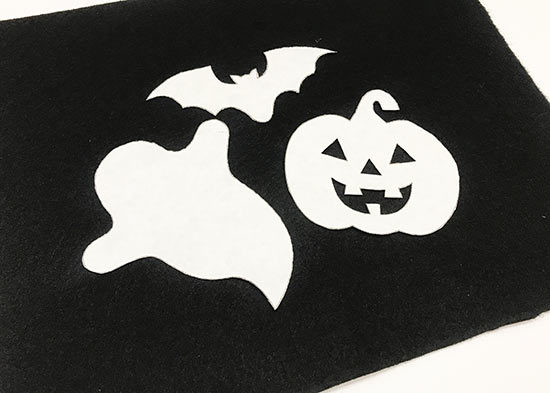
2. Using your template as a guide, cut the desired spooky shape from felt. (If you choose the pumpkin, you will also need to cut out the eyes, nose, and mouth.)
3. Place a piece of wax paper inside the bags. (This prevents the hot glue from seeping through the burlap and gluing the bag shut. Wax paper works best but you can use regular paper too. It just might be harder to pull off the hot glue that seeps through the burlap.)

4. Place glue on the underside of your cut out felt piece. Be sure to get the glue close enough to the edges to secure them but not too close so the glue shows out the side.
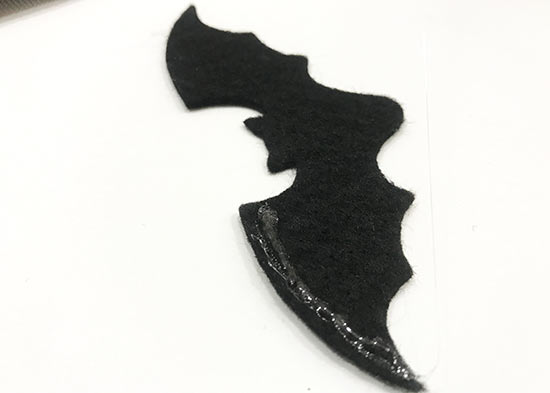
5. Quickly flip the felt piece over and stick in place on the burlap bag. Press firmly all the way across the piece of felt so the glue sticks along each edge.
6. Stuff your treat bag with goodies!