
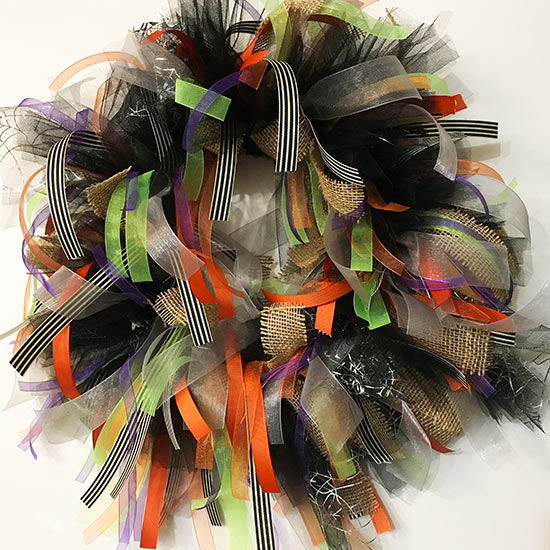
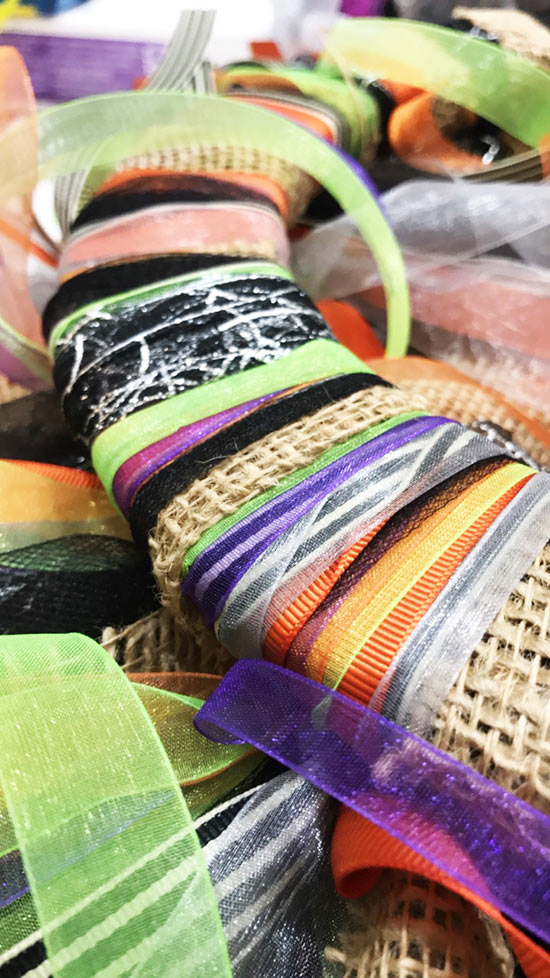
Use up scraps of ribbon, burlap, and tulle while making this timeless Halloween decoration. Mix and match different colors and textures to create a truly unique, custom piece.
Difficulty level: Beginner
Time required: 3 hours
Age range: 8+
Things you’ll need:
Wreath base
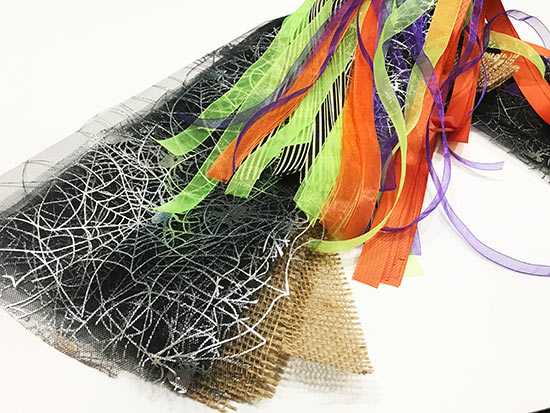
Ribbon in a variety of colors
Tulle
Burlap “ribbon”
Scissors
Things to do:
1. Cut 20-30 lengths of each type of ribbon, tulle, or burlap you would like to use. The lengths should be able to wrap around the the thickness of the wreath 3-4 times. Play around with varying lengths. You can always trim ribbons as desired at the end.
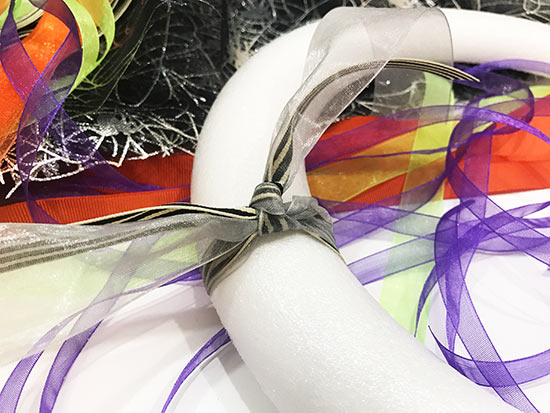
2. Begin tying ribbons around the wreath. Double knot each ribbon. You can tie the ribbons individually (best with the burlap) or in groups (works well with the thinner ribbons).
3. Continue tying ribbons all the way around the wreath, pushing the knots as close together as possible, as you go. Play around with what works best for your materials to get fullness in your wreath. Initially, you will be able to see the knots. This will minimize as you get more ribbon tied on and the groupings get tighter.
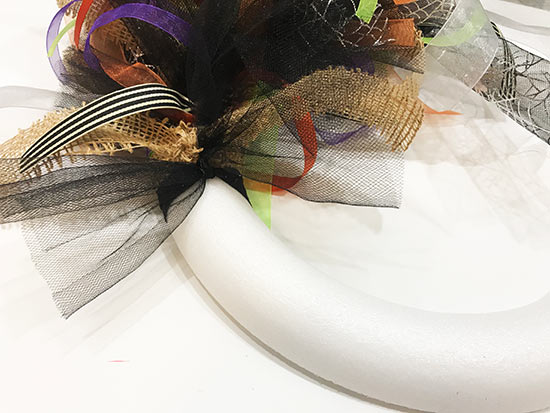
4. As you are tying ribbons on, periodically check the back of the wreath to make sure the ribbons lie mostly flat so the wreath doesn’t hang funny.
5. If desired, trim the lengths of ribbon to get the desired fullness on your wreath.