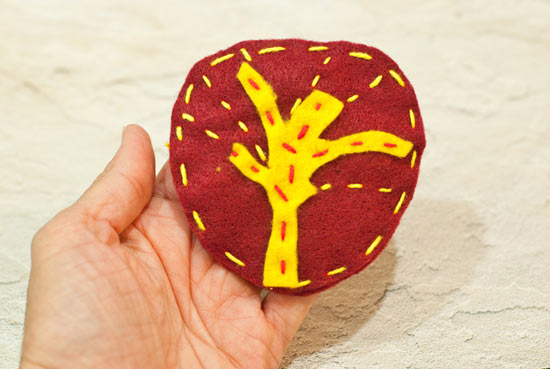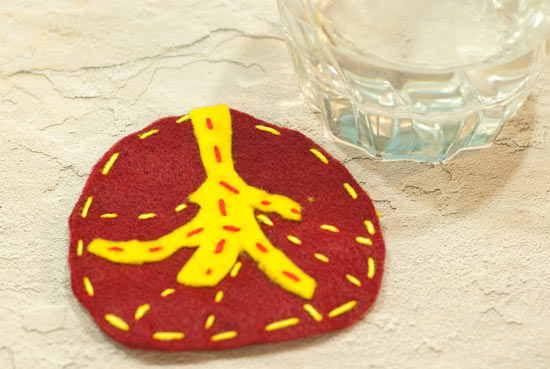
Primitive-looking felt coasters are great for year-round use, but when you create leaf shapes, you’ve decidedly invited Autumn into your decor! Try different leaf shapes for a variety of felt leaf coasters.
Difficulty level: Intermediate
Time required: 30 minutes
Age range: 12+
Things you’ll need:
Yellow felt sheet
Burgundy felt sheet
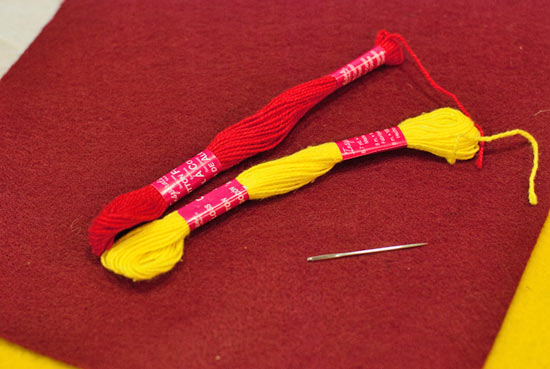
Yellow and red embroidery thread
Embroidery needle
Scissors
Marking tool
Things to do:
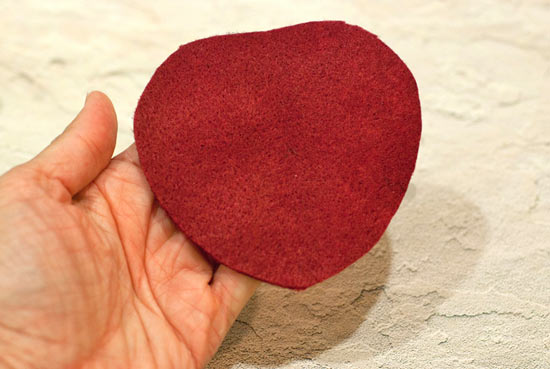
1. Fold your burgundy felt sheet and draw half a leaf shape on one side. You can draw any shape, but make sure it’s large enough for the base of a glass to rest upon.
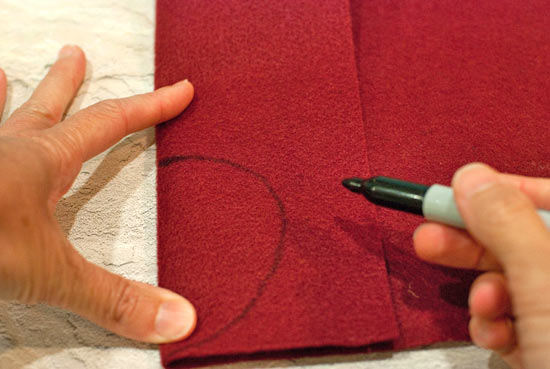
2. Cut it out and adjust the shape if needed. Trace this shape onto the felt again for the back of the coaster.
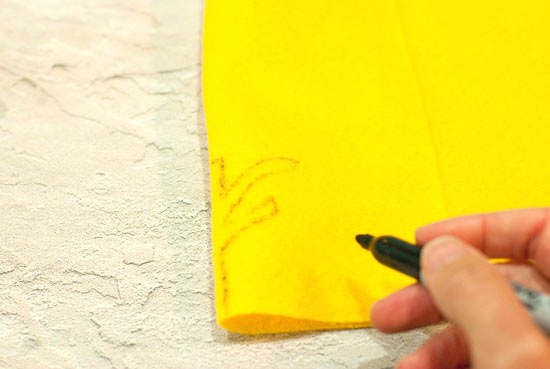
3. Fold your yellow felt sheet and draw leaf veins” on one side. The shape will resemble a tree without leaves.
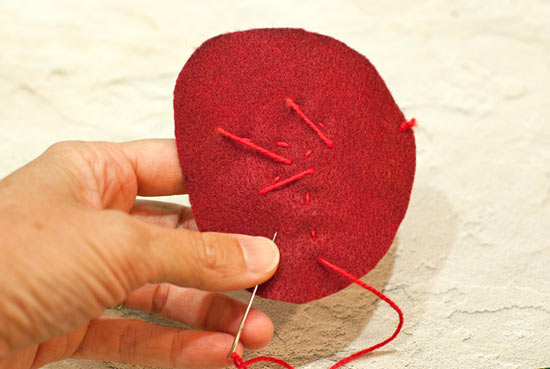
4. Cut out the yellow veins and stitch to the leaf shape with large running stitches, using the red embroidery floss.

5. To minimize the amount of cutting and re-knotting you’ll need to do, simply travel with your needle along the back side of the leaf as you continue creating running stitches on the front.
6. Switch thread to the yellow, and continue sewing veins” around the leaf.
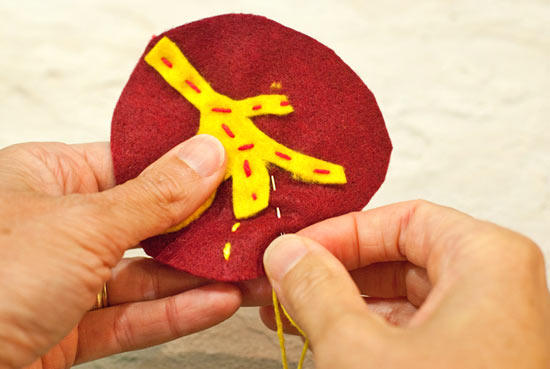
7. When you’re finished stitching veins, it’s time to stitch the back of the coaster onto the front.
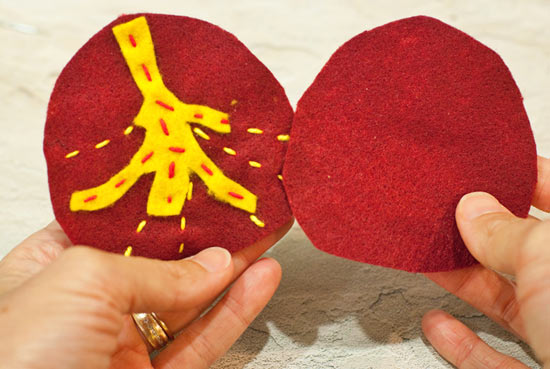
8. Knot your thread and bury it on the inside, between the front and back.

9. Completely stitch around the outside of the coaster and carefully hide the final knot between the layers when you’re finished.

10. You’ll have a primitive and whimsical felt leaf coaster for your next gathering!
