Skip to search Skip to navigation menu Skip to main content Selecting option will reload page

Category: Spring Crafts

DIY Spring Bunny Kitchen Linens


These bunny kitchen linens aren’t specifically for Easter, but can be used all through spring. Sewists with more advanced skills (and who want to wash these frequently) can applique these with a satin stitch and a double-sided fusible between the bunny and the napkin. However, if you’re just using these as decor, a simple running stitch by hand or machine will do. The ends may fray, but fraying can add to the linens’ appeal!

Difficulty level: Intermediate
Time required: 45 minutes
Age range: 10+

Things you’ll need:
Bunny silhouette print out
Cafe napkin
Craft pom pom
Fabric
Computer/printer/paper
Scissors
Sewing machine or needle and thread
Double-sided fusible web and tear-away stabilizer *optional
Pins
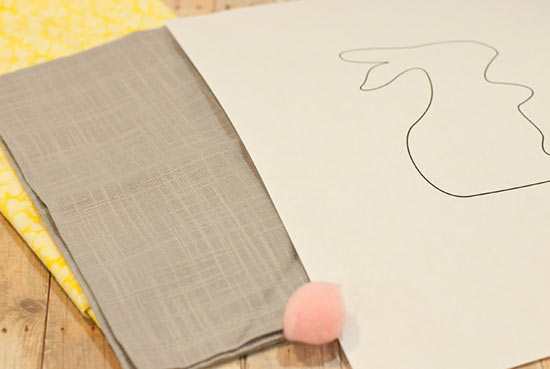
Things to do:
1. Print the PDF and cut out the bunny silhouette.
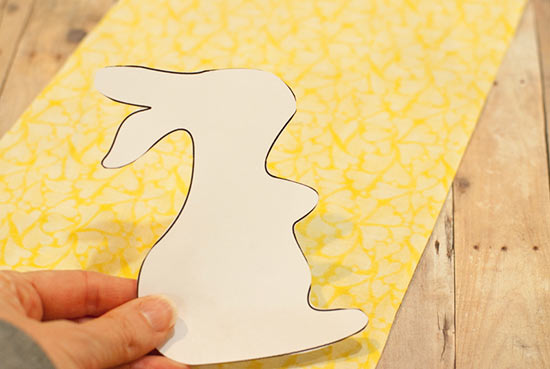
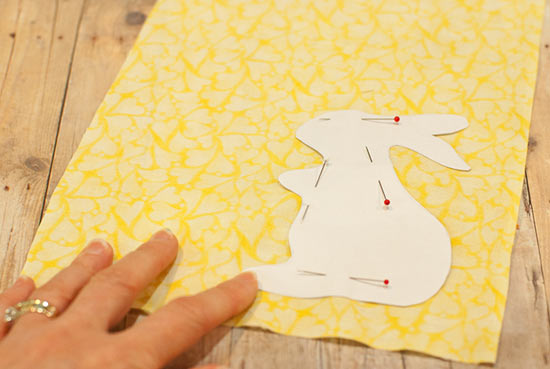
2. Pin the bunny to your fabric, making sure the bunny is facing the direction you prefer when the fabric is right-side up.
3. Press and fold your cafe napkin and decide where you’ll be placing your bunny.
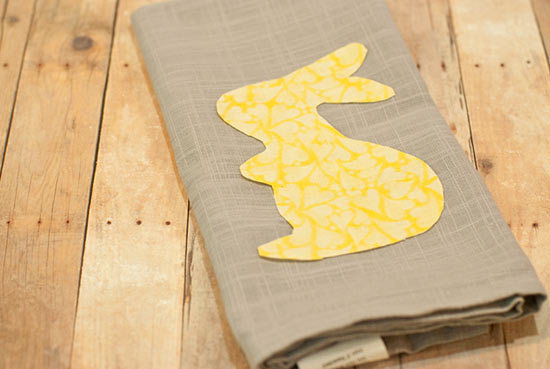
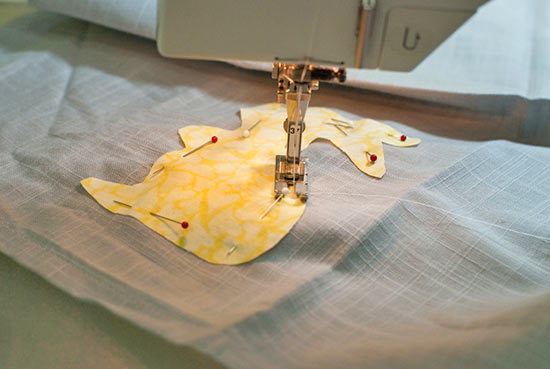
4. Open up the folds. Pin the bunny in place and sew it down with a 1/4″ seam allowance. You can also use hand stitching with a running stitch or a blanket stitch – make this as simple or as fancy as you’d like. If you’re planning to wash this frequently and are a more experienced sewist, fuse double-sided web to the back of the bunny and fuse into place on the napkin. Add a piece of tear-away stabilizer to the back. Once fused and stabilized, the bunny can be sewn with a satin stitch.
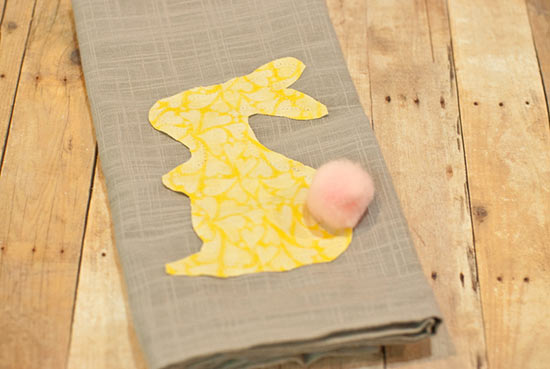
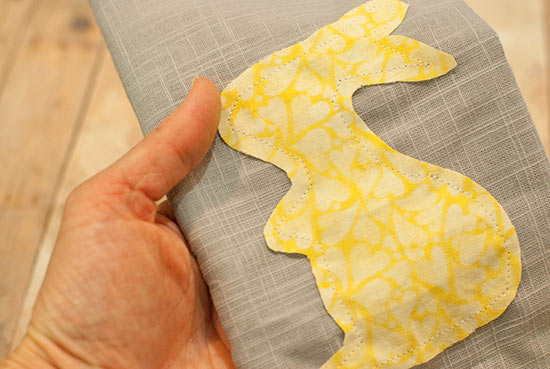
5. This is what the bunny looks like once sewn with a simple running stitch!
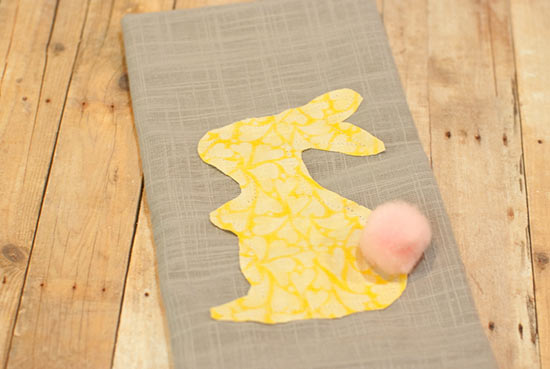
6. Hand-stitch the pom pom in place.
Continue Reading

How to Make Felt Easter Bunny Pouches


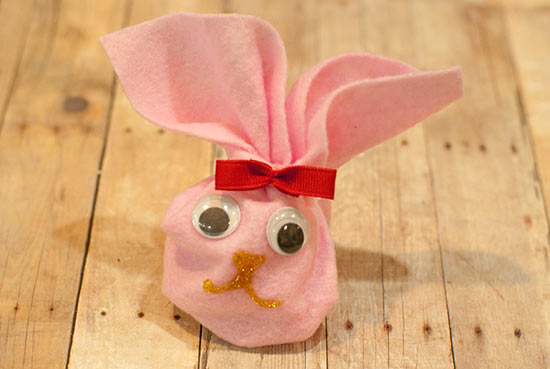
Fill this felt bunny with beads or another random filler, so you can keep this decoration year after year. Or, fill with small candies for a cute and fun Easter basket filler. The folds are a bit tricky at first, but once you get them down, you can make several of these felt bunnies quickly.

Difficulty level: Intermediate
Time required: 30 minutes, longer for glitter glue drying time
Age range: 10+

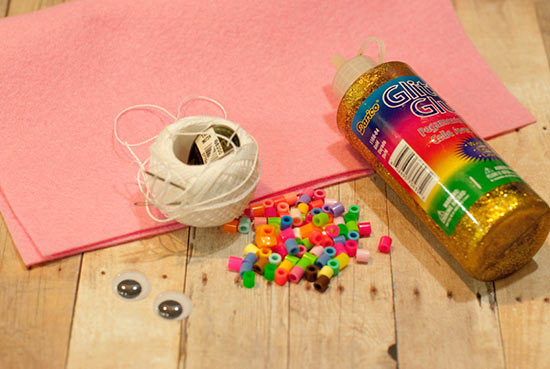
Things you’ll need:
Felt
Googly eyes
Embroidery thread
Needle with large eye
Glitter glue
Hot glue gun and hot glue sticks
Bit of narrow ribbon
Scissors
Ruler

Things to do:
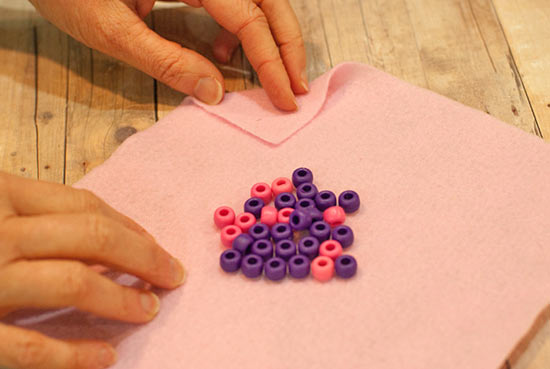
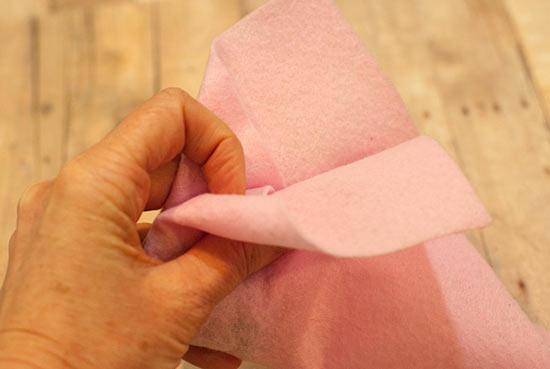
1. Thread your needle and knot one end, and set aside for later. Cut your felt to 8″ square and place your filler in the middle. I’ve used beads, but you can use candy or anything else! Fold down one corner as shown.

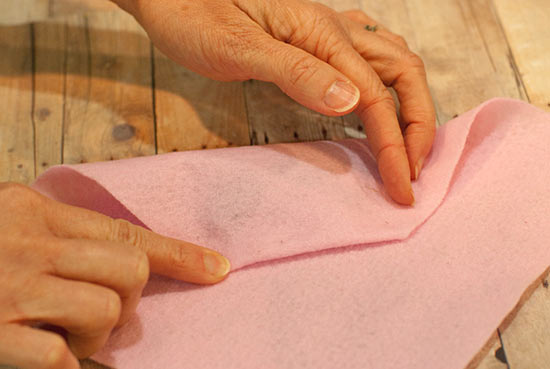
2. Make another fold in the felt, enough to cover the filler. This will be called the top” for now.

3. Fold the felt in half, handling one side of the felt next to the folded top.

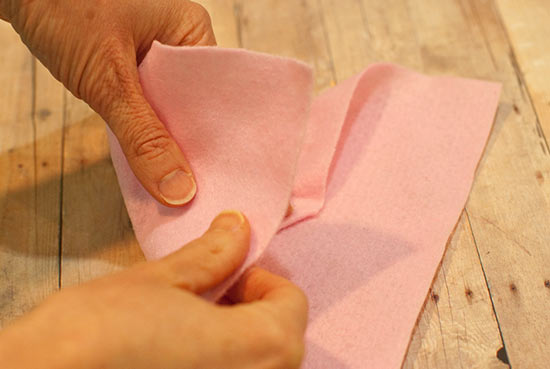
4. Match the ends as you fold. These corners will be the ears.

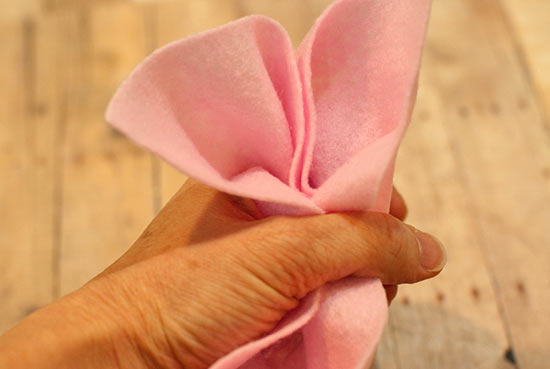
5. Wrap your hand around the corner, as shown. You’ll start to see the ears forming.

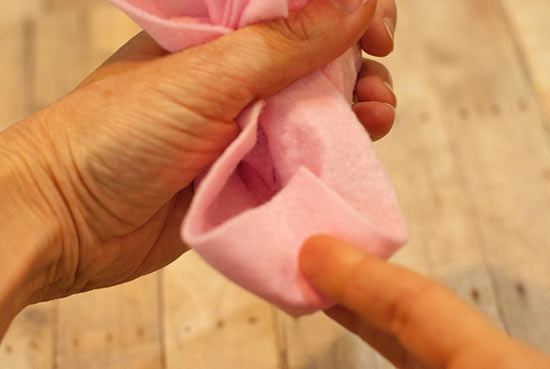
6. The bottom will still be open, so fold it up.

7. Fold the bottom up again, to meet the bottom of the ears.

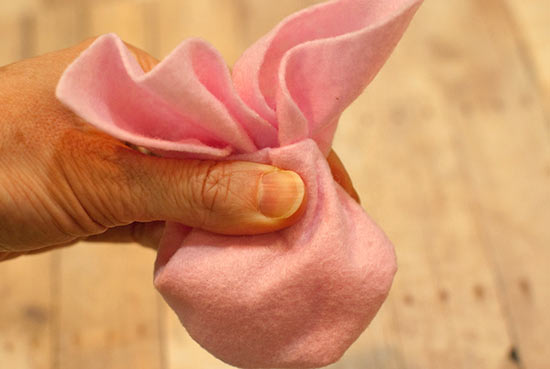
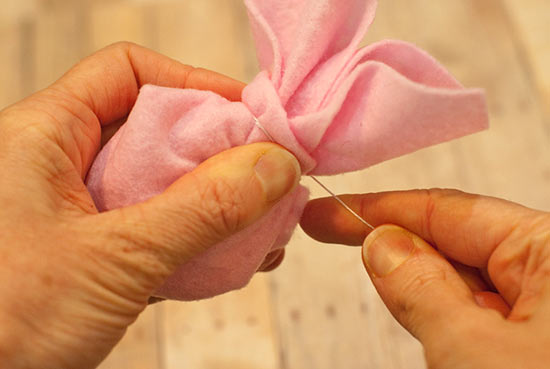
8. Using your needle and thread, wrap the thread around the area where your hand had been, making sure you capture all layers. Tie off and clip the thread.

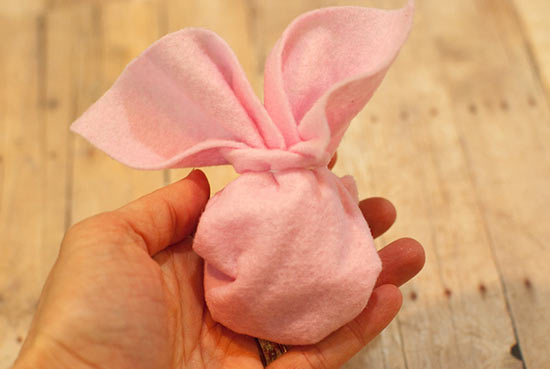
9. This is what the bunny should look like so far. Warm up your hot glue gun.

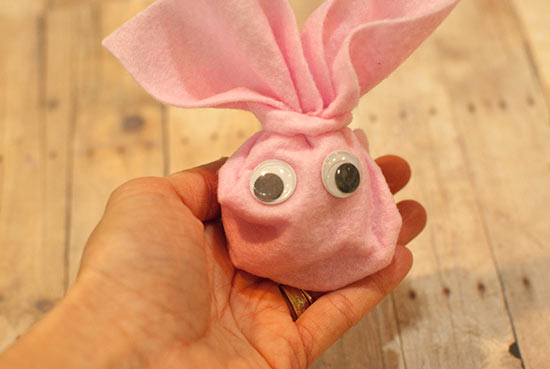
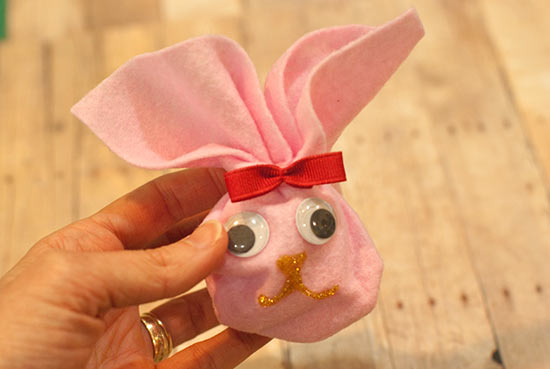
10. Glue the eyes to the felt.

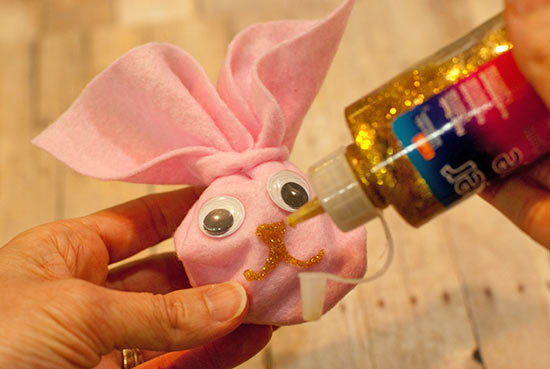
11. Use the glitter glue to create a nose and mouth.

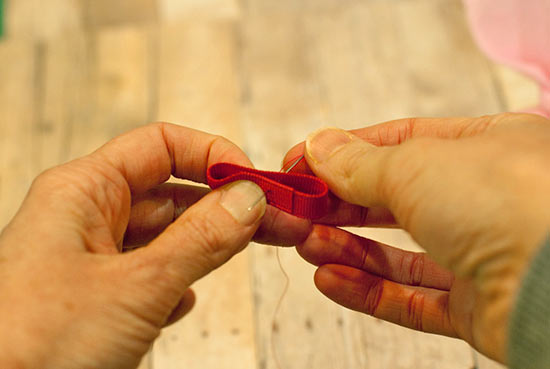
12. Cut a piece of ribbon and fold both ends toward the center for a bow. Insert a needle and thread into the back as shown.

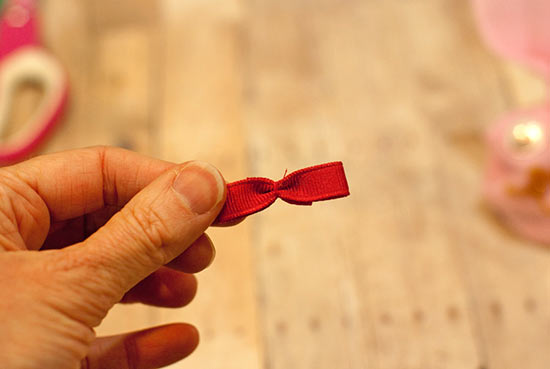
13. This is what the bow should look like when finished.

14. Glue the bow to the felt bunny and allow the project to dry!

Continue Reading
Change Your Country
Please select your country, this will change the site to your country's currency:

Cancel