Skip to search Skip to navigation menu Skip to main content Selecting option will reload page

Category: Spring Crafts

How to Make Easter Egg Button Artwork


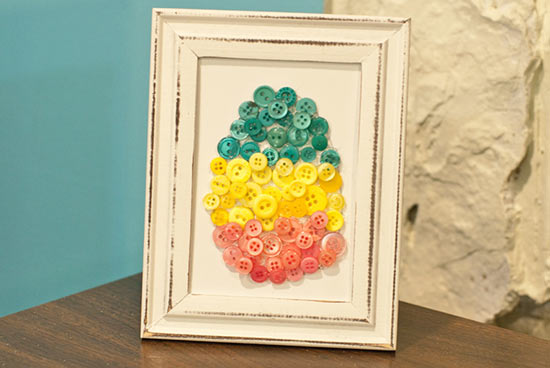
Frame a whimsical Easter egg with this button egg decor. Finding the right buttons is fun – enlist the help of your kids. They may even steal this little decoration for their own rooms!

Difficulty level: Easy
Time required: 30 minutes
Age range: 10+

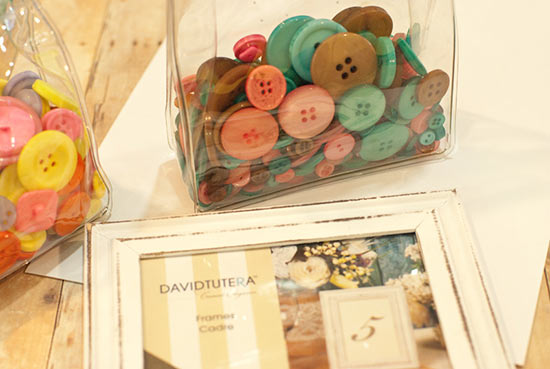
Things you’ll need:
Picture frame
Buttons
More buttons
Scissors
Hot glue gun and hot glue sticks
Card stock
Pencil
Things to do:
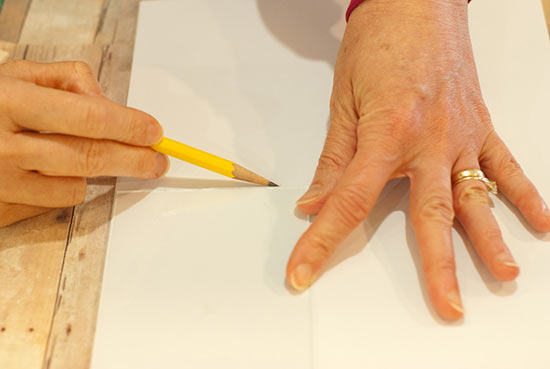
1. Remove the paper and glass from your frame. Trace around the glass onto your card stock. Set the glass aside and cut out the rectangle.
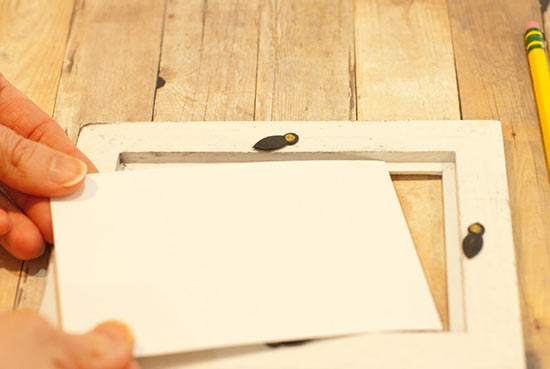
2. Double check to make sure the card stock will fit into the opening of your frame.
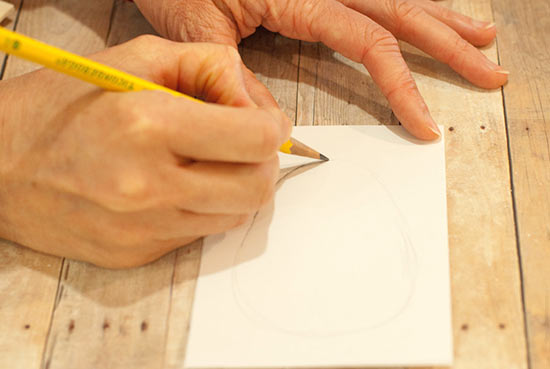
3. Draw an egg shape on the card stock. Fill much of the card stock, but make sure it doesn’t go all the way to the edges or the button egg won’t fit in the frame.
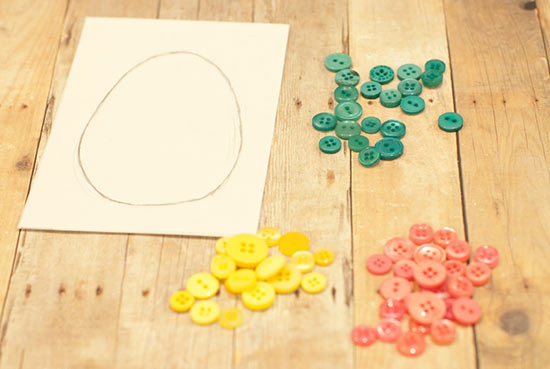
4. Organize your buttons. For the project I’ve used three different colors, but you can arrange them into any pattern you’d like.
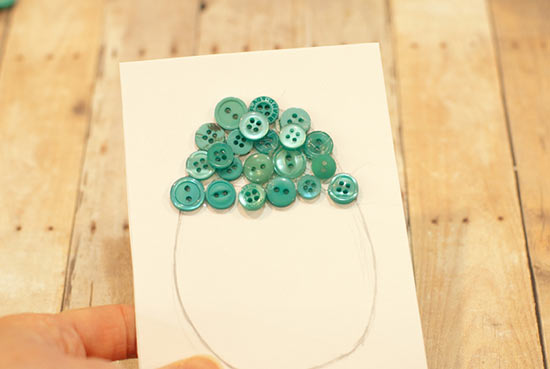
5. Glue the top group of buttons onto the egg.
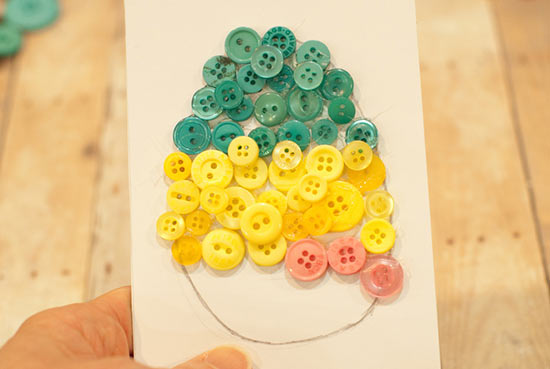
6. Keep gluing buttons until you’ve filled out the entire egg. Put the card stock into the frame, and display!
Continue Reading

How to Make Ribbon Wrapped Easter Eggs


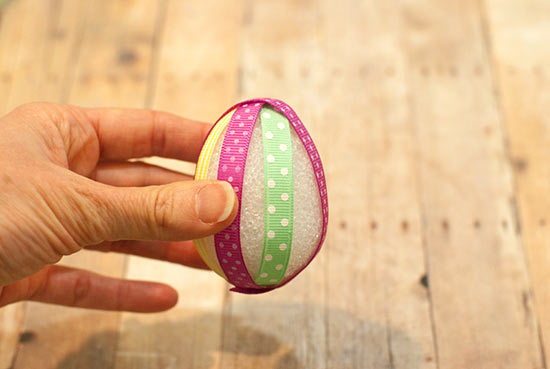
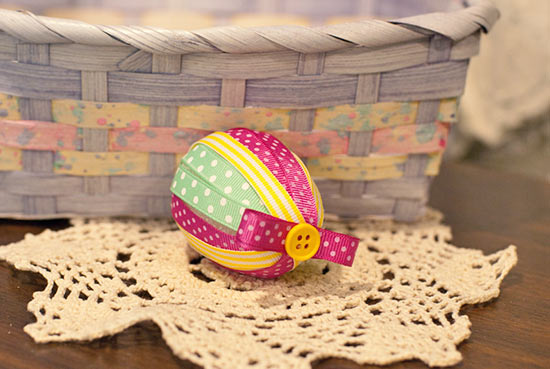
Create an entire basket of eggs covered in different colors of ribbons! These can be all one color eggs, or you can use different colors of ribbon for the striped effect shown here. Because of the overlap areas at the top of the bottom of the egg, you’ll want to use a combination of hot glue and pins to keep the ribbons in place.

Difficulty level: Easy
Time required: 20 minutes
Age range: 10+

Things you’ll need:
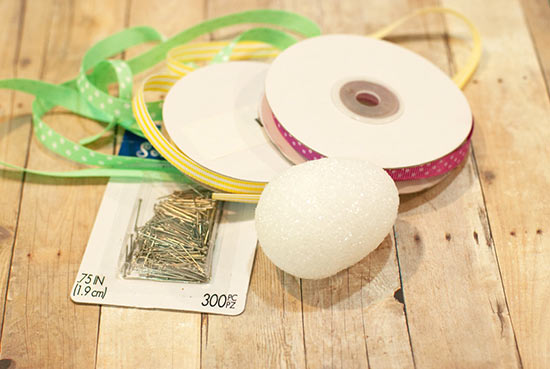
Styrofoam egg
Sequin pins
Narrow (3/8″ or 1/4″) ribbon
Hot glue gun and hot glue sticks
Scissors
A button or other embellishment

Things to do:
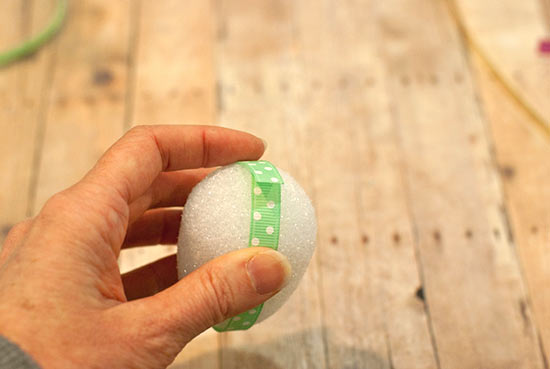
1. Wrap one ribbon around the egg vertically and trim to fit with a slight overlap.

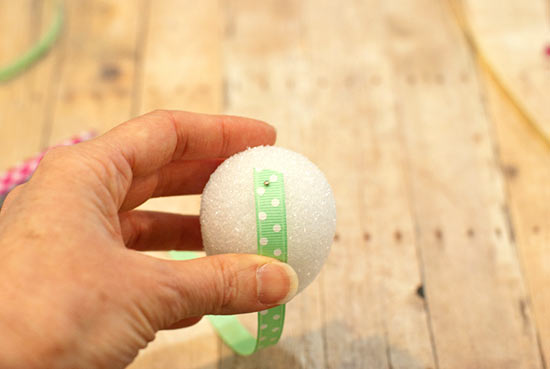
2. Once you’ve determined the size, pin in place. Wrap the ribbon around the egg, remove the pin, and then pin both ends to the top of the egg.

3. Repeat with a second ribbon.

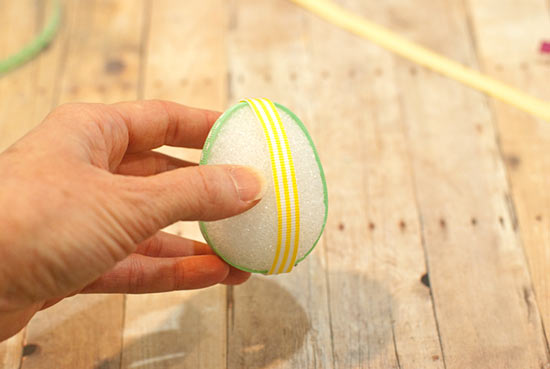
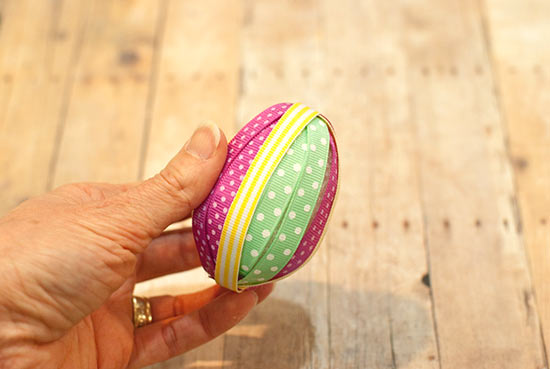
4. Continue adding ribbons. At some point you might need to switch to hot glue if pinning becomes too difficult.

5. When fully wrapped, your egg should look similar to this.

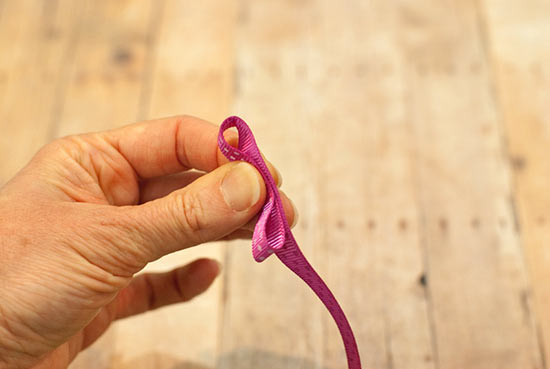
6. Cut a piece of ribbon a few inches long and fold two sections over each other, making loops that look like a bow. Glue each loop in place and trim the excess.

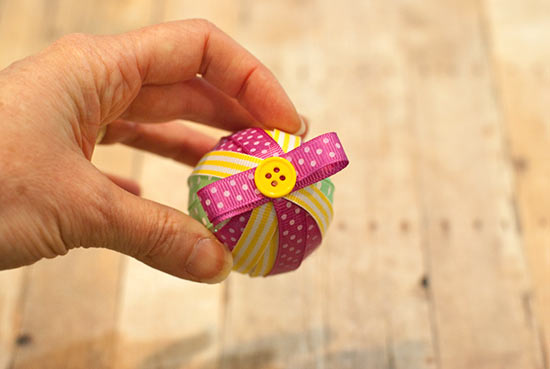
7. Hot glue a button or other embellishment to the top for a finishing touch.

Continue Reading
Change Your Country
Please select your country, this will change the site to your country's currency:

Cancel