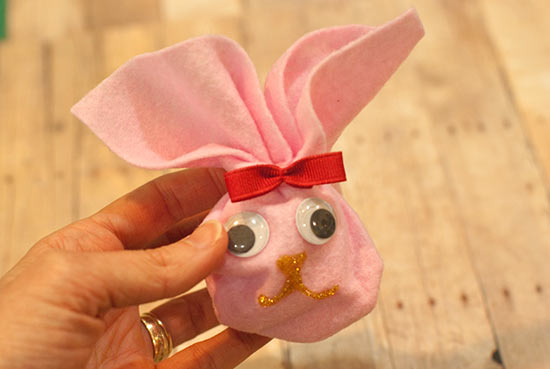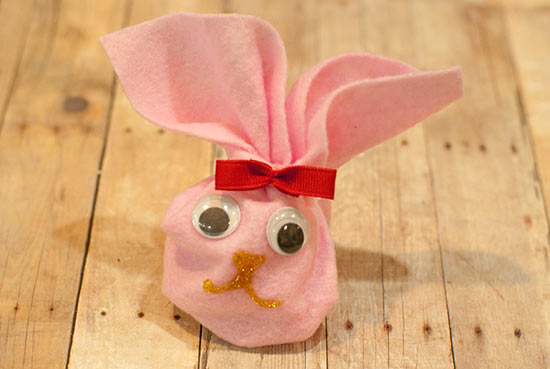
Fill this felt bunny with beads or another random filler, so you can keep this decoration year after year. Or, fill with small candies for a cute and fun Easter basket filler. The folds are a bit tricky at first, but once you get them down, you can make several of these felt bunnies quickly.
Difficulty level: Intermediate
Time required: 30 minutes, longer for glitter glue drying time
Age range: 10+
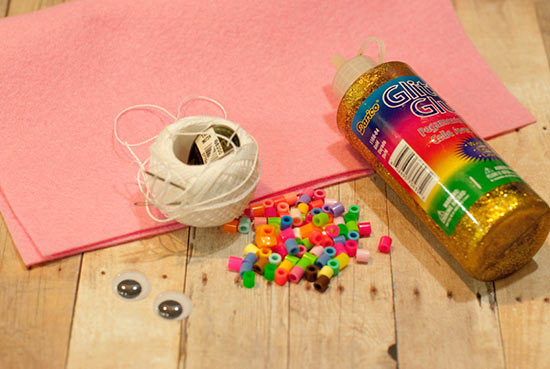
Things you’ll need:
Felt
Googly eyes
Embroidery thread
Needle with large eye
Glitter glue
Hot glue gun and hot glue sticks
Bit of narrow ribbon
Scissors
Ruler
Things to do:
1. Thread your needle and knot one end, and set aside for later. Cut your felt to 8″ square and place your filler in the middle. I’ve used beads, but you can use candy or anything else! Fold down one corner as shown.
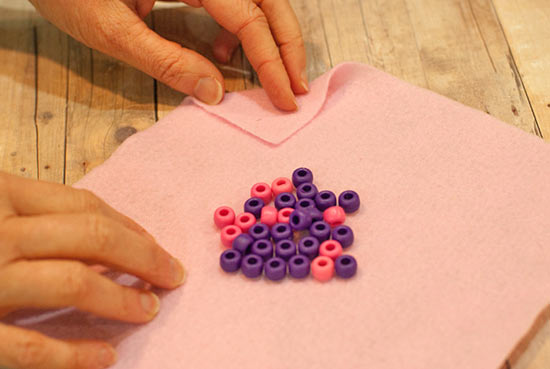
2. Make another fold in the felt, enough to cover the filler. This will be called the top” for now.
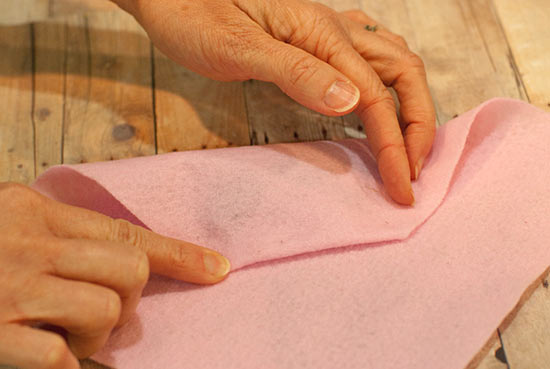
3. Fold the felt in half, handling one side of the felt next to the folded top.
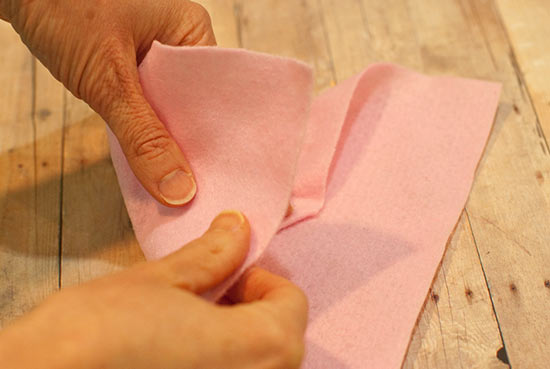
4. Match the ends as you fold. These corners will be the ears.
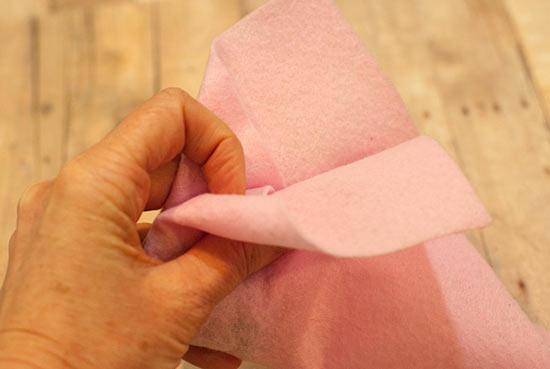
5. Wrap your hand around the corner, as shown. You’ll start to see the ears forming.
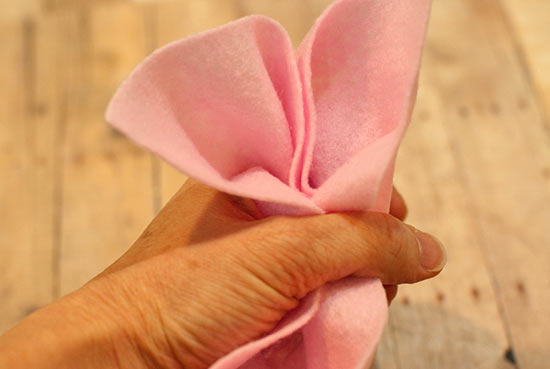
6. The bottom will still be open, so fold it up.
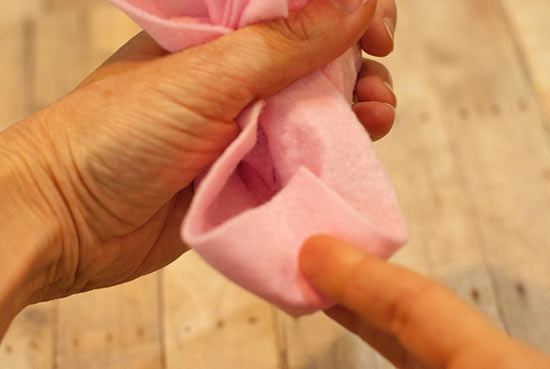
7. Fold the bottom up again, to meet the bottom of the ears.
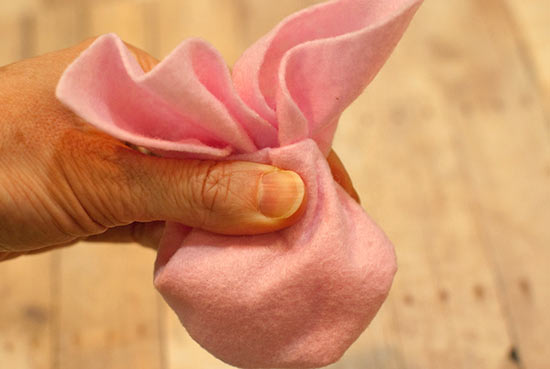
8. Using your needle and thread, wrap the thread around the area where your hand had been, making sure you capture all layers. Tie off and clip the thread.
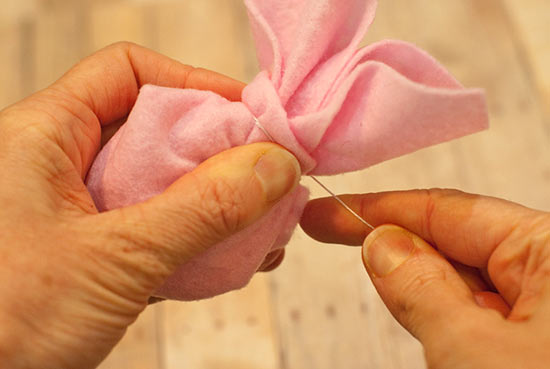
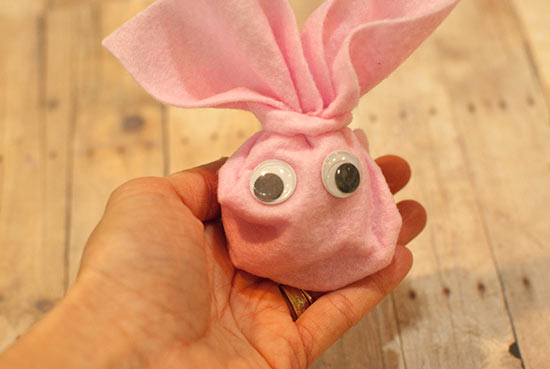
9. This is what the bunny should look like so far. Warm up your hot glue gun.
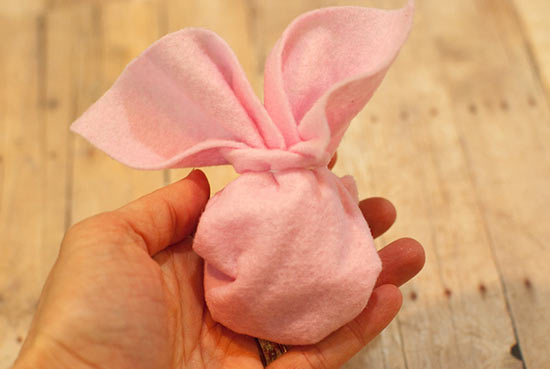
10. Glue the eyes to the felt.
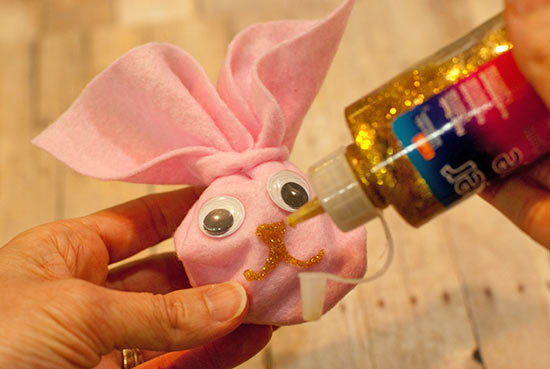
11. Use the glitter glue to create a nose and mouth.
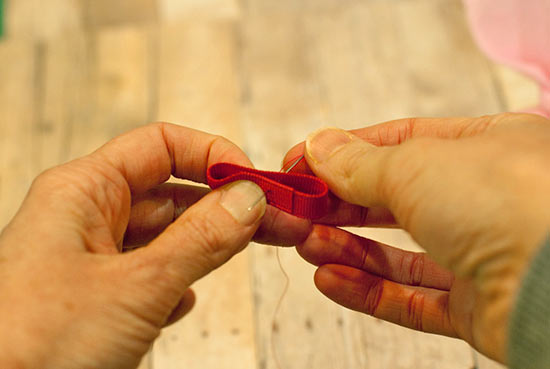
12. Cut a piece of ribbon and fold both ends toward the center for a bow. Insert a needle and thread into the back as shown.
13. This is what the bow should look like when finished.
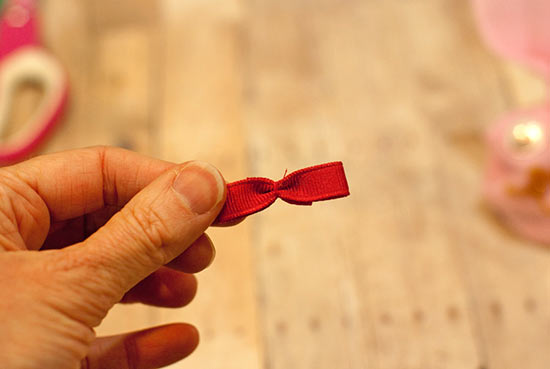
14. Glue the bow to the felt bunny and allow the project to dry!
