Skip to search Skip to navigation menu Skip to main content Selecting option will reload page

Category: Spring Crafts

DIY St. Patrick’s Day Hair Clip Tutorial

felt_four_leaf_clover_hairclip_main
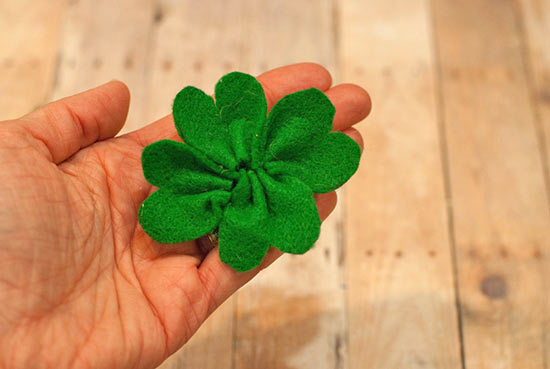
Show your Irish side! This four-leaf clover is a snap to make, using basic sewing skills. If you’d rather not wear this as a barrette, you may add the clover to a pin back.

Difficulty level: Intermediate
Time to complete: 30 minutes
Age range: 10+

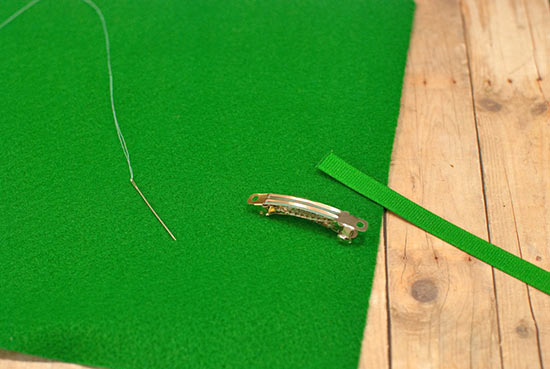
Things you’ll need:
Green felt sheets
Green grosgrain ribbon
Barrette
Hot glue gun
Glue sticks
Scissors
Card stock
Pencil
felt_four_leaf_clover_hairclip1

Things to do:
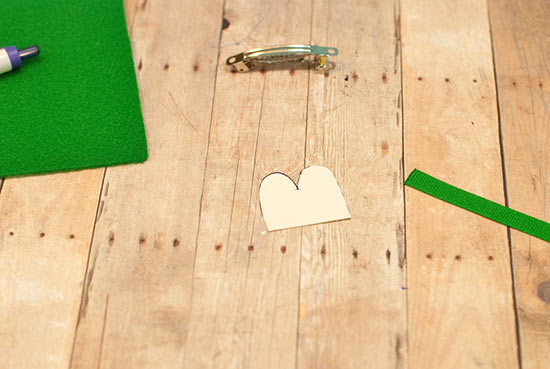
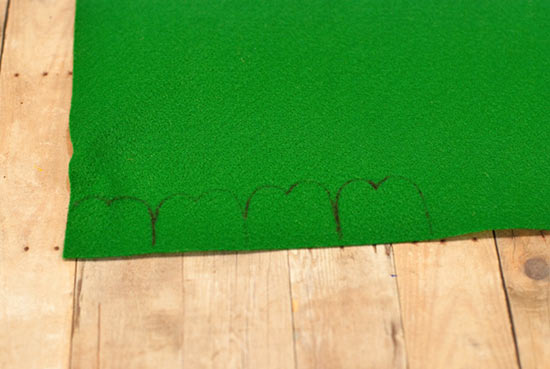
1. Draw a 2-3 inch wide piece of card stock into the shape of an M, as shown. Cut it out.
felt_four_leaf_clover_hairclip2
2. Trace this four times onto a piece of felt.
felt_four_leaf_clover_hairclip3
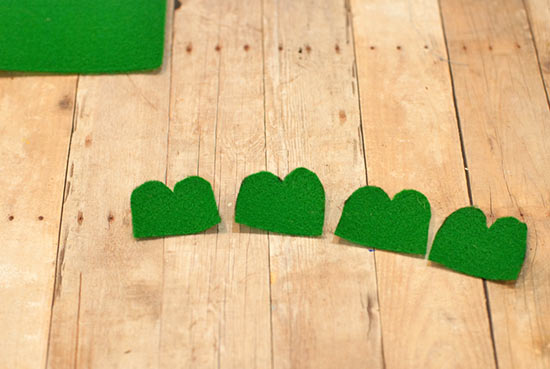
3. Cut out the four pieces of felt. Warm up your hot glue gun.
felt_four_leaf_clover_hairclip4a
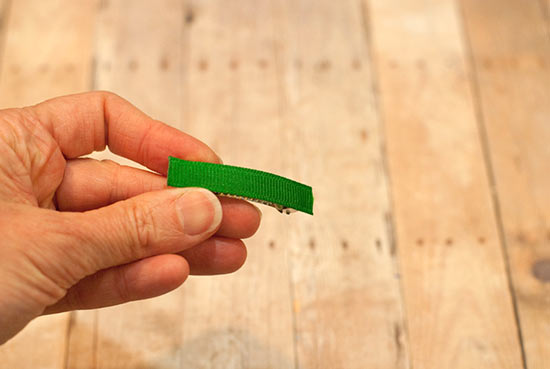
4. Glue a piece of ribbon to the barrette. If using a pin back, this step is unnecessary.
felt_four_leaf_clover_hairclip4
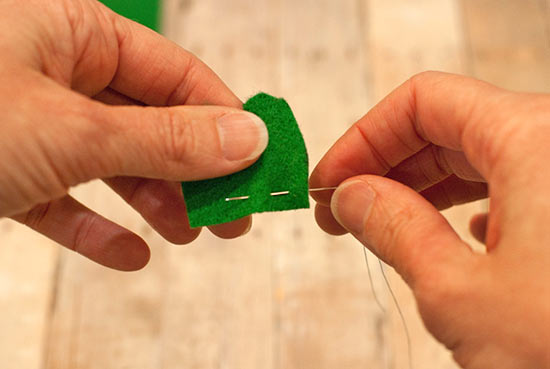
5. Thread your needle, knot the end, and use a running stitch along the bottom of the first shape.
felt_four_leaf_clover_hairclip6
6. Add the other three pieces onto the same piece of thread, not cutting it between.
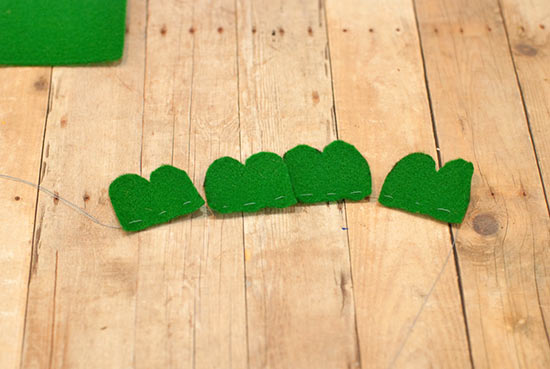
felt_four_leaf_clover_hairclip7
7. Pull the thread to gather the pieces of felt into a circle.
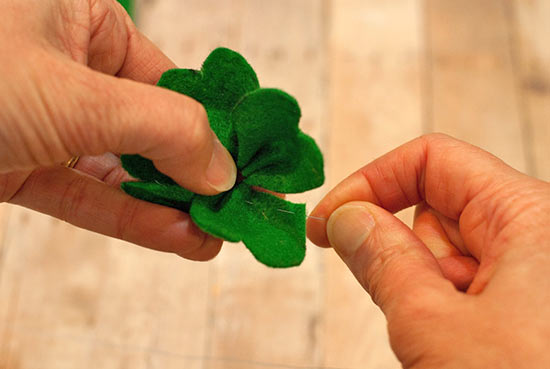
felt_four_leaf_clover_hairclip8
8. Sew the first piece to the last, resulting in a clover shape.
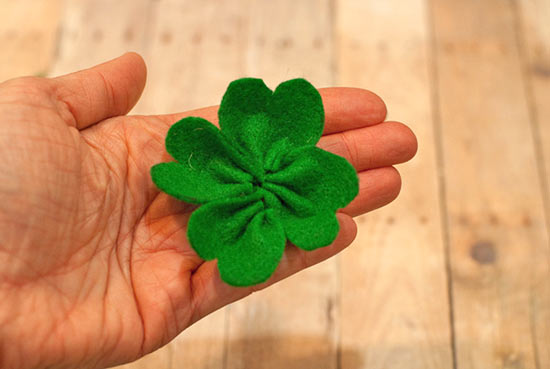
felt_four_leaf_clover_hairclip9
9. Glue the barrette to the back of your 4-leaf clover.
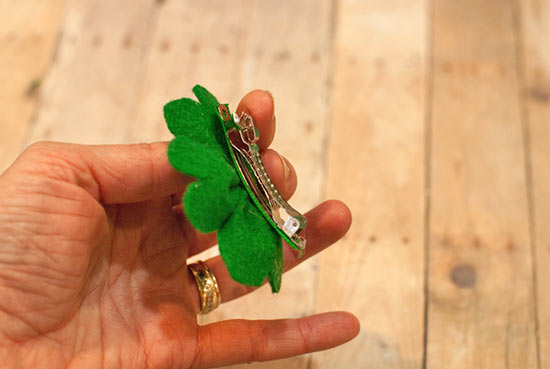
felt_four_leaf_clover_hairclip10

Continue Reading

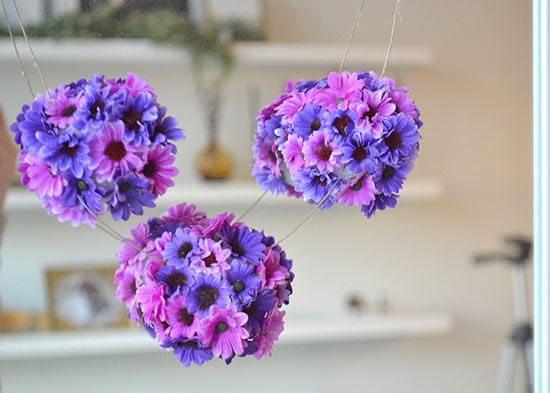
‘Spring has Sprung’ Floral Ball Garland Tutorial

Spring_Floral_Ball_Garland
This floral garland adds the perfect bright and airy touch to your home. Choose blooms that complement your color scheme and leave it up all season long.

Difficulty level: Beginner
Time to complete: 20 minutes
Age range: 12 and up

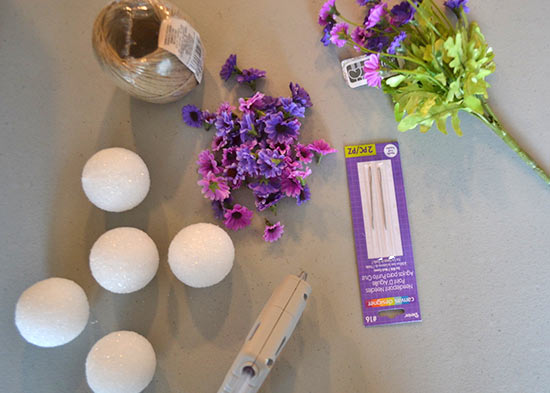
Things you’ll need:
Styrofoam balls
Hot glue gun
Hot glue sticks
Artificial flowers
Scissors
Jute
Embroidery needle

Things to do:
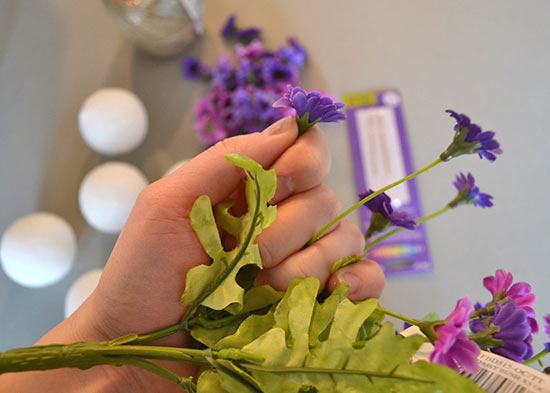
1. First, pull the blooms off of your artificial bouquet.
Spring_Floral_Ball_Garland2
Spring_Floral_Ball_Garland3
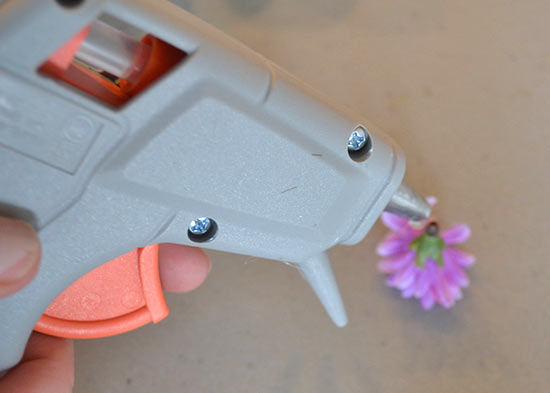
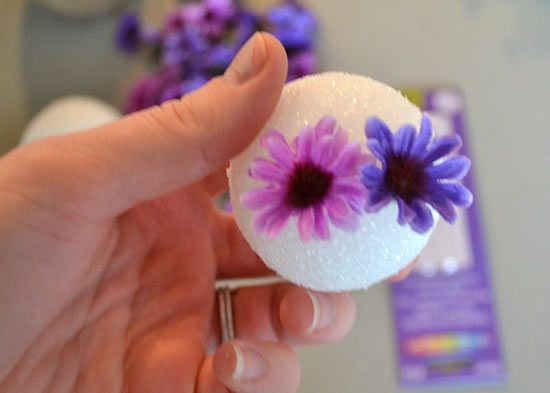
2. Use hot glue to secure them to the surface of your Styrofoam ball. Overlap the blooms so all of the blank space is covered – the fuller, the better!
Spring_Floral_Ball_Garland4
Spring_Floral_Ball_Garland5
3. Thread your embroidery needle with string and run it through the top portion of your Styrofoam ball.

Continue Reading
Change Your Country
Please select your country, this will change the site to your country's currency:

Cancel