Skip to search Skip to navigation menu Skip to main content Selecting option will reload page

Category: Seasonal Crafts

Retro Felt Ornament


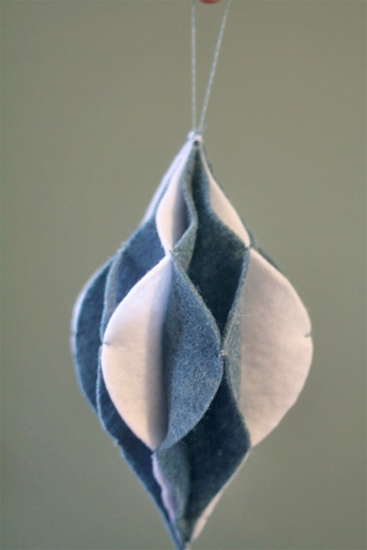
These cute felt ornaments have a fun retro look and are a great snuggly evening project to work on. If you have kids with moderately deft fingers, stitching the flaps together can be fun for them, try marking where you want them to stitch with chalk so that they get the pattern right.

Things you’ll need:
Felt
Template
Chalk
Scissors
Embroidery thread and needle

Things to do:
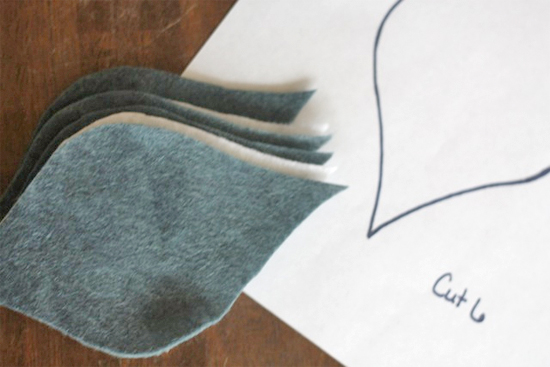
1. Trace and cut 6 shapes from your felt. Stack them up so the edges line up and stitch right down the center though all the layers. You can use the excess thread at the end to make a loop for hanging.
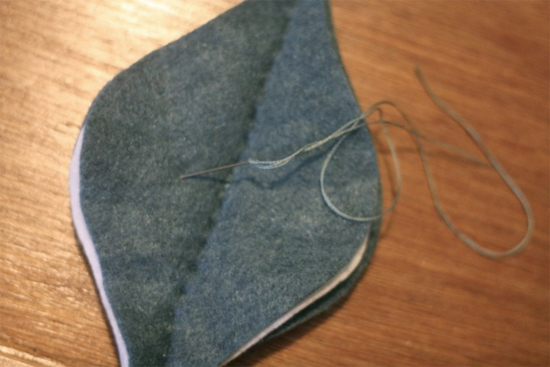
2. Pull together the flaps in pairs, stitching at the very center.

3. Using one side from two different pairs of flaps, stitch half way between the center and the end on each side. Continue to do this all the way around.
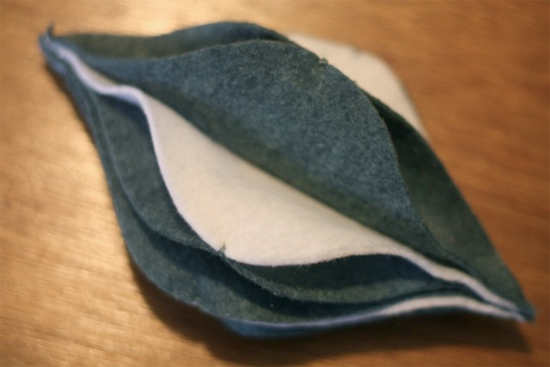
4. Trim all ends before hanging.
Continue Reading

Peppermint Candy Felt Strip Wreath


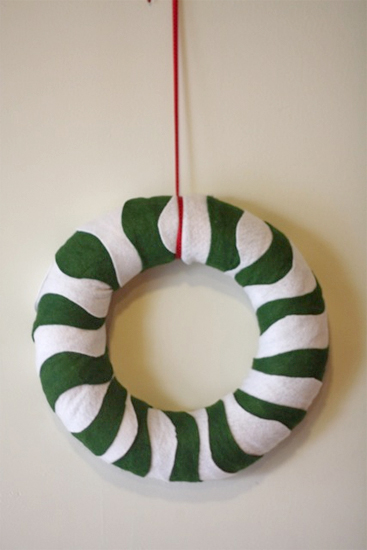
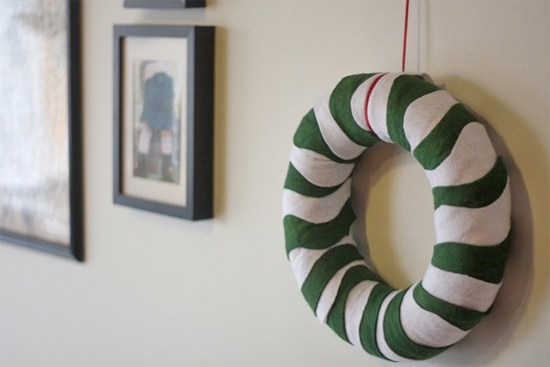
Reminiscent of peppermint candies and candy canes, this wobble strip wreath is a fun and easy project to add to your holiday to-do list. A little hint, the longer you make the strips, the less you’ll have to overlap to keep them down!

Things you’ll need:
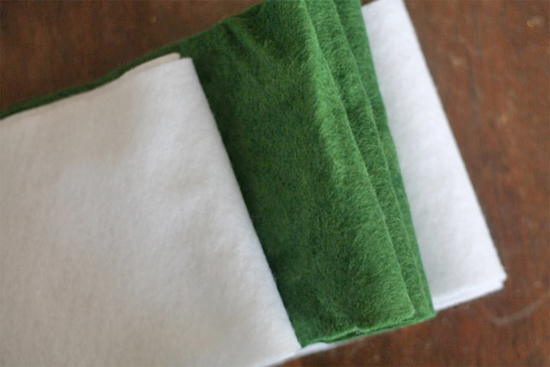
Green and white felt
Scissors
Styrofoam foam wreath
Fabric pins and/or glue

Things to do:
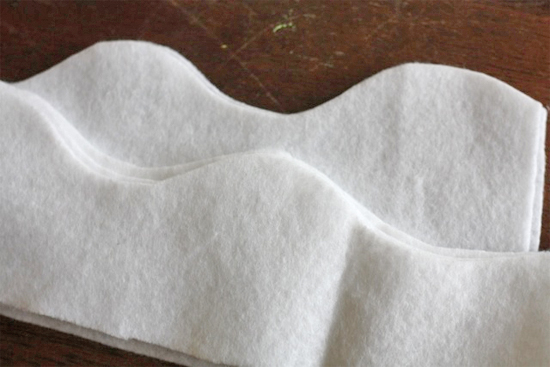
1. Cut wide, four-inch strips from the felt then cut down the center in a wobbly but consistent line to create two strips, one with a flat edge and one with a waved edge.


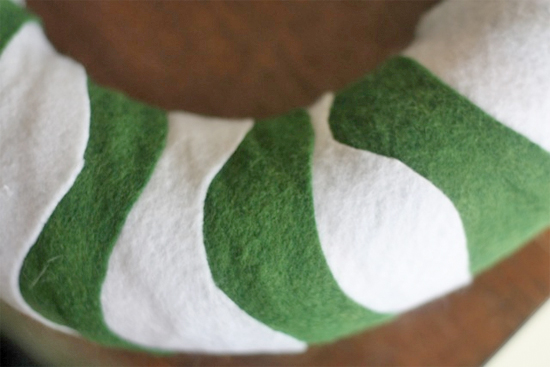
2. Layer the white and green in a slightly offset manner and set them at an angle to start wrapping so that you are wrapping both colors at once. Insert a pin or add a dab of glue to hold the ends on the backside when you start.

3. Continue to wrap, adding a new strip by tucking it under the end of the last one as you go, being sure to line up the edge of the wobbles as best you can.
4. Once you have wrapped the entire surface of the wreath, gently peel back the first row of felt and tuck the ends under so that you have a consistent look around the entire thing. Pin or glue in place

Continue Reading
Change Your Country
Please select your country, this will change the site to your country's currency:

Cancel