Skip to search Skip to navigation menu Skip to main content Selecting option will reload page

Category: Seasonal Crafts

Santa Cone Centerpieces


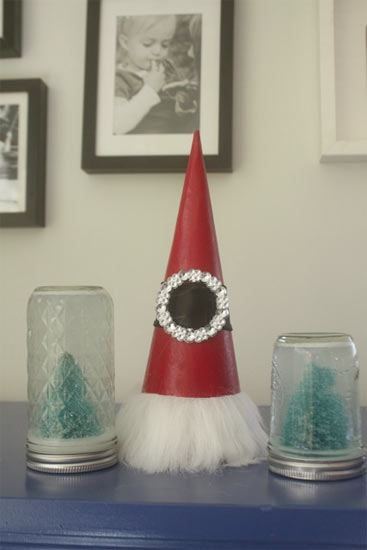
Bright red, a little glitzy and totally fun, these Santa inspired cones are a great addition to your holiday decor. The cone can be painted red using either craft paint or spray paint or, alternately, could be covered in red fabric.

Things you’ll need:
Paper cone
Red paint or fabric
Faux fur
Black ribbon
Rhinestone buckle
Craft glue
Clothespins or bull clips

Things to do:
1. Paint or cover the cone in red and allow it to dry before continuing.
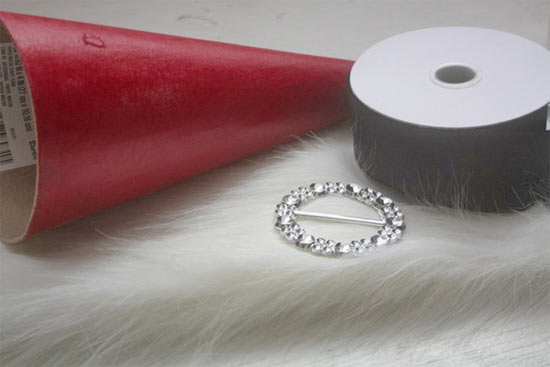
2. Cut a 1 inch wide strip across the grain of the fur.
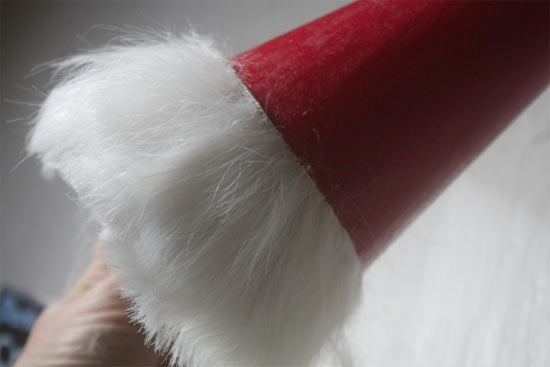
3. Coat the bottom inch of the cone in glue and stretch the fur around it so it lays tight around the cone. Hold the fur in place with clothespins or bull clips until the glue dries.
4. Wrap the black ribbon around the cone about half way up the cone, overlapping the ribbon slightly and cutting to length.
5. Slip the buckle over the ribbon and center it. Wrap the ribbon around the cone and glue into place, folding the end of the ribbon over at the end before gluing to keep it from fraying.
Continue Reading

Spool Snowman Ornament


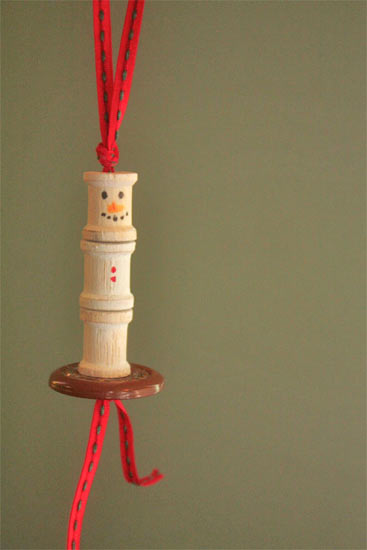
These wooden spool snowmen ornaments have an old-timey look that kinds and adults alike will love. Be sure to allow the paint to dry all the way before stringing the snowmen together so that they dangle well and don’t stick together.

Things you’ll need:
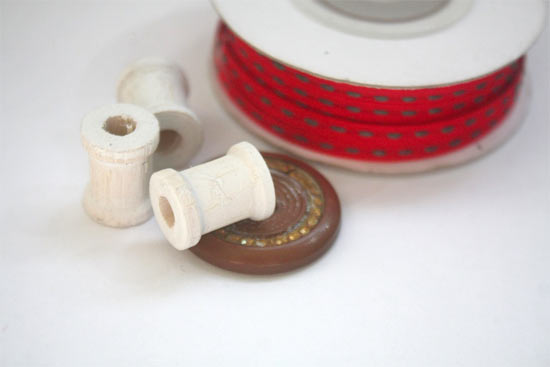
Wooden spools
Narrow ribbon
Large brown button
Permanent Markers in orange, black and red
Embroidery needle with a large eye
White acrylic paint
Paintbrush

Things to do:
1. On a covered work surface, paint the spools with two thin coats of white paint, allowing them to dry between coats and being sure to cover all sides of the spools.

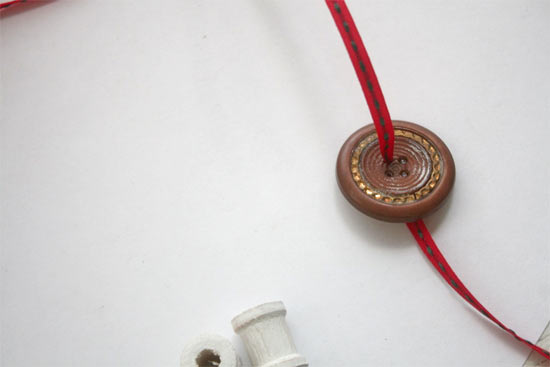
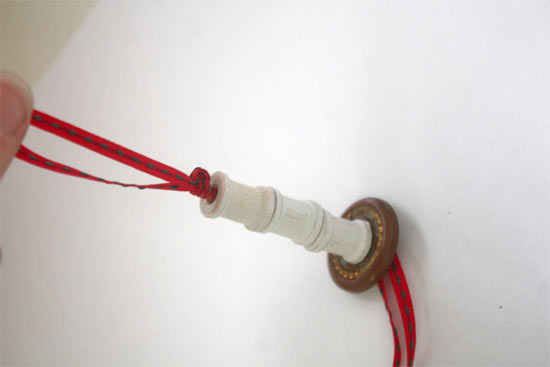
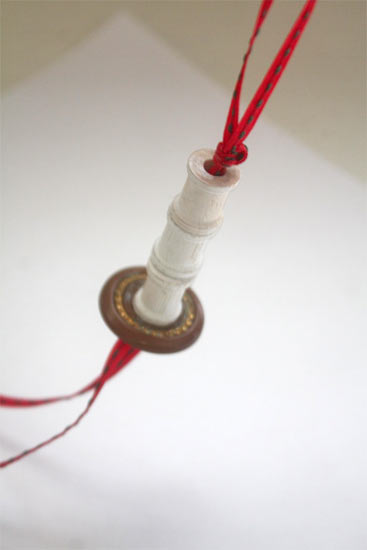
2. Thread the ribbon onto the needle and then thread through the bottom of the button and up through the spools. Pull out a loop of ribbon and knot at the top of the spools in a know large enough that it wont pull through the hole in the spool. Thread the ribbon back through the spools and back through a hole in the button.


3. Knot under the button and trim the ribbon tails.

Continue Reading
Change Your Country
Please select your country, this will change the site to your country's currency:

Cancel