Skip to search Skip to navigation menu Skip to main content Selecting option will reload page

Category: Seasonal Crafts

Mini Spool Ornament


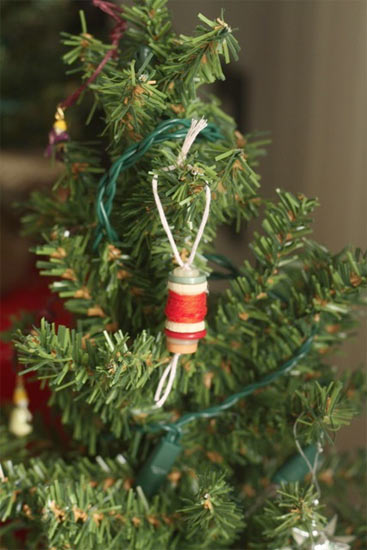
This is the perfect little ornament for the crafter on your list. For me, (although I’m a crafter myself if you hadn’t guessed) that’s my daughter, who has recently dived into sewing, gluing and painting with both feet. So this year I’ve made her a special little sewing themed ornament for her little bedroom tree. If you have a little (or big) crafter that needs something special for their tree, look no further.

Things you’ll need:
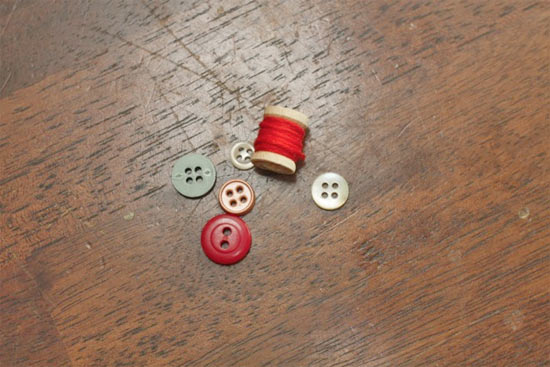
Wooden spool
Buttons
Embroidery thread
Embroidery needle

Things to do:
1. Wrap thread around the spool until it looks nice and full. Tie off or glue the end in place.
2. Thread the needle with about a 12-inch piece of embroidery thread.
3. Stack your buttons and spool and more buttons in the order you want them to hang.
4. Draw the needle and thread through the button you want on the top and then through the rest of the stack. When you get to the bottom, leave a generous loop and draw the thread back up in the opposite order.
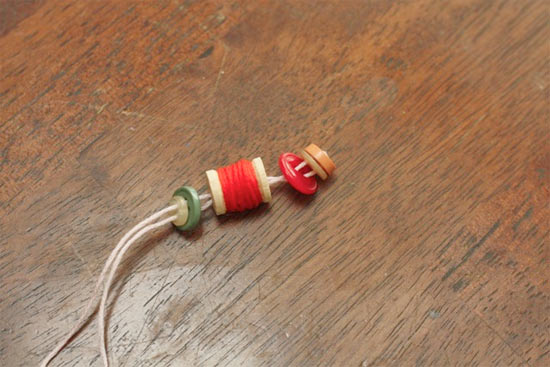
5. Tie a knot at the bottom and the top, creating a loop at the top for hanging and trim the bottom loop into tails for decoration.
Continue Reading

PomPom Bookmarks


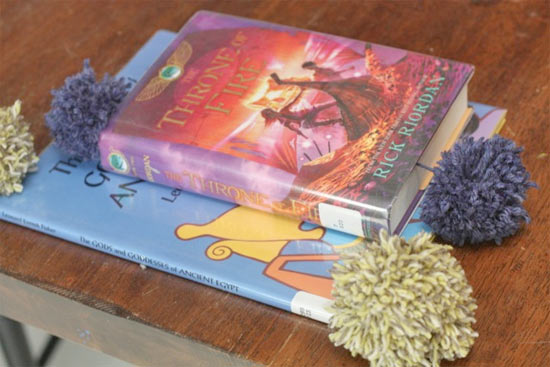
These bookmarks are a great way to use up the last of your yarn scraps or bakers twine and make a fun, simple and functional gift. And they are so easy that your kids can help you (or take over!) If the long piece accidentally gets cut while trimming your pompoms hair, don’t worry, simply thread a length of yarn onto a darning needle and draw it through each pompom a few ties, tying it tightly on the other side and trimming the tail to length.

Things you’ll need:
Yarn or bakers twine
Scissors

Things to do:
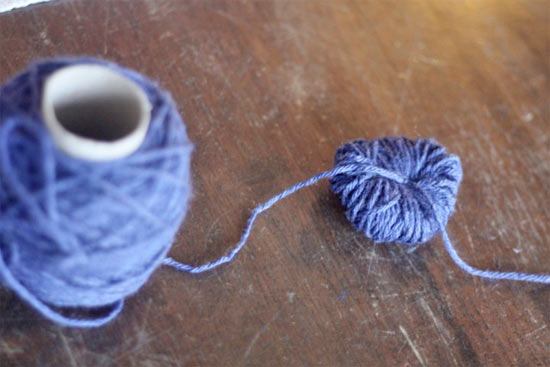
1. Wrap the yarn around your fingers, the more fingers you use, the larger the pompom will be, here we used four fingers and wrapped each pompom about 100 times around.

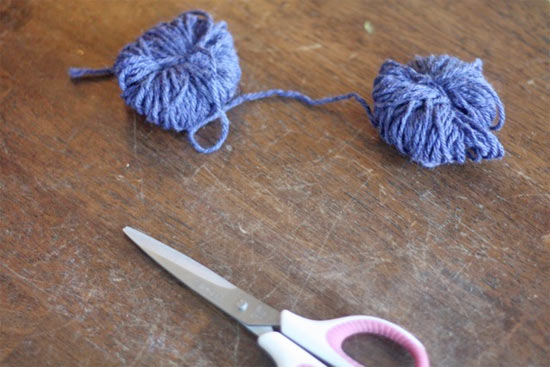
2. When you have a good bulk on your wrapping stop but do not cut the string. Using the tail and the string still connected to the ball, tie tightly around the middle of the wad, slipping it off your fingers as you work. Be sure to get it nice and tight.

3. Measure out a length on the attached string that is about as long as you want the bookmark and then add a little bit and start wrapping again, trying to get the same bulk as the first one.
4. Tie off as you did with the first pompom and then cut through the loops (but not the connecting string!).
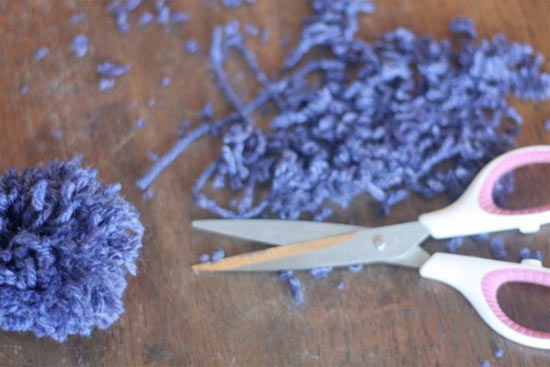
5. Lightly roll the pompoms in your hand to round them then trim away any excess to create a nice ball shape. Slip the connecting string between the pages of your favorite book and you are set!

Continue Reading
Change Your Country
Please select your country, this will change the site to your country's currency:

Cancel