Skip to search Skip to navigation menu Skip to main content Selecting option will reload page

Category: Kid's Arts and Crafts

Children’s Art Handmade Soap

Childrens_-Art_Handmade_Soap
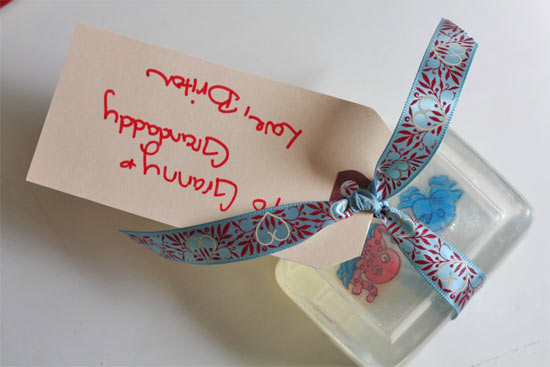
Every Year my kids bring home piles of art, and I struggle with what to do with it other than hang it on the fridge or slip it into their memory box. This year, I’m putting their art to good use as Christmas Gifts for the Grandparents with these little art handmade soap bars. If you’ve never made soap before, this is a great way to try your hand at it as Glycerin soaps are among the easiest to make. And just think how happy the grandparents will be to get something handmade by you and the kids!

Things you need:
Children’s Artwork
Transparency Paper
Scissors
Rubbing Alcohol in a spray bottle
Soap or candy molds
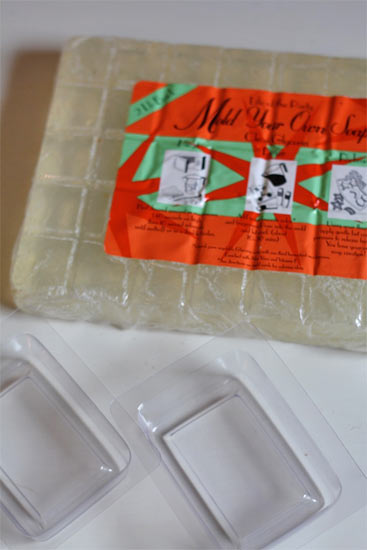
Glycerin soap base
Double boiler

Things to do:
1. Photocopy your artwork onto the transparency paper, sizing it down so that it will fit into your molds easily.
2. Cut around the edges of the artwork, trimming to a neat edge.
3. Melt the glycerin soap base in your double boiler over medium heat. You can add a few drops of essential oil here if you want scented soap.
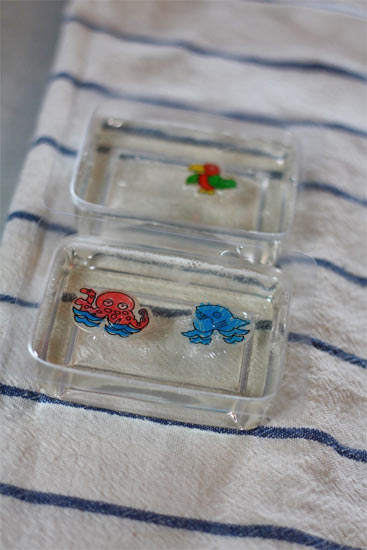
4. Lightly spray the molds with the rubbing alcohol and fill halfway with the melted soap. Let the soap set up for 30 seconds before centering the artwork in the mold. Spray lightly again with alcohol and carefully fill the molds the rest of the way.
Childrens_-Art_Handmade_Soap2
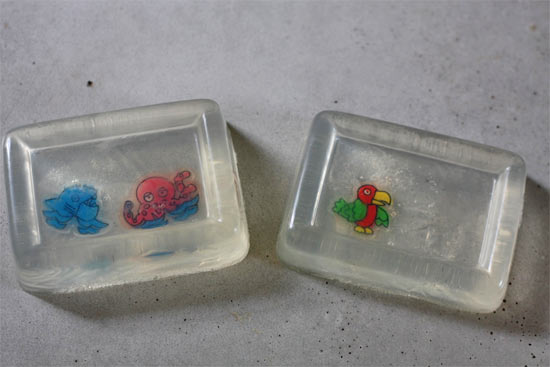
5. Allow the soap to harden completely before removing from the molds. The artwork should appear suspended in soap, perfect for the guest bath at the grandparent’s house. (Hint! This also makes a great teacher’s gift!)
Childrens_-Art_Handmade_Soap3
Childrens_-Art_Handmade_Soap4

Continue Reading

Wood Bead Elf Ornaments

Wood_Bead_Elf_Ornaments
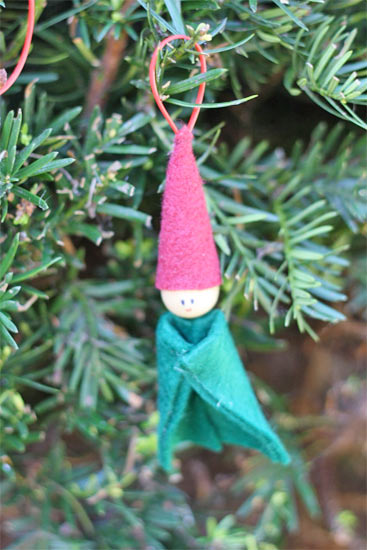
These little elves make cute, kid-made ornaments and gift decorations for the holidays and are also a fun little rainy (or snowy) day project. If you have other beads laying around and dont have 3/4″ beads, adjust the size of the hat and robe accordingly. Try adding a square of paper between the elf’s hands” to turn them into gift tags!

Things you need:
3/4″ wood beads
Red felt
Green felt
Scissors
Pipe cleaners
Craft glue
Black fine tipped permanent marker
Red fine tipped permanent marker
Thin ribbon

Things to do:
1. Cut the ribbon into 5″ lengths and insert both ends into one hole on each bead. Glue in place and allow to dry.
2. Form a small cone with a bottom diameter just larger than the bead with the red fabric. Once you have trimmed and sized in, wrap it around the bead so the ribbon sticks out of the top of the hat. Glue along the seam and around the head” of the elf.
3. Fold the pipe cleaner in half and glue the two ends into the remaining hole in each bead. Once dry, shape to form to arms and a triangular body.
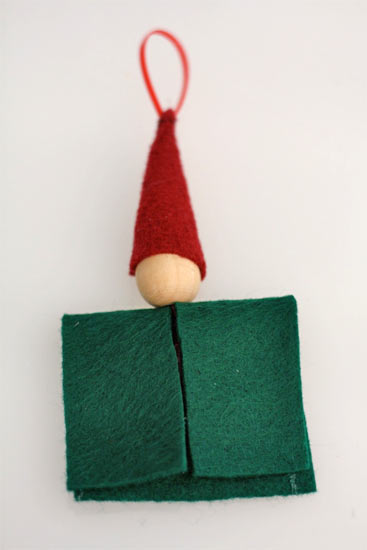
4. Cut a rectangle from the green fabric that is twice as long as the elf’s body and as wide as the arm span. Starting at one of the narrow ends, slit the rectangle half way up.
Wood_Bead_Elf_Ornaments2
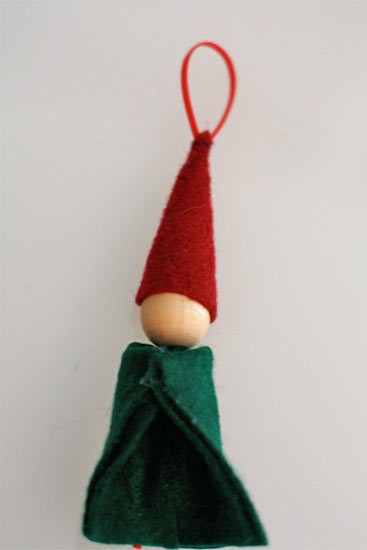
5. Slide the neck” of the elf into the slit so that the solid piece is at the back and the slit is toward the front. Fold the ends down and glue along the edges to form sleeves. Bend the arms in to meet. Adding a few drops of glue to hold them in place if necessary.
Wood_Bead_Elf_Ornaments3
Wood_Bead_Elf_Ornaments4
6. Using your markers, draw eyes and a smile onto the face of each elf.

Continue Reading
Change Your Country
Please select your country, this will change the site to your country's currency:

Cancel