Skip to search Skip to navigation menu Skip to main content Selecting option will reload page

Category: Kid's Arts and Crafts

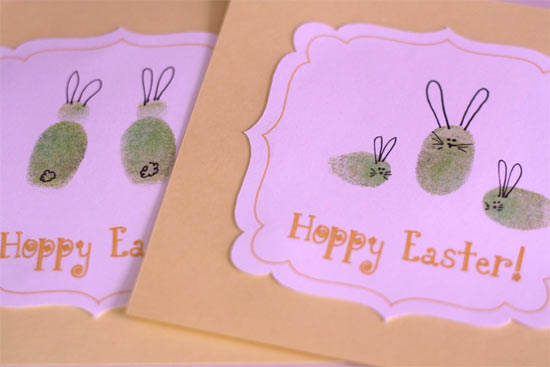
Thumb Print Bunny Cards

Thumb_Print_Bunny_Cards
Easter is right around the corner and if you have little ones, you probably also have grandparent’s who love to get reminders of their sweet grandkids. These thumbprint bunny cards are sure to fit the bill and might just become a keepsake of the little fingers that made them.

Things you’ll need:
Cardstock, white and a pastel color of your choice
Die cutter or stencil for a tag (in two sizes if possible)
Gel pens
Stamp pad
Glue

Things to do:
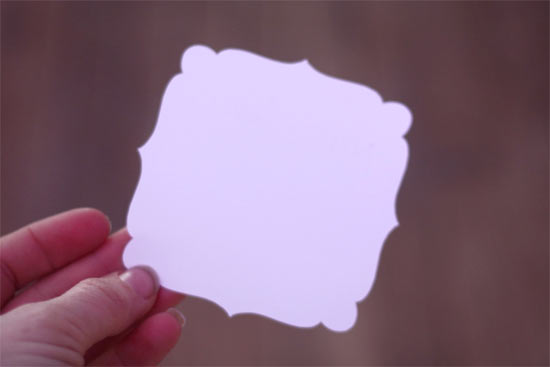
1. Using the die cutter or stencil, cut out a few shapes from the white card stock. Cut squares or rectangles about half again as large as the tags out of the colored card stock.
Thumb_Print_Bunny_Cards2
2. Help your child stamp their thumbs or fingers onto each card.
3. Add a tail, ears and eyes to turn each thumbprint into a bunny.
4. Use the smaller stencil to add some detail to the card, this can also be done by hand. Add a message to the bottom of the card.
5. Glue the tag onto the colored square cards and allow to dry before noting the date and age of your child on the back of the card and adding a personal message to the recipient.
Continue Reading

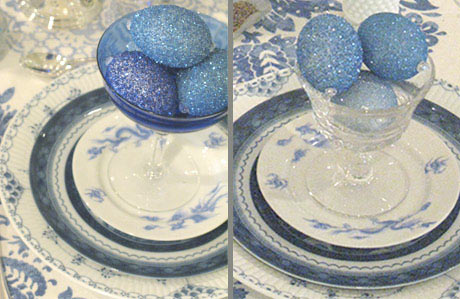
A Sparkle Egg Holiday Centerpiece

glitter_styrofoam_eggs
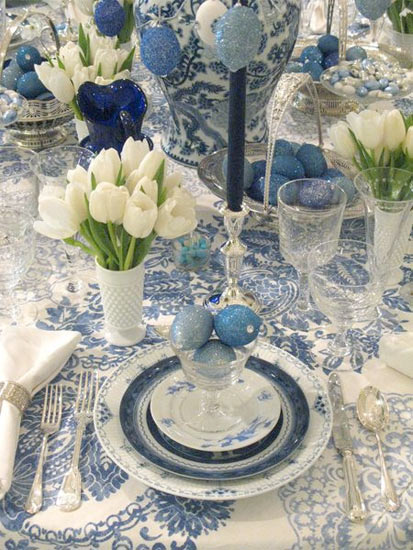
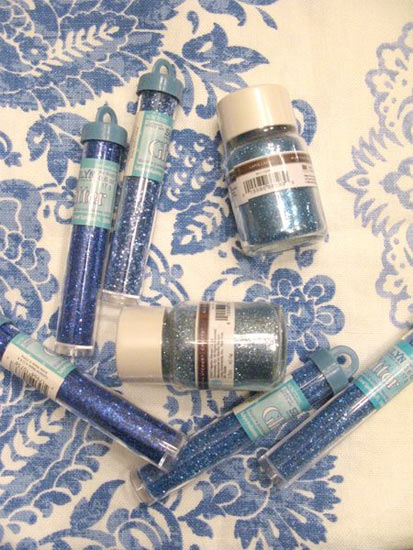
Working with glitter is not just the realm of school children. Glitter is a versatile material that comes in every imaginable color and can be used for all sorts of adult projects as well. These sophisticated centerpieces could be made using pastel colors for spring, red, silver and blue for the Fourth of July, or bright jewel-tones and metallics for winter. Any combination would make lovely centerpieces for holiday tables.

Things you need:
Glitter
Craft glue
One small bowl for each color of glitter, plus one bowl for the craft glue
Spoon
Small paintbrush
Waxed paper
Variously sized Styrofoam eggs
Clear glass bowl or urn large enough to hold all the eggs

Things to do:
1. Pour craft glue into a bowl and use a small paintbrush to cover the surface of the egg.
glitter_styrofoam_eggs2
2. Place the egg into a bowl of glitter, spooning glitter over the egg until the whole thing is covered.
3. Remove the egg from the bowl and place on the waxed paper until completely dry (at least an hour).
4. Repeat for each egg, alternating colors. When all of the eggs are covered and dried, arrange in the glass container to display.
glitter_styrofoam_eggs3

Continue Reading
Change Your Country
Please select your country, this will change the site to your country's currency:

Cancel