Skip to search Skip to navigation menu Skip to main content Selecting option will reload page

Category: General Crafts

Reverse Star Nail Art Step-by-Step Tutorial

Difficulty level: Intermediate
Time required: 1 hour
Age range: 12 and up

Things you’ll need:
Acrylic paint in Bimini Blue
Foam paint brush
Hammer
Pencil
Ruler
Square wood plaque
Template (printed from any fair-use online site or punched using cardstock and a craft punch)
Yarn
Scissors
White distressed nails

Things to do:

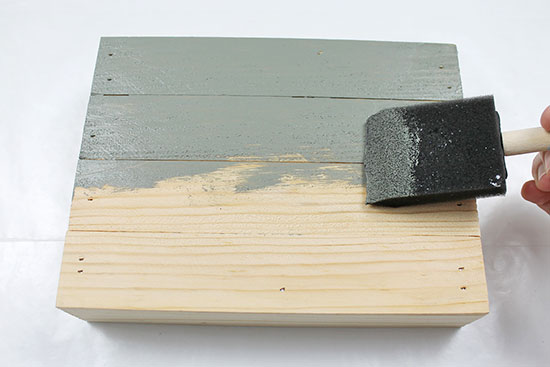
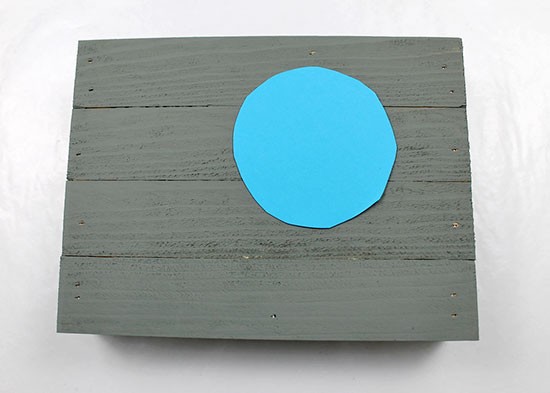
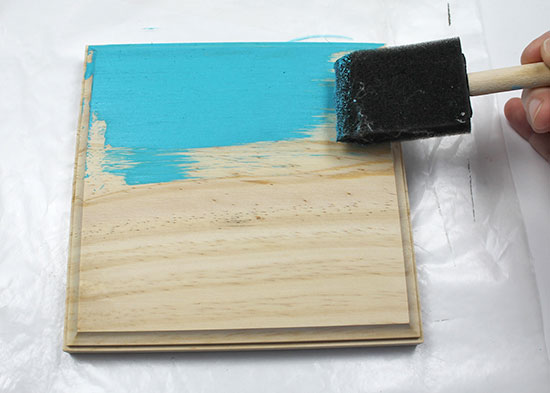
  1. Apply two coats of acrylic paint to the wood plaque, allowing the paint to dry between coats.
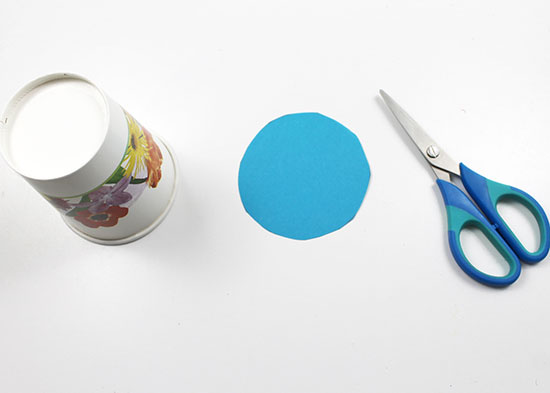
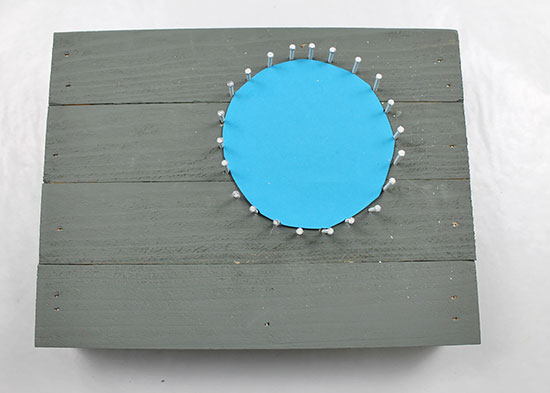
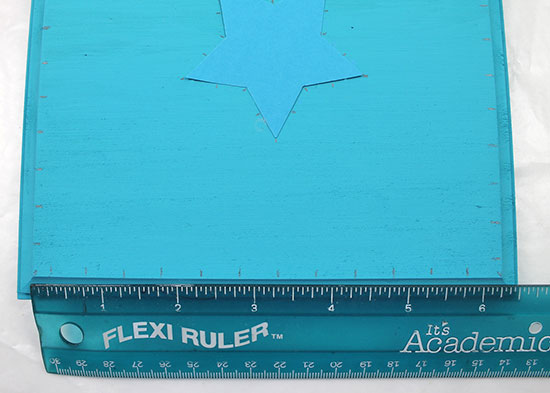
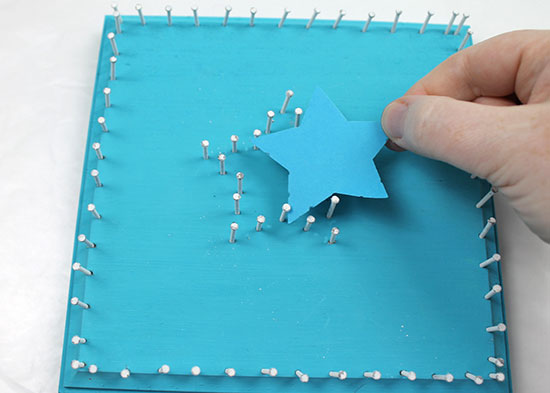
  2. Decide on a template for the center. It can be any shape. We used cardstock and a craft punch to create a star template, but you can also find a fair-rights template online, print it, and cut it out.
  3. Place the template in the center of the plaque. If you’d like, you can add double-sided tape to hold the template in place.
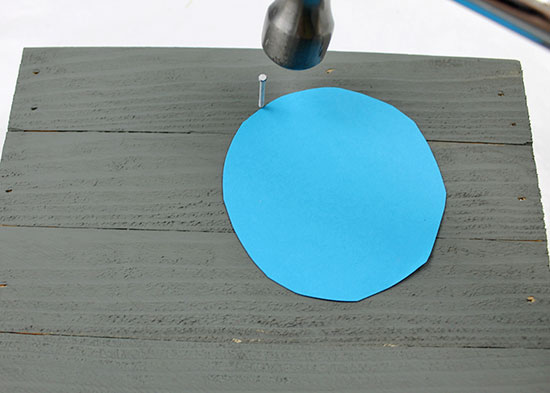
  4. Begin marking nail marks at each point of the star.
  5. Using a ruler, make one pencil marking in the center of each segment.
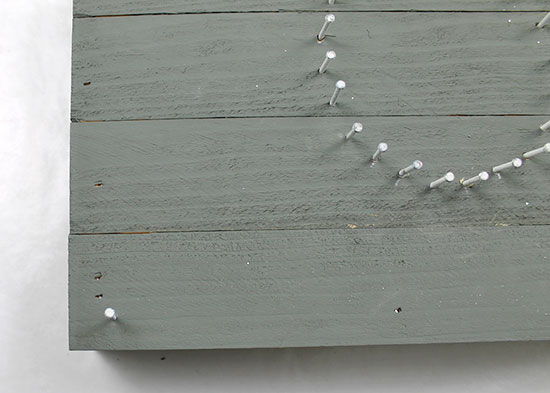
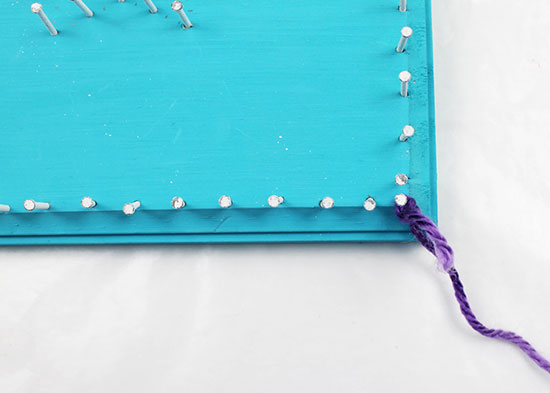
  6. Mark 1/2 ” increments along all four edges of the plaque.
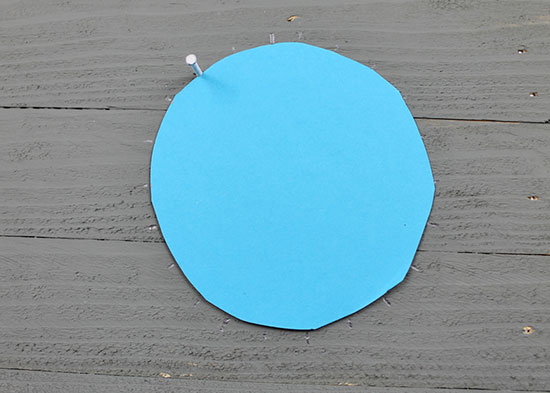
  7. Hammer a nail on each marking around the star.
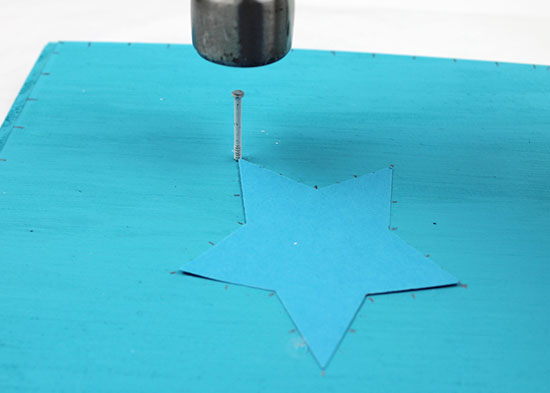
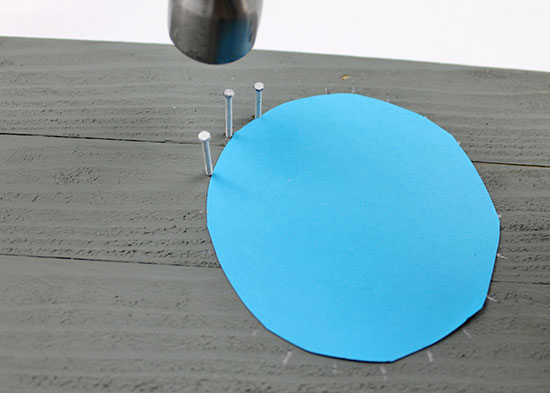
  8. Continue around until you have nailed around the entire star.
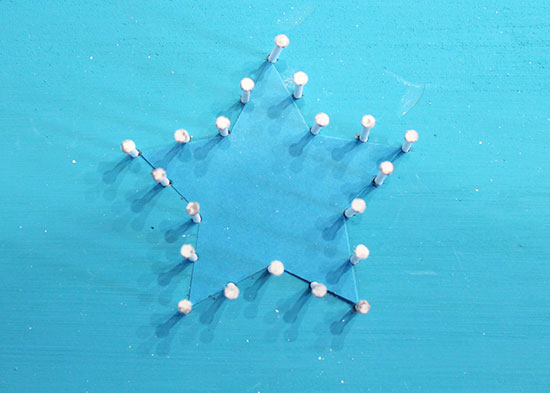
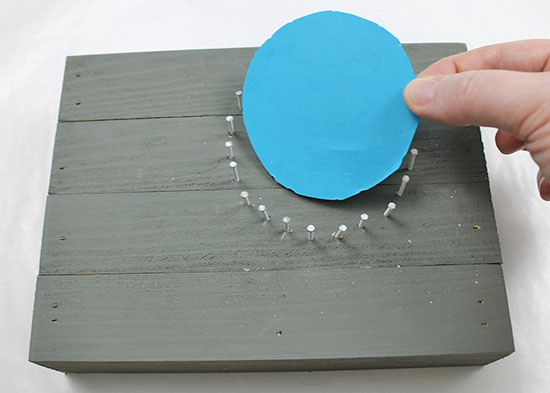
  9. Hammer a nail on each marking around the outside edges of the plaque, then remove the template from inside the star.
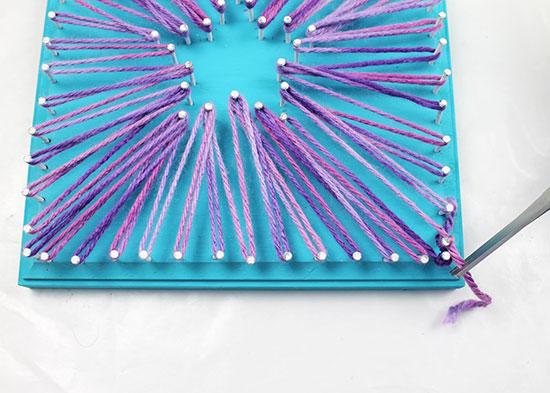
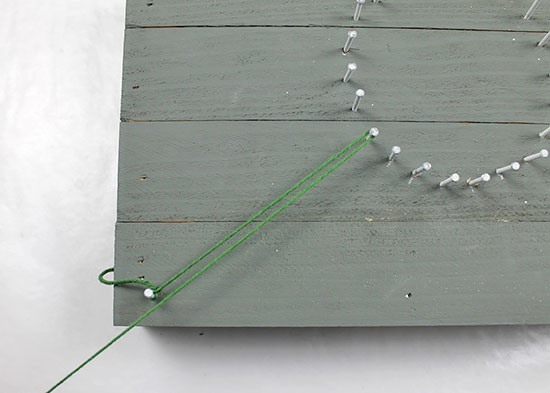
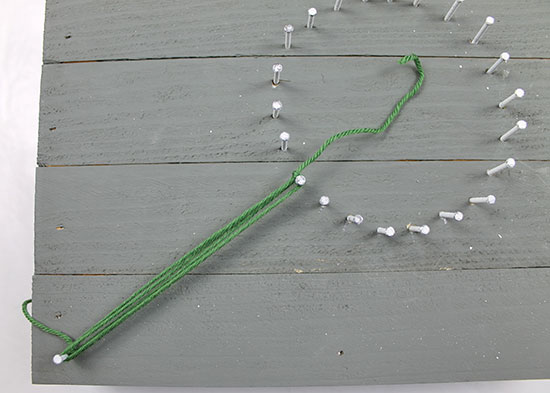
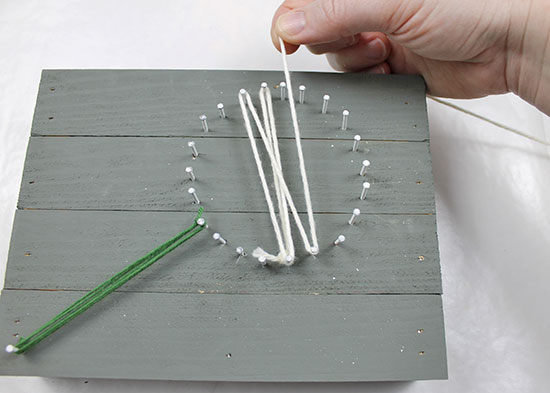
  10. Tie the yarn around any outer corner of the plaque using a double knot.
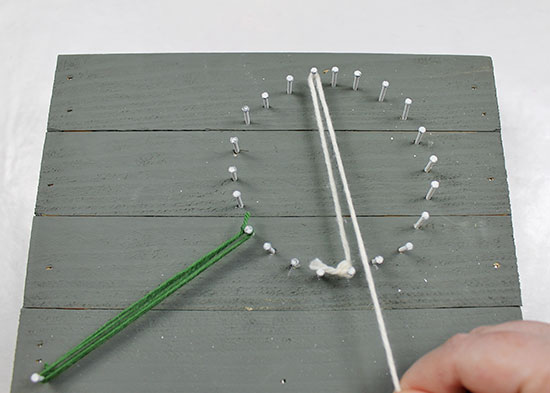
  11. Begin stringing the yarn back and forth from the outside to the inside nails, wrapping the yarn around the nail to secure it.
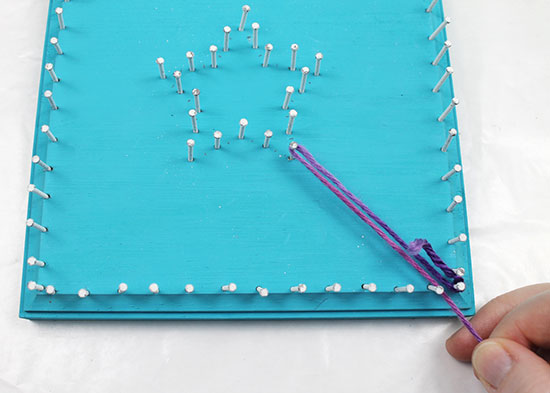
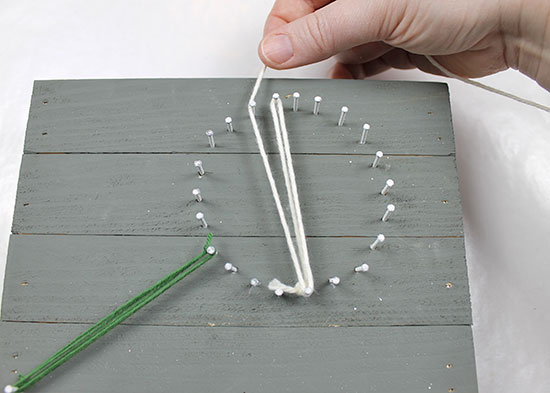
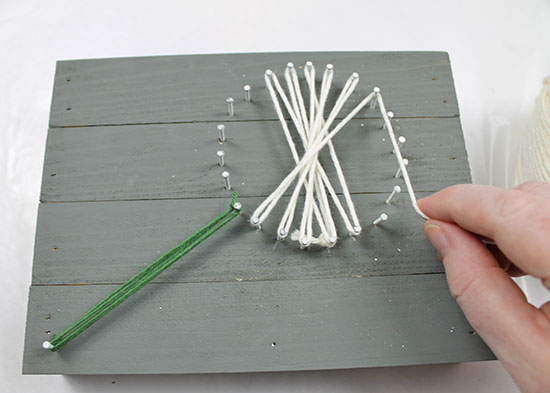
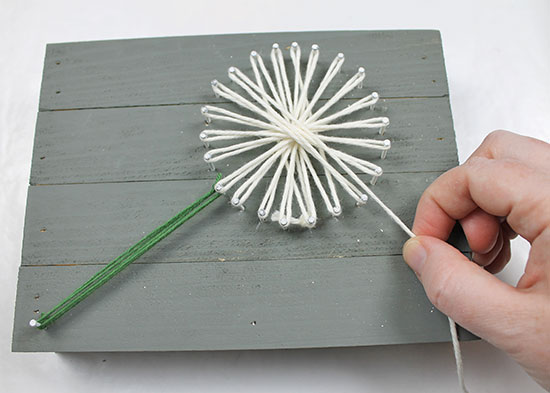
  12. Continue to work your way around the star. For some nails, you may need to wrap around the nail more than once to keep the wraps even. Just be sure to wrap within one section at a time, always making sure the outside and inside nails line up as best as you can.
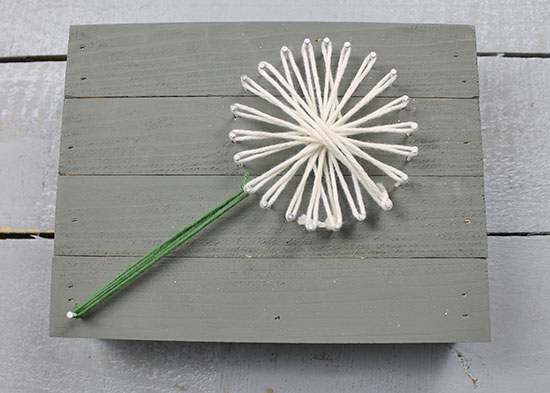
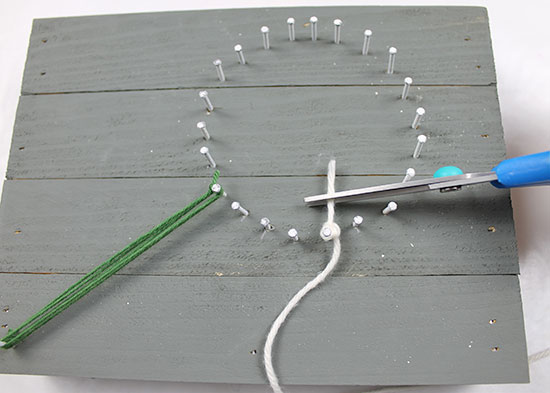
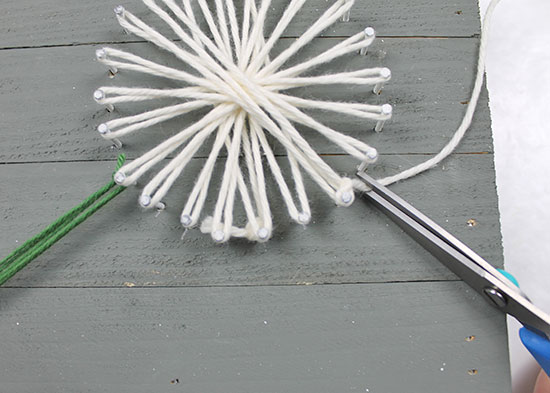
  13. When you’ve wrapped the entire star, knot the yarn around the final nail. Trim.
Continue Reading

Flower String Art Step-by-Step Tutorial

Difficulty level: Intermediate
Time required: 1 hour, including time for paint to dry
Age range: 12 and up

Things you’ll need:
Wood pallet canvas
Pewter gray acrylic paint
Foam brush
Pencil
Hammer
Ruler
Scrap green yarn or embroidery thread
White cotton yarn
White distressed nails
Scissors
Cardstock

Things to do:

  1. Paint two coats of acrylic paint onto the wood pallet. Allow the paint to dry.
  2. Trace a circle template onto cardstock using a template. Note that this is the size your flower will be, so choose a size based on that. (We used the top of a paper cup.) Cut out the template.
  3. Place the circle on the pallet where you want the flower. If you’d like, you can tape the cardstock to the wood so it won’t move around.
  4. Place a nail at the edge of the circle in any spot and hammer it in. Ideally the nail will go as far as possible into the wood without popping out on the other side.
  5. Using a pencil and ruler, mark 1/2 ” increments around the entire circle, working out from the first nail.
  6. Add nails around the circle one at a time, nailing them into the marks you made.
  7. Continue hammering until you have a nail on each pencil marking.
  8. Remove the template from inside the circle. If you can’t get the template to lift easily, you can use the pencil to pull it up.
  9. Add one final nail in the corner of the wood for the stem of the flower.
  10. Using a scrap piece of green embroidery floss or yarn, Tie a knot around the corner nail. Wrap the floss up and around the flower nail that’s diagonal to the corner nail.
  11. Wrap the green floss around the two nails a few more times, then knot and trim the floss close to the knot.
  12. Tie a knot of cotton yarn around one of the flower nails. It doesn’t matter where you start. Trim the yarn close to the knot and tuck it towards the middle of the flower to hide it.
  13. Wrap the yarn around the nail that’s directly across from the first nail.
  14. Wrap the yarn around the first nail again, then wrap the yarn up and around the nail just to the left of the top nail you wrapped in step 13.
  15. Wrap the yarn around the nail to the right of the knotted nail. Notice that you’re wrapping the nail that’s straight across from the nail you just wrapped.
  16. Continue wrapping the flower, moving to the right and left of the previously wrapped nails and always wrapping the nail straight across from the previously wrapped nail.
  17. Wrap until each nail has a piece of yarn wrapped around it.
  18. Knot the cotton yarn around the last nail you wrapped. Trim it close to the knot, then push the yarn toward the center of the flower.

Continue Reading
Change Your Country
Please select your country, this will change the site to your country's currency:

Cancel