Skip to search Skip to navigation menu Skip to main content Selecting option will reload page

Category: General Crafts

5-Minute Homemade Holiday Stamps Tutorial

Do you want to add a personal touch to your gift wrapping this holiday season? Today, we’re going to show you how to make homemade stamps that you can use to create custom gift tags! This is a super fun way to add a handmade touch to the holidays.

Difficulty level: Beginner
Time to complete: 15 minutes
Age range: 12 and Up
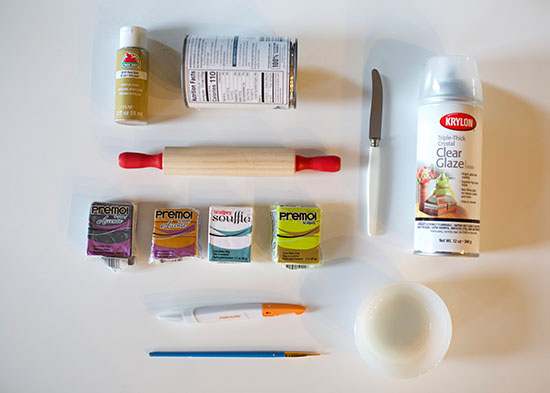
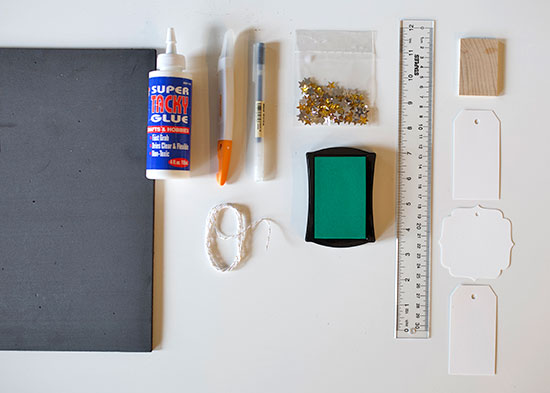
Things you’ll need:
Ink Pad
Thick Foam Sheets
Gold Stars
Gift Tags
Knife and mat set
Wood bases
Craft Glue

Things to do:

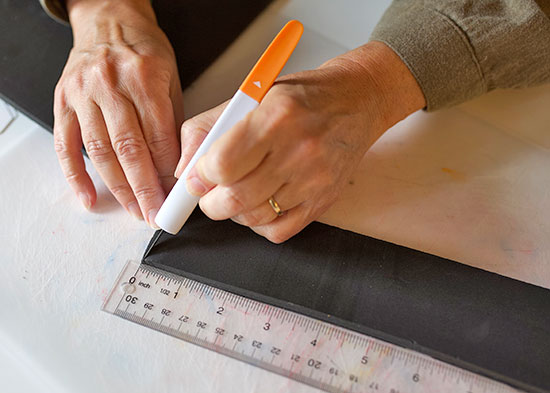
  1. Cut a 1″ x 2 1/4 ” strip of foam.
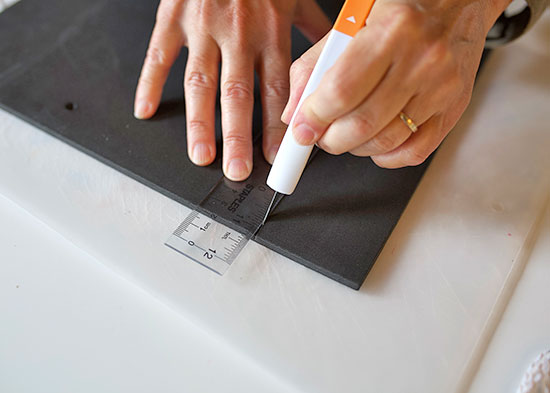
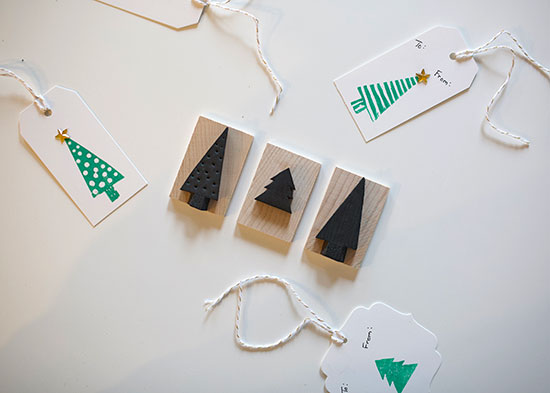
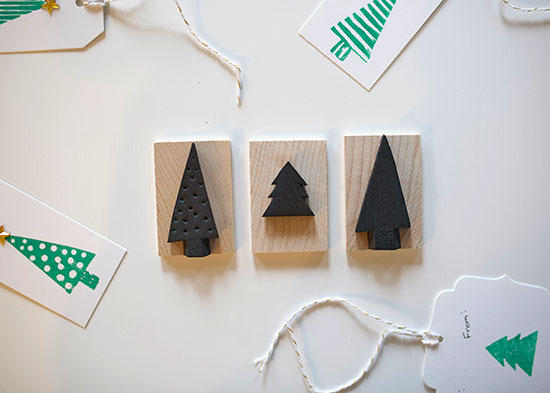
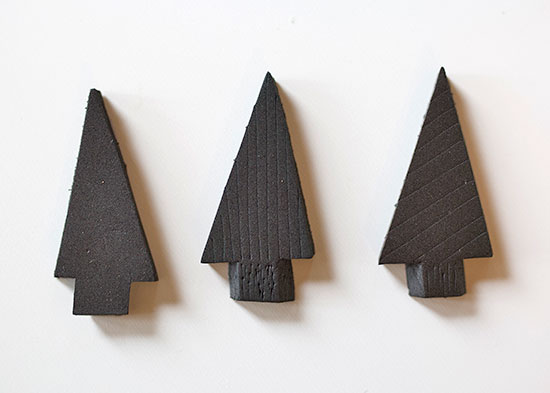
  2. Use your knife to cut a tree out of the foam rectangle. You can add a trunk and different markings by carving out the foam.

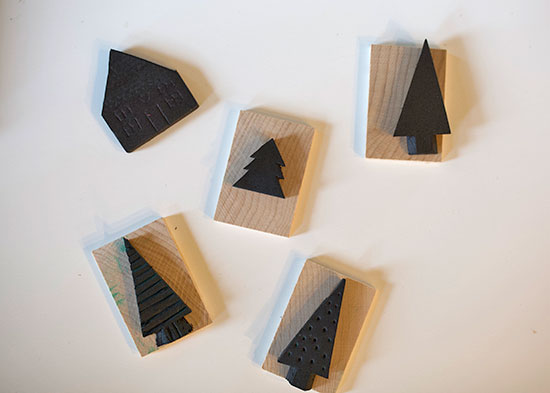
  3. Use craft glue to secure the foam tree to a piece of wood.
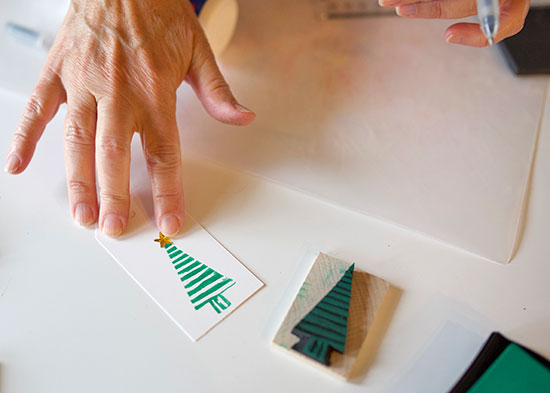
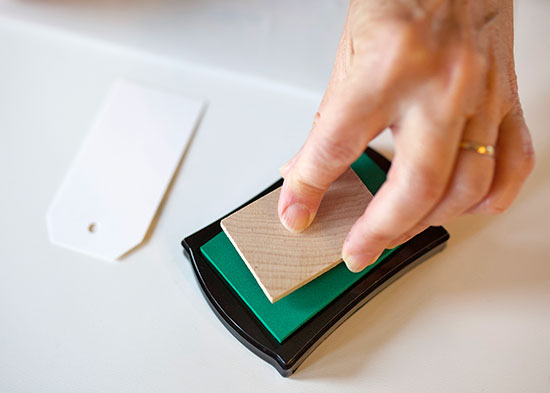
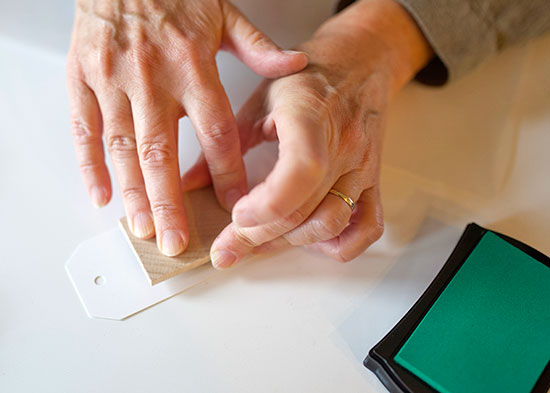
  4. When the glue is dry, you can use your stamp! One of our favorite ways to use homemade stamps is to make gift tags. Press the stamp firmly onto the ink pad stamp it onto the center of a gift tag.
  5. Finish the gift tag by gluing a star to the top of the tree for a 3D effect.
Continue Reading

DIY Marbled Clay Ring Dish Tutorial

Stay organized in style with this marbled clay ring dish! This piece looks lovely in an entryway, serving as a catchall or on your nightstand to store rings and jewelry.

Difficulty level: Beginner
Time to complete: 1 hour
Range range: 12 and up

Things you’ll need:
Oven Bake Clay (wasabi, igloo, gold, and grey)
Gold Paint
Small Paint Brush
Knife
Rolling Pin
Small Bowl
Can
Triple Thick Glaze Spray

Things to do:

  1. Roll several different colors of clay into long pieces.
  2. Roll two thicker pieces of white clay.
  3. Place all of the rolls together and twist them like a candy cane. Fold them in half and twist again. Repeat several times, until the clay colors are marbled.
  4. Squeeze the clay into a ball and work it with your fingers until you’re happy with the amount of color showing.
  5. Use a rolling pin to flatten the ball of clay. Roll it into a circle that’s about 1/4 ” thick.
  6. Press your bowl onto the clay circle, creating a perfect pattern.
  7. Cut the clay around the edge of the bowl with a knife.
  8. Gently place the clay circle into an oven-safe bowl. The edges of the clay should lift up, creating the dish shape.
  9. Bake for 30-40 minutes at 275 degrees. Put an aluminum pan cover over it to keep the element in your oven from scorching it.
  10. Remove the dish from the oven and let it completely cool and harden before tipping the bowl upside down, revealing your ring dish.
  11. Use a small brush to paint a gold rim around the edge of the dish.
  12. Seal the dish by spraying it with a triple thick glaze spray.
Continue Reading
Change Your Country
Please select your country, this will change the site to your country's currency:

Cancel