Difficulty level: Intermediate
Time required: 1 hour
Age range: 12 and up
Things you’ll need:
Acrylic paint in Bimini Blue
Foam paint brush
Hammer
Pencil
Ruler
Square wood plaque
Template (printed from any fair-use online site or punched using cardstock and a craft punch)
Yarn
Scissors
White distressed nails
Things to do:
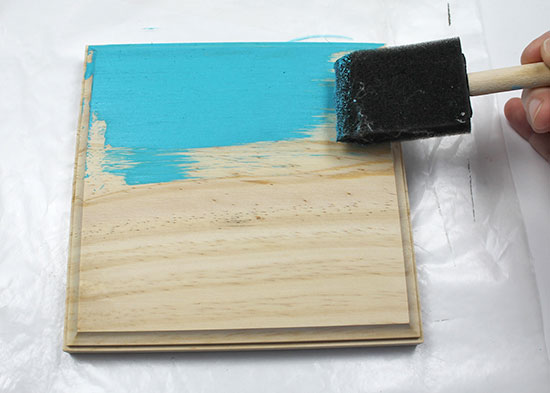
- Apply two coats of acrylic paint to the wood plaque, allowing the paint to dry between coats.
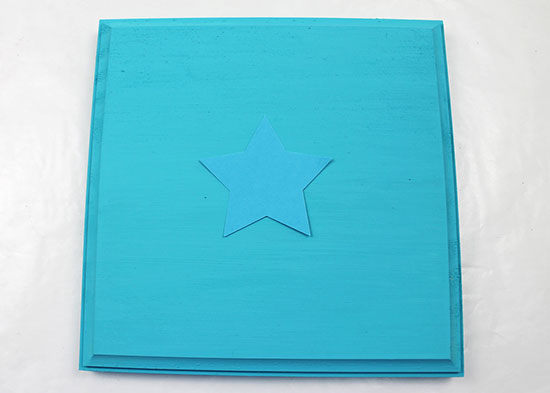
- Decide on a template for the center. It can be any shape. We used cardstock and a craft punch to create a star template, but you can also find a fair-rights template online, print it, and cut it out.

- Place the template in the center of the plaque. If you’d like, you can add double-sided tape to hold the template in place.
- Begin marking nail marks at each point of the star.

- Using a ruler, make one pencil marking in the center of each segment.

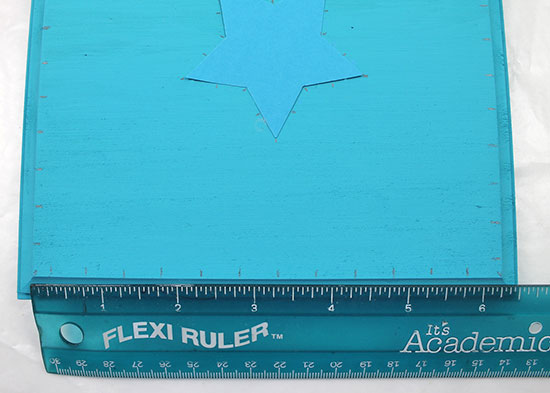
- Mark 1/2 ” increments along all four edges of the plaque.
- Hammer a nail on each marking around the star.
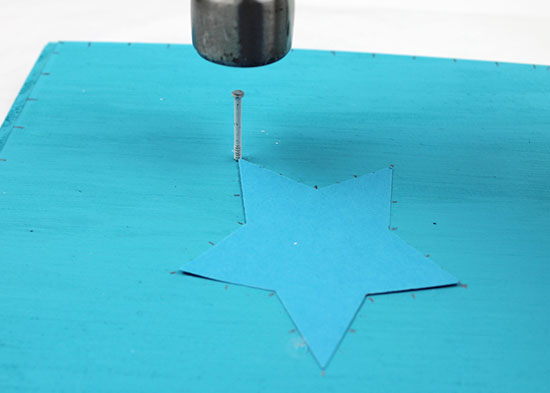
- Continue around until you have nailed around the entire star.
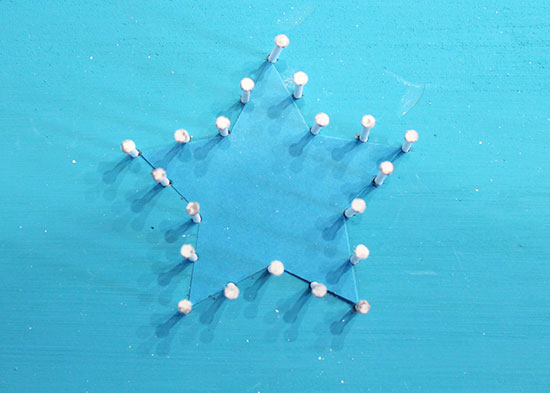
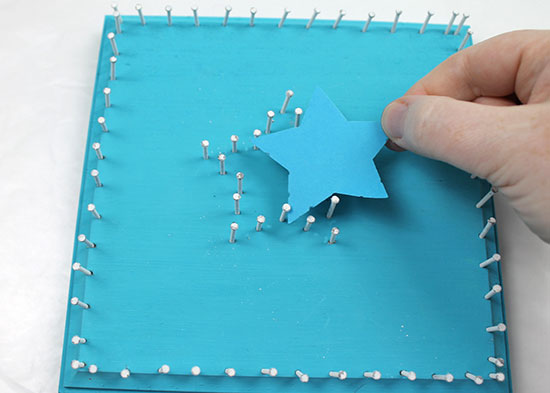
- Hammer a nail on each marking around the outside edges of the plaque, then remove the template from inside the star.
- Tie the yarn around any outer corner of the plaque using a double knot.
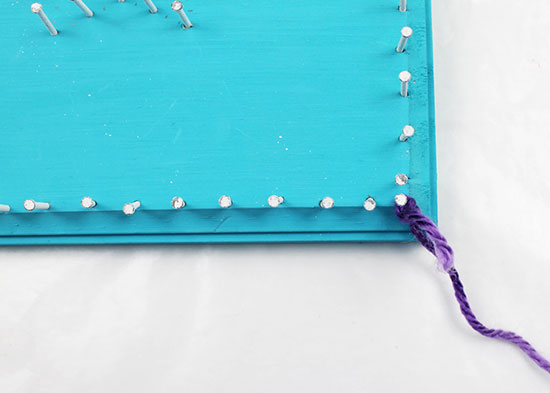
- Begin stringing the yarn back and forth from the outside to the inside nails, wrapping the yarn around the nail to secure it.
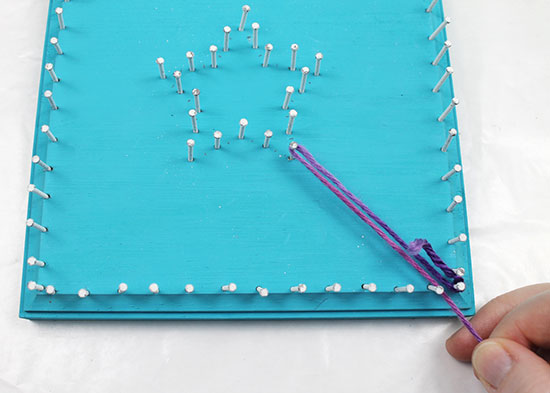
- Continue to work your way around the star. For some nails, you may need to wrap around the nail more than once to keep the wraps even. Just be sure to wrap within one section at a time, always making sure the outside and inside nails line up as best as you can.
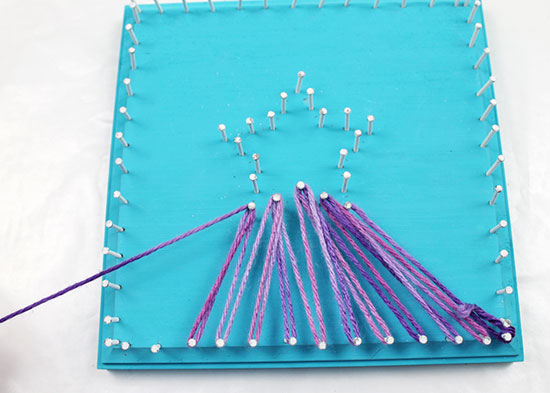
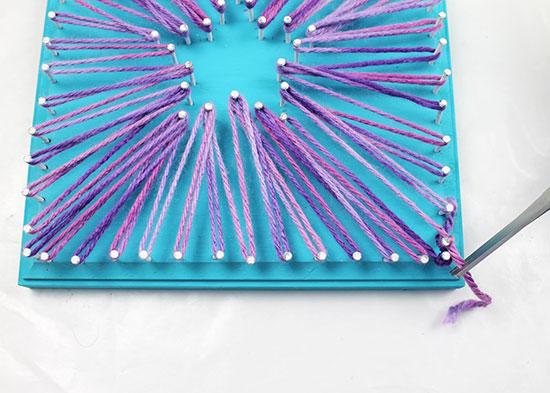
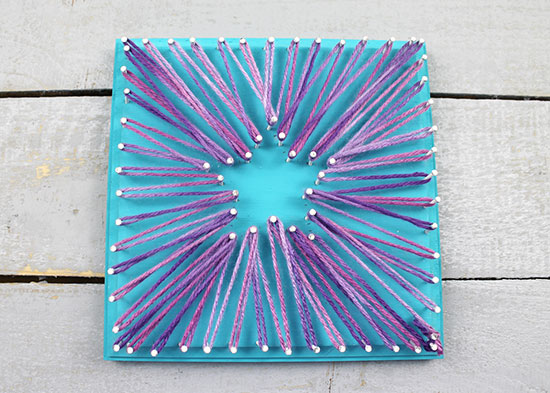
- When you’ve wrapped the entire star, knot the yarn around the final nail. Trim.
