Difficulty level: Beginner
Time required: 30 minutes, including baking time
Age range: 8 and up with supervision for oven
Things you’ll need:
Two colors of clay (main color and contrasting color)
Clay tools or scissors
Oven and baking sheet
Earring post and clutch set
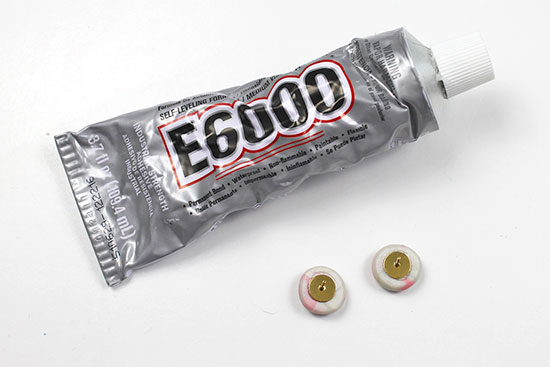
E6000 glue
Things to do:
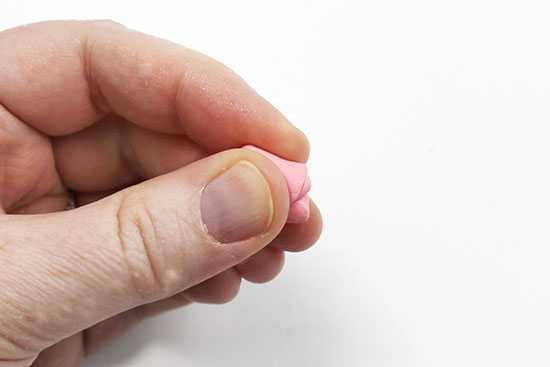
- Pinch off a small amount of the contrasting color of clay. This will be the color that marbles. Here, we used pink. Roll the clay around in your hands to soften it.
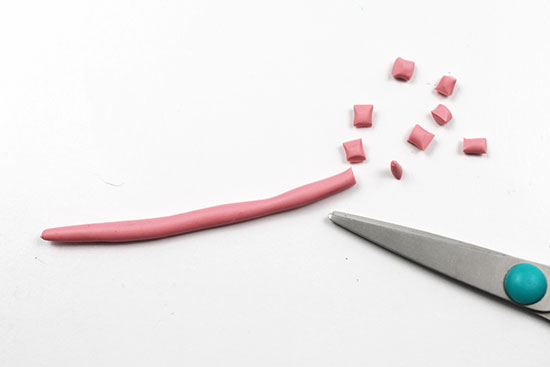
- Roll the contrasting clay out into a long skinny tube using the palms of your hands.

- Using scissors or a clay tool, break the contrasting clay off into small pieces. Set those aside for now.
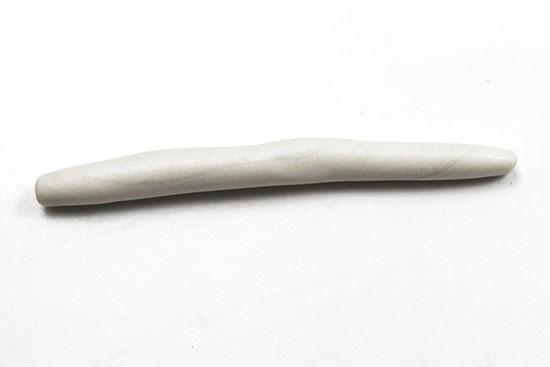
- Pinch off a small amount of the main background color of clay. Here, we used pearl. Roll the clay around to soften it.

- Roll the main color of clay out into a tube, making this tube a bit thicker than the tube in step 2 with the contrasting color.
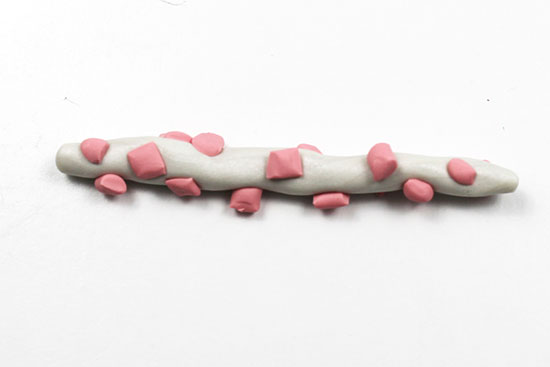
- Place the bits of contrasting clay on the main color’s tube, making sure you place the contrasting pieces around the entire tube.
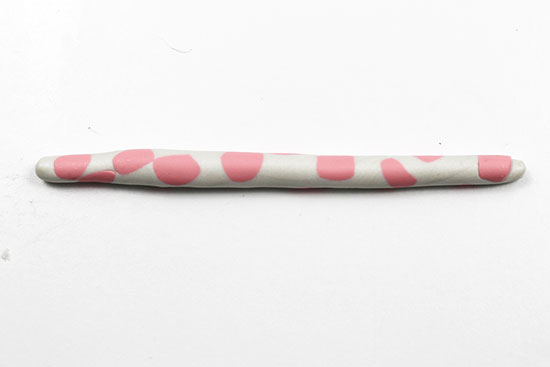
- Roll the tube gently using the palms of your hands to flatten out the contrasting pieces of clay.
- Form a ball with the clay, working it until you’re happy with the marbled effect. Try not to overwork the clay; this can blend the colors together to create a new color rather than the contrasting two-color marbling.

- Divide the ball of clay into two equal parts. Roll each equal part into a ball, trying to make the two balls an even size. If one ball looks larger than the other, remove some of the clay and roll it again.

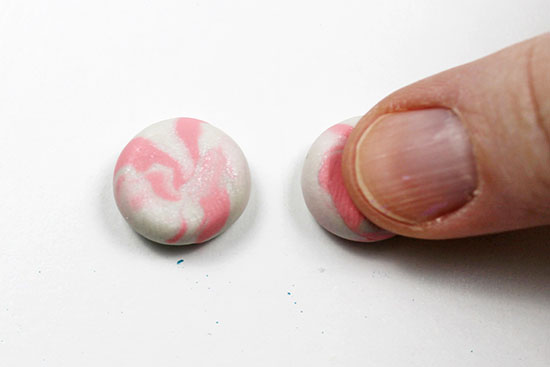
- When you are happy with the size, gently press your thumb down on each ball of clay to flatten it into a disc.
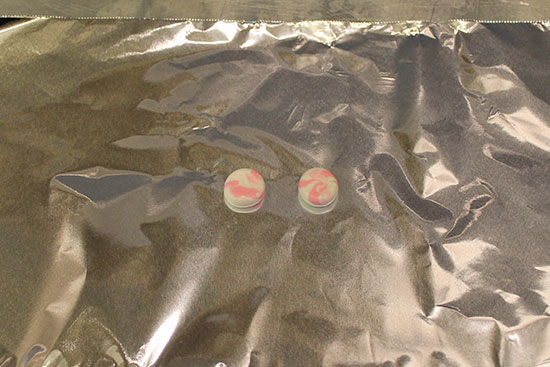
- Place the discs on a baking sheet. Bake them at 275 degrees Fahrenheit for 15 minutes. Remove them from the oven and allow them to cool.
- Place a small amount of E6000 glue on each earring post, then center the discs over the posts. Allow the earrings to dry for at least 24 hours before wearing them.