Skip to search Skip to navigation menu Skip to main content Selecting option will reload page

Category: General Crafts

Felt Starburst Flower Headband Tutorial

Difficulty level: Beginner
Time required: 30 minutes
Age range: 12 and up, with optional adult supervision for hot glue gun
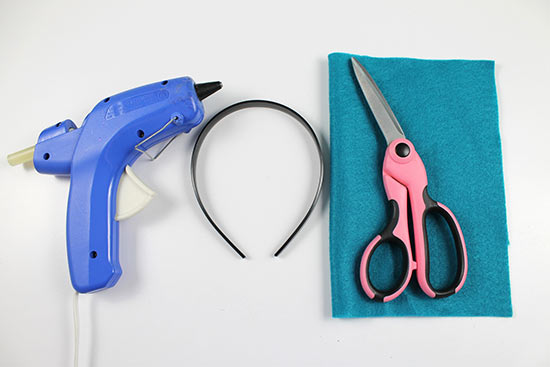
Things you’ll need:
Felt
Ruler
Marking tool
Scissors
Headband
Hot glue sticks and hot glue gun

Things to do:
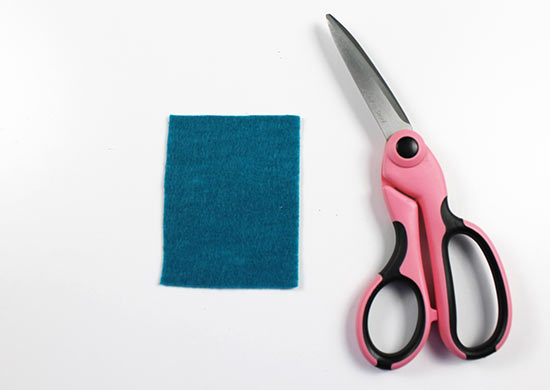
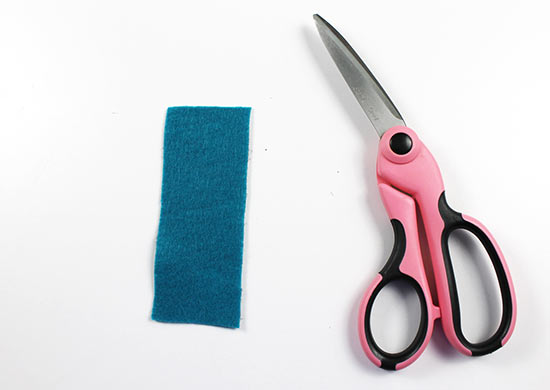
1. Cut one piece of felt that measures 3″ x 4″.

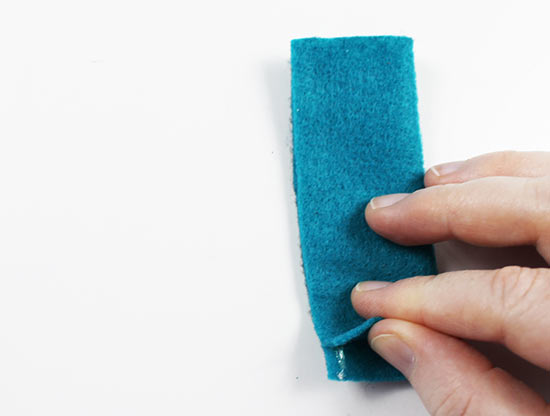
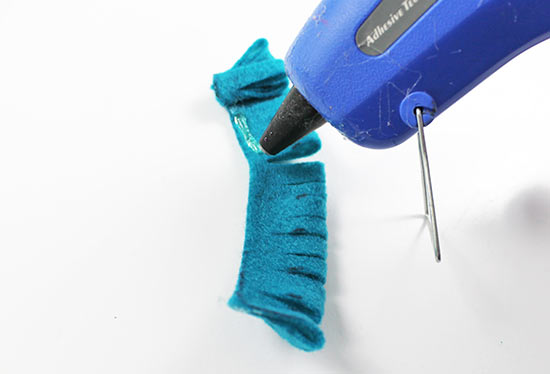
2. Add a thin strip of hot glue on the long edge of felt, then fold the felt piece in half lengthwise. Press to secure.

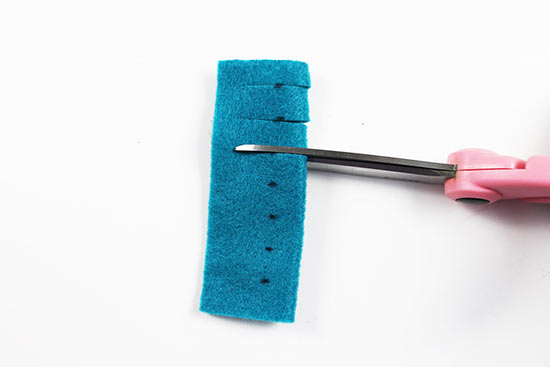
3. Using a marking tool, mark 1/2 ” increments into the long edge of felt.

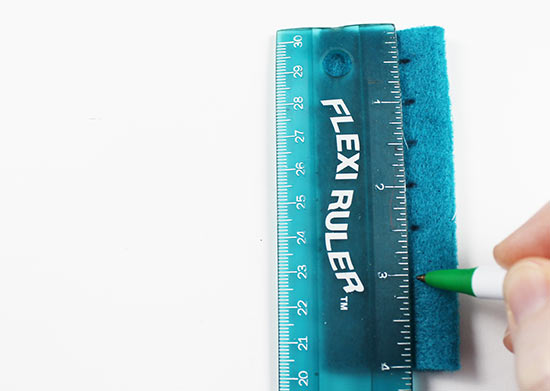
4. Using scissors, cut 1 1/4 ” into the folded edge of the felt at each marking. Do not clip all the way across the felt.

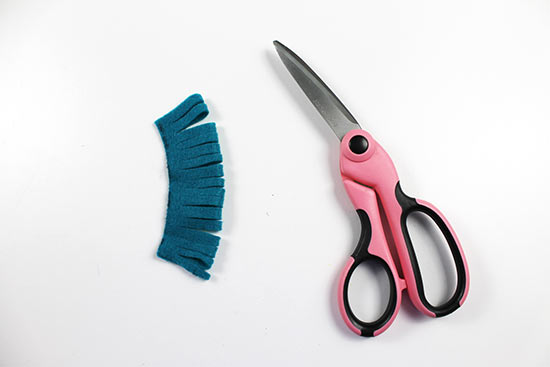
5. After clipping the last marking, cut between each cut you made in step 4. Tip: If you do not feel comfortable clipping between the existing cuts, you can add 1/4 ” markings instead; I made 1/2 ” markings to make my pen marks less visible.

6. Cut a second piece of felt that measures 2″ x 5″.

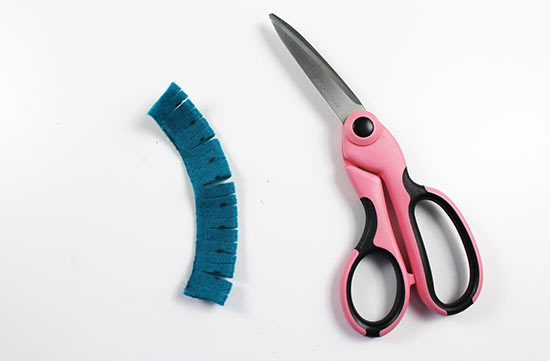
7. Repeat steps 2-5 to create a second flower, this time cutting 3/4 ” into each marking. You should now have two fringed pieces of felt in different sizes.

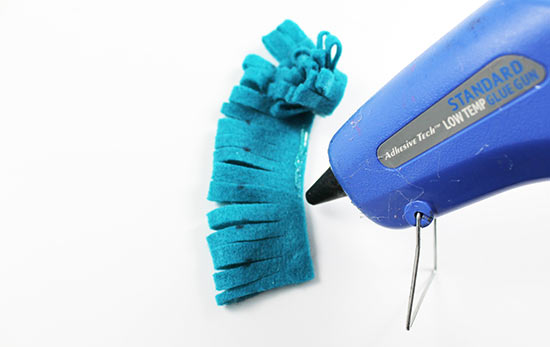
8. To create the flower shape, add a line of hot glue across the bottom of the shortest felt fringe, on the uncut edge. Being rolling the flower across, adding glue as you roll.

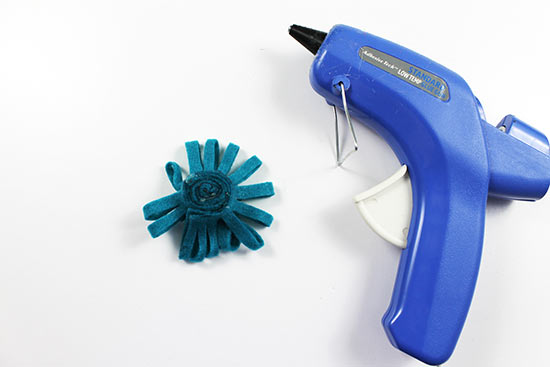
9. Secure the last bit of felt with hot glue. You should have a rolled flower shape.

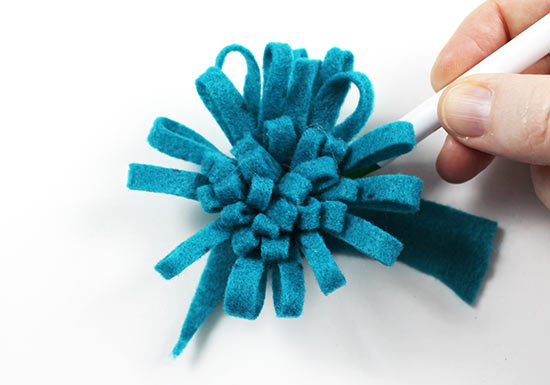
10. Add a thin line of hot glue to the tallest felt fringe piece, then begin rolling it around the first flower.

11. Continue adding glue and wrapping until you have wrapped the entire second flower.

12. To create a backing for the flower, place the bottom of the flower on a scrap piece of felt. Trace a circle around the bottom and cut it out.

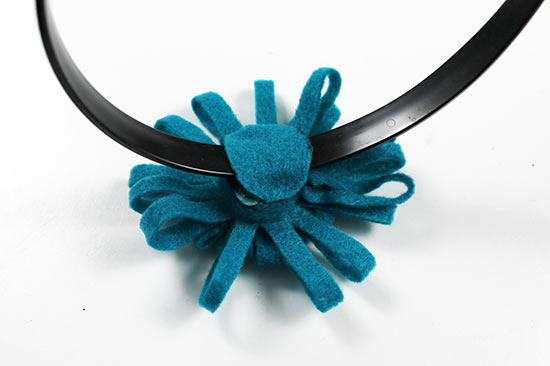
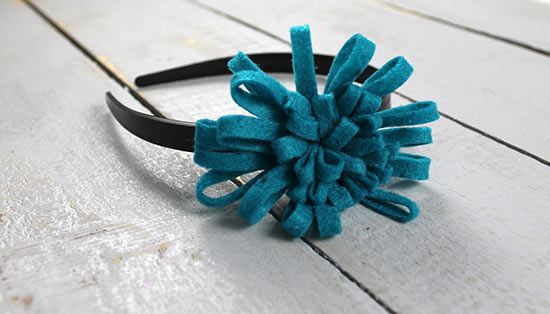
13. Hot glue the flower onto the outside of the headband, on the side.

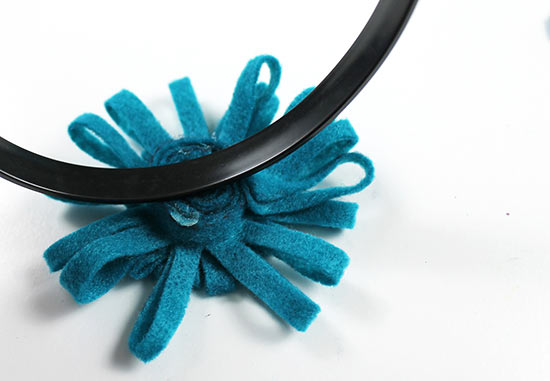
14. Place hot glue on the bottom of the flower and on the headband. Press the felt circle backing to the bottom of the flower, with the headband sandwiched in the middle.

Continue Reading

How to Make a Fabric Hair Comb Tutorial


This project is perfect for all those random fabric strips you don’t know what to do with.

Difficulty level: Beginner
Time required: 15 minutes
Age range: 8 and up

Things you’ll need:
Acrylic hair comb
Fabric strips
Ruler
Scissors

Things to do:
1. Cut your fabric strip into a 1″-wide strip that’s about 36″ long. If you’re using scrap fabric, you can skip this step.
Tip: If your fabric scrap is not exactly 1″ wide, that’s fine. Your wraps will just be thicker or thinner than our wraps.

2. Slide the fabric strip between the first two teeth of the comb, leaving about 2″ of fabric on one side of the comb. You may have to pull down a bit to force the fabric between the teeth. Just take care that you don’t pull so hard that you break the comb’s teeth.

3. Tie the fabric strip into a knot to secure it. Make sure the knot is on top of the fabric comb, rather than at the side.

4. Lay the short end of the fabric across the comb and hold it in place with the fingers of your non-dominant hand.

5. With your other hand, begin wrapping the fabric around the teeth of the comb, wrapping over the short end of the fabric to hide it.

6. Wrap across the comb until you have wrapped the last two teeth.

7. Now begin wrapping in the opposite direction, back toward your knot, wrapping over the wraps you already created.

8. When you reach the end of the comb where the knot is, wrap the fabric through the last two teeth then tie it in a knot to secure it.

9. If you still have a lot of fabric left, trim the knot, leaving about 1″ of fabric. Tuck the short end of the fabric into the wraps on the back of the comb to hide the end.
Tip: If you still have some extra fabric hanging out after you tuck it into the wraps, you can either tuck it into the next wrap or trim it with scissors.

Continue Reading
Change Your Country
Please select your country, this will change the site to your country's currency:

Cancel