Difficulty level: Beginner
Time required: 20 minutes
Age range: 12 and up, with optional adult supervision for hot glue gun
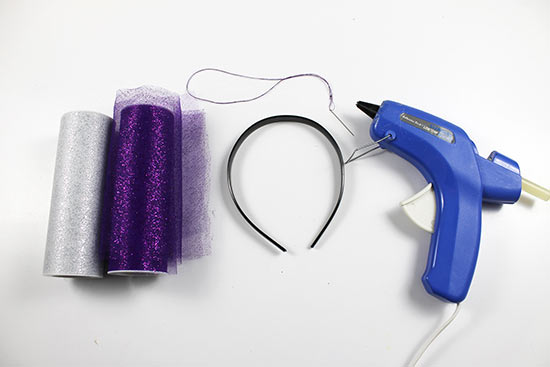
Things you’ll need:
Black Plastic Headband
Hot glue gun and glue sticks
Scissors
Silver Sparkle Tulle Netting
Purple Sparkle Tulle Netting
Sewing pin
Sewing needle and thread
Things to do:
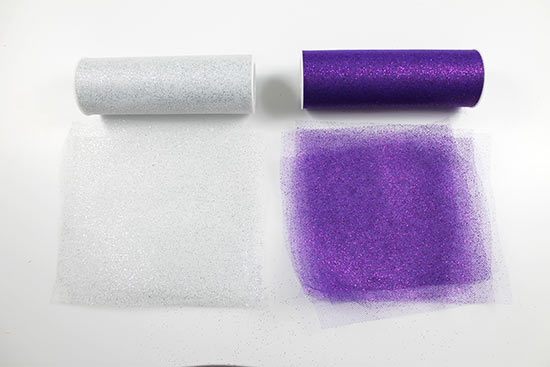
1. Cut 10 pieces of 5 1/2 “-long purple tulle and 9 pieces of 5 1/2 “-long silver tulle.
Tip: If you want a flower that’s fuller than ours, simply cut more pieces of tulle. The more tulle, the fuller the flower.
2. Stack the lengths of tool, starting with purple on the bottom and alternating purple and silver. Pin the center of the stack of tulle to hold it in place.

3. Using scissors, cut out a flower shape from the center of the tulle. If you’d like, you can trace your flower onto the tulle first using a marking tool, then cut it out. As you cut, be sure the pin stays in the center to hold everything together.

4. Remove the pin, then rotate each length of tulle so that the points of the flowers are spread around the entire circle.
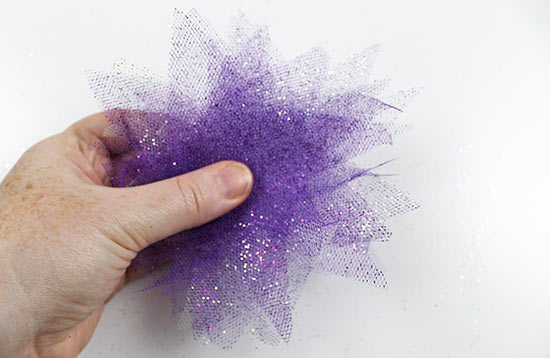
5. Fold the flower in half, then pinch it together with your fingers.

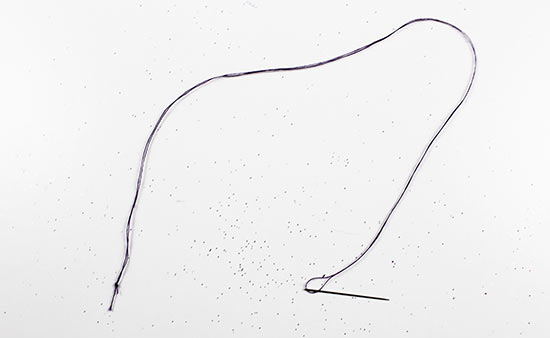
6. Thread a sewing needle with thread. Double the thread, then tie a knot to secure the ends.
7. Holding onto the center of the flower, insert the needle and thread through the center. Sew back and forth through the center of the flower a few times to tack it together securely.

8. Pinch the flower in the center, bringing all the layers together in the center so that the flower no longer lays flat. Again, sew back and forth to hold the flower in place. Knot the end of the thread as close to the tulle as possible, but don’t cut the thread just yet.

9. Wrap the remainder of the thread around the headband a few times, placing the flower just off center and to the side of the headband. Knot the thread, then trim the thread tail.

10. Add a dab of hot glue to fully secure the flower to the headband. Fluff the flower with your fingers.