This project is perfect for all those random fabric strips you don’t know what to do with.
Difficulty level: Beginner
Time required: 15 minutes
Age range: 8 and up
Things you’ll need:
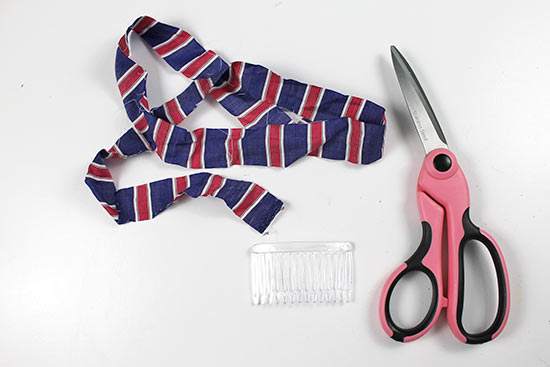
Acrylic hair comb
Fabric strips
Ruler
Scissors
Things to do:
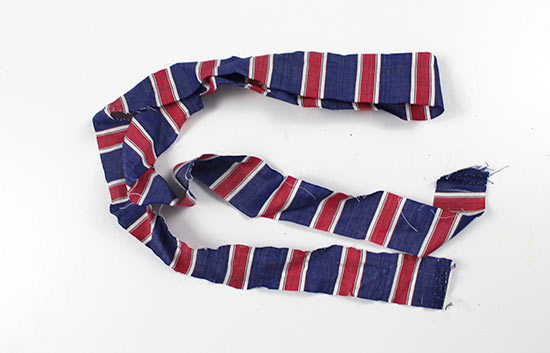
1. Cut your fabric strip into a 1″-wide strip that’s about 36″ long. If you’re using scrap fabric, you can skip this step.
Tip: If your fabric scrap is not exactly 1″ wide, that’s fine. Your wraps will just be thicker or thinner than our wraps.
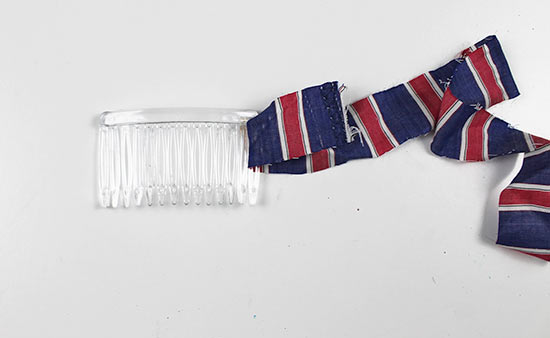
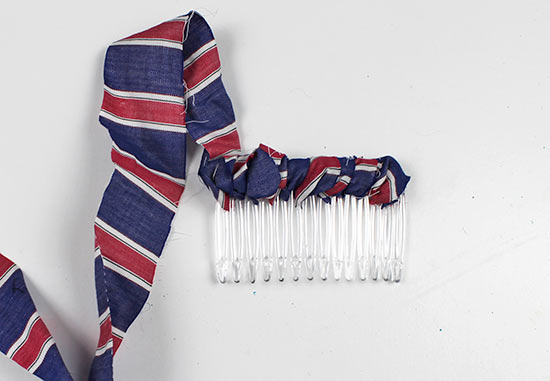
2. Slide the fabric strip between the first two teeth of the comb, leaving about 2″ of fabric on one side of the comb. You may have to pull down a bit to force the fabric between the teeth. Just take care that you don’t pull so hard that you break the comb’s teeth.
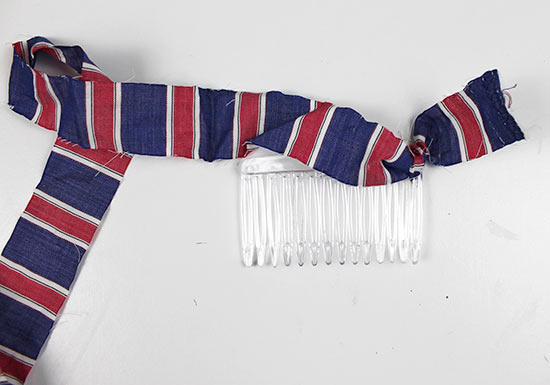
3. Tie the fabric strip into a knot to secure it. Make sure the knot is on top of the fabric comb, rather than at the side.
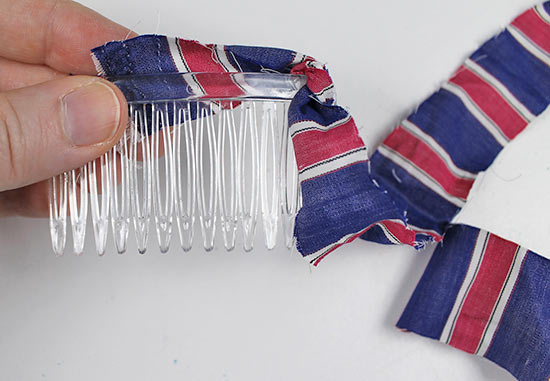
4. Lay the short end of the fabric across the comb and hold it in place with the fingers of your non-dominant hand.
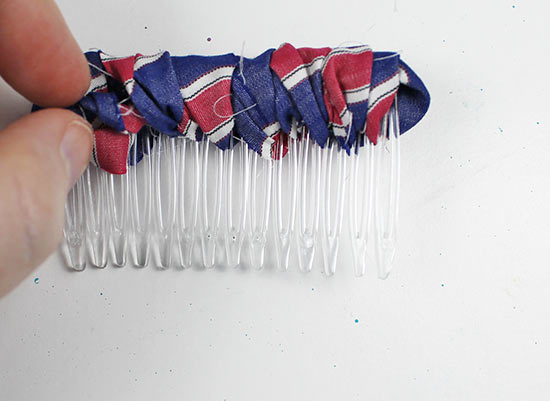
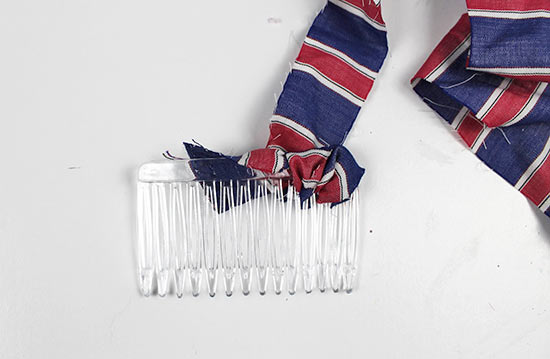
5. With your other hand, begin wrapping the fabric around the teeth of the comb, wrapping over the short end of the fabric to hide it.
6. Wrap across the comb until you have wrapped the last two teeth.
7. Now begin wrapping in the opposite direction, back toward your knot, wrapping over the wraps you already created.
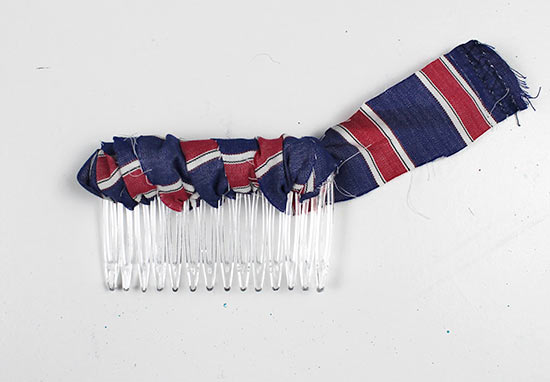
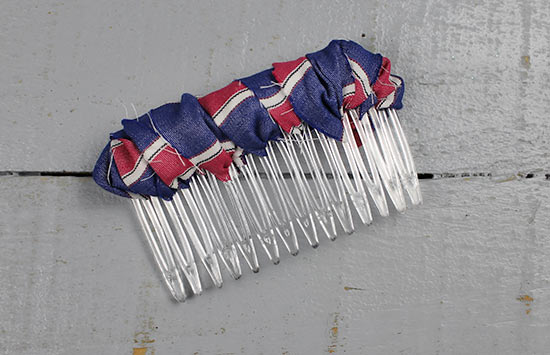
8. When you reach the end of the comb where the knot is, wrap the fabric through the last two teeth then tie it in a knot to secure it.

9. If you still have a lot of fabric left, trim the knot, leaving about 1″ of fabric. Tuck the short end of the fabric into the wraps on the back of the comb to hide the end.
Tip: If you still have some extra fabric hanging out after you tuck it into the wraps, you can either tuck it into the next wrap or trim it with scissors.