Skip to search Skip to navigation menu Skip to main content Selecting option will reload page

Category: For the Home

Upcycling: Create a Magazine Wreath

Magazine_Wreath
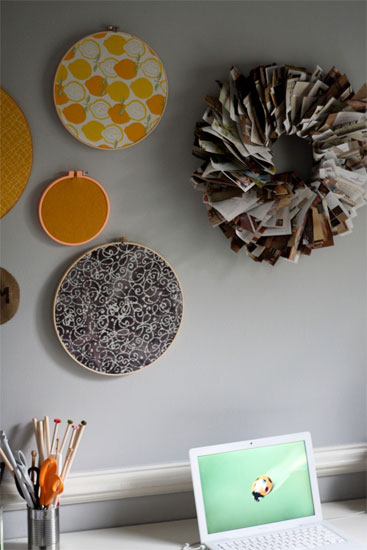
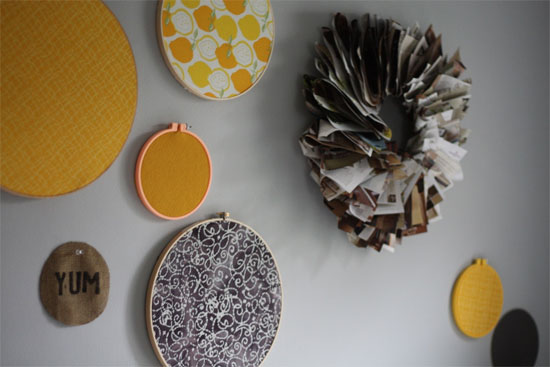
No matter how many paperless billing and no-mail services I sign up for, we still seem to end up with a pile of catalogs and magazines in our recycling bin at the end of the week. And while most of them find their way to the curb, every once in a while I keep one or two aside for a project, such as this magazine wreath, a new addition to my ongoing collection of circular art for my office wall.

Things you need:
1 magazine or catalog
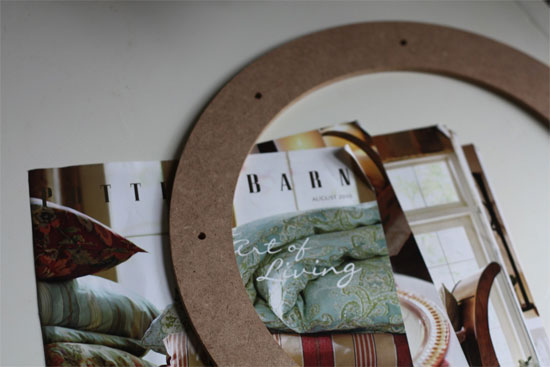
1 MDF wreath form
Hot Glue Gun
Glue Sticks
Scissors
Magazine_Wreath2
Things to do:
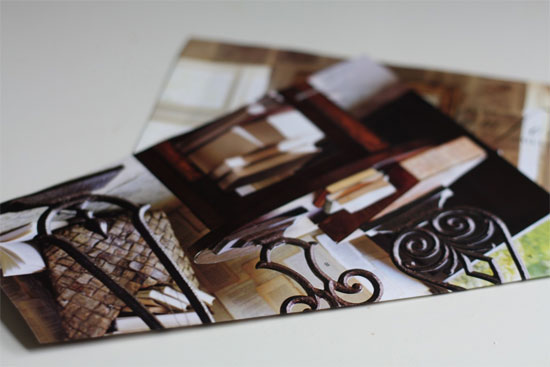
1. Cut 8-10 pages of the magazine or catalog away from the binding, keeping the edges as straight as possible. Continue until you have cut out all the pages.
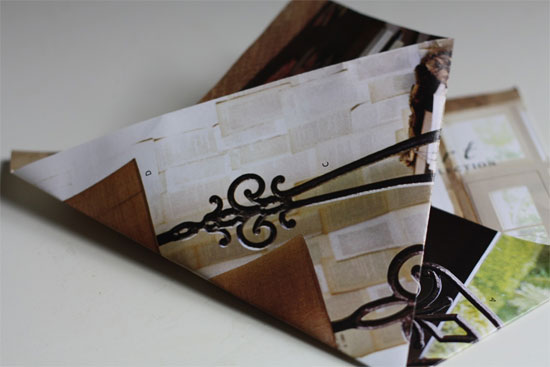
2. Heat up your glue gun. Fold each page not quite evenly in half, then in half again, also unevenly.
Magazine_Wreath3
Magazine_Wreath4
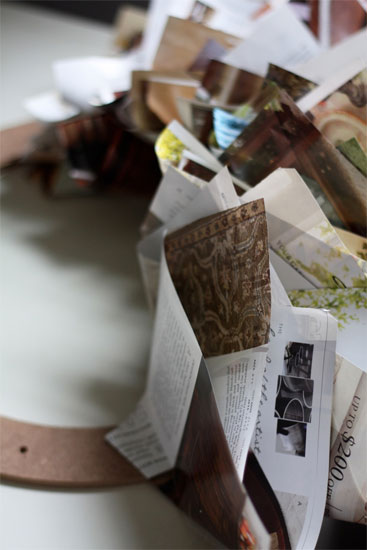
3. Dab a dot of glue inside the main fold to hold it together and then on the point of the paper. Press down onto the wreath form.
4. Continue to fold and glue, securing each new piece of paper slightly down from the last, overlapping the tips as you go until you have covered the entire wreath.
Magazine_Wreath5
*Hint, the wreath can be fuller or flatter depending on how close together you glue the sheets of paper.
Magazine_Wreath6

Continue Reading

Printed Tiles with Air-Dry Clay

Printed_Tiles
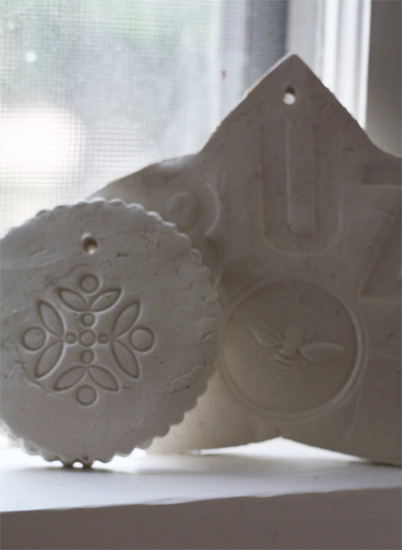
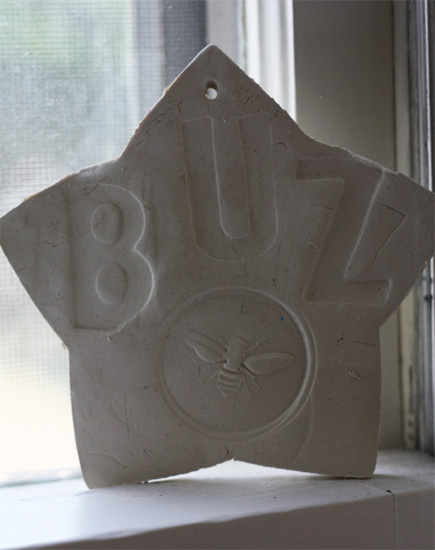
Similar to Christmas ornaments, these small clay tiles are a great way to decorate potted trees and garden plants. But instead of holiday wishes, these summery little baubles are a great way to spread some hot weather joy. This is a fantastic project for kids to do on a hot afternoon when an indoor activity is in order. And don’t just stop at garden themed tiles though, empty out your stamp drawer and let them stretch their imaginations!

Things you need:
Air-dry clay
Large cookie cutters or plastic lids
Assorted stamps
Small knitting needle or skewer
Wax paper or freezer paper

Things to do:
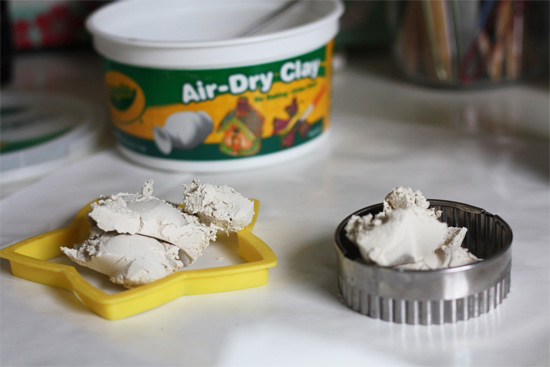
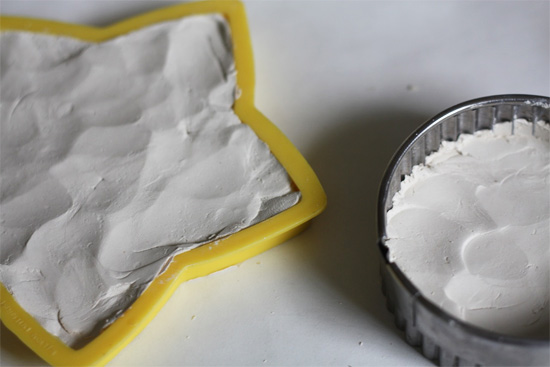
1. Spread the wax paper or freezer paper out on your work surface, shiny side up. Roll out clay to a thickness of 1/3″ and cut out shapes or press clay into your lids or cookie cutters making sure it gets into all corners and edges for a clean shape.
Printed_Tiles2
Printed_Tiles3
2. Carefully peel the clay shape out of the lids or cutters and lay flat.
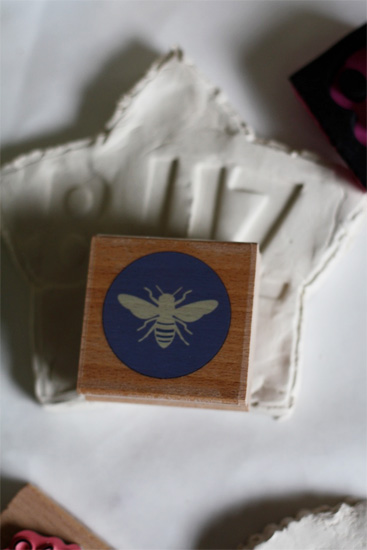
3. Without pressing down, arrange the stamps on top of your clay cutouts to make sure everything fits then press down firmly but not hard to make the impression in your clay.
Printed_Tiles4
4. Using your knitting needle or skewer, poke a hole thought the top of the cutout.
5. Set the tiles out to dry according to the package, usually around 36 hours for a project of this thickness.
6. If you want the tiles to be more colorful, paint with acrylic paint and then a coat of polyurethane, otherwise, hang in the garden, pop into potted plants or dangle from window latches and get a big smile every time you pass one!
Printed_Tiles5

Continue Reading
Change Your Country
Please select your country, this will change the site to your country's currency:

Cancel