Skip to search Skip to navigation menu Skip to main content Selecting option will reload page

Category: For the Home

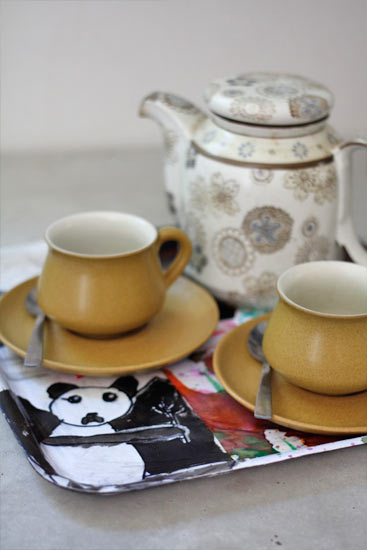
Children’s Art Tray with Mod Podge

Childrens_Art_Tray_Mod_Podge
When it’s cold outside, we spend a lot of evenings at our house curled up in the living room with mugs of hot chocolate or tea by our sides. It took me many years before realizing that having small trays handy in the kitchen made this evening tradition much simpler. But now that I have figured it out, I’m a try addict, and I’m passing it on to friends and family. This year Grandma and Grandpa, devoted tea drinkers themselves, are getting a tea tray decorated with kid art as a Christmas gift, which really, is two presents in one, making it all the more better. Look for inexpensive plastic trays at home stores such as Target or Ikea, to use as your base.

Things you need:
Plastic Tray
Several pieces of children’s art (make copies of them if they are really special)
Scissors
Modge Podge
Foam brush
220-grit sandpaper

Things to do:
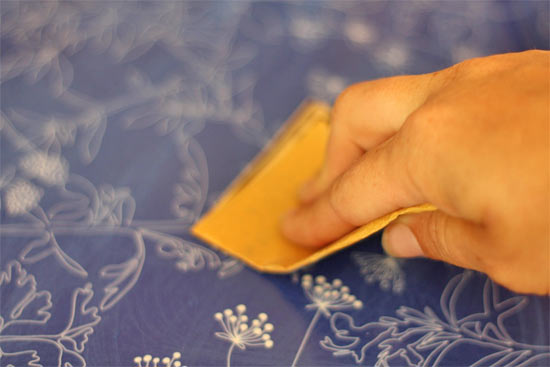
1. Lightly sand the entire top of the tray to help the Modge Podge adhere better.
Childrens_Art_Tray_Mod_Podge2
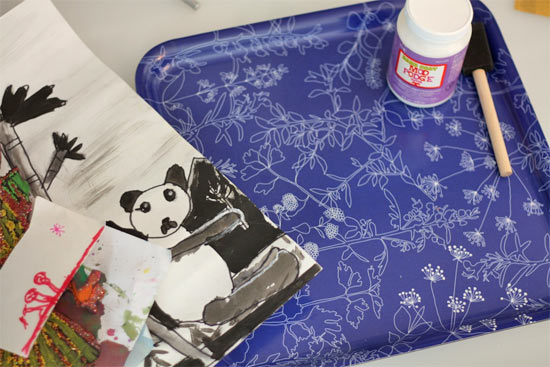
2. Arrange the art, trimming as necessary and taking into account the raised sides of the tray. If you think the art medium will run under the glue, spray with a fixative before proceeding.
3. Once you have the piece ready, coat the tray thinly with Modge Podge and smooth the art onto the tray, working out any bubbles as you go. Allow this layer to dry completely.
Childrens_Art_Tray_Mod_Podge3
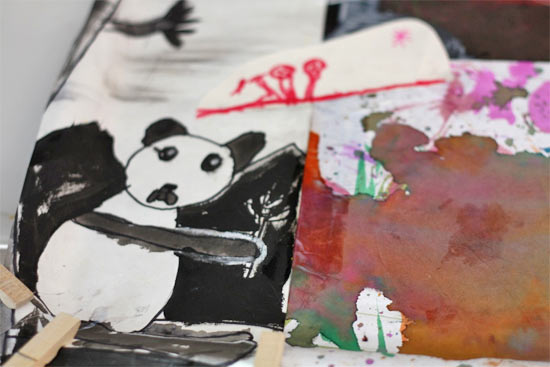
4. Trim off any excess paper and coat with several thin layers of Modge Podge, allowing each to dry before applying the next. Optionally you can coat the entire tray in polyurethane for extra protection.
Childrens_Art_Tray_Mod_Podge4

Continue Reading

Knit Holiday Wreath

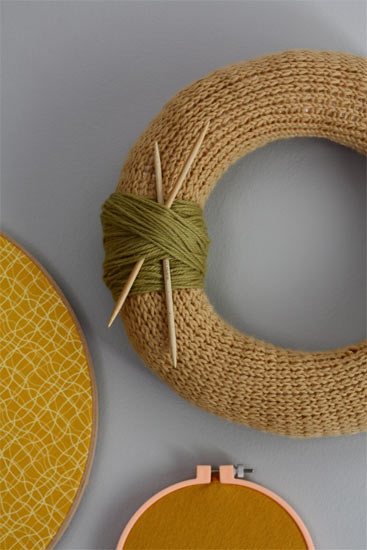
Knit_Holiday_Wreath
After a long, hot summer, the cooler weather of fall is always a welcome thing. The sweaters come out of storage, coats hang on the peg and if your lucky enough to have a fireplace, the wood is stacked and ready for cozy evenings by the fire. Why not extend that cozy, comfy fall feeling to your door with a knitted wreath? Deceptively simple, this wreath will welcome your guests and your own family with a little fall goodness every time they approach your door.

Things you need:
Styrofoam Wreath Form
1 skein of worsted weight yarn in a fall color plus extra wool in a contrasting color
Size eight knitting needles
Fabric tape measure
Yarn needle

Things to do:
1. Measure the circumference of your wreath form by drawing your measuring tape around the side of the wreath. This will be the width of your knitted piece. Next place one end of your tape measure along the outer edge of the wreath and wrap around to find the length needed to cover the whole wreath, this will be the length of your knitted piece.
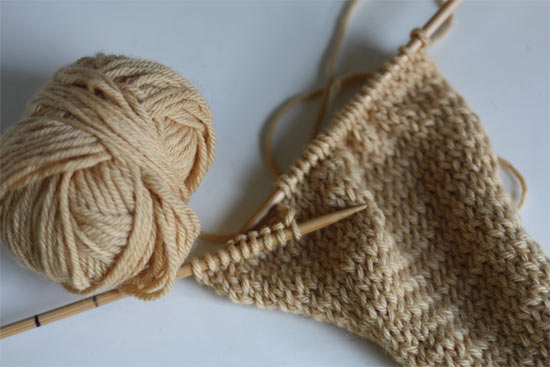
2. Knit a swatch of 2 x 2 inches to find your gauge. This will give you the number of stitches per inch you will get from your yarn. Use this to determine how many stitches to cast on. Err on the side of too small if it’s between two numbers, you want it to be tight on the wreath
Knit_Holiday_Wreath2
3. Cast on and knit across to the other end. Turn the piece over and purl the back side. Continue in stockinette stitch (right sides knit, wrong sides purl) until you have achieved the length needed to cover your wreath. Cast off loosely.

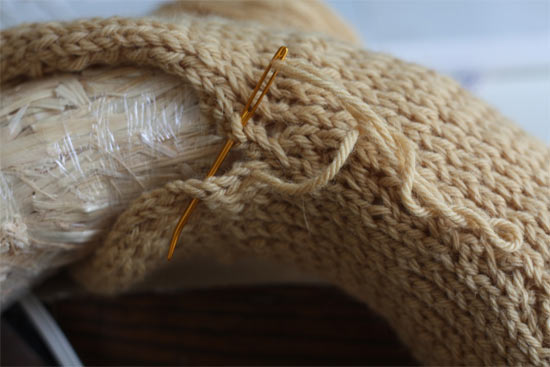
4. Wrap one end of the knitted piece around your wreath, using your yarn needle to stitch up the back. Continue to ease the fabric around the wreath, keeping the seam on the back side of the wreath, until you have covered the entire wreath. Stitch the two ends together to hold them in place.
Knit_Holiday_Wreath3
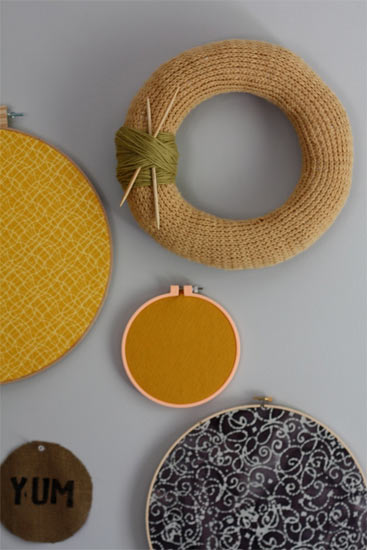
5. Use the remaining yarn to wrap around the wreath at the seam in place of a bow. Wrap a thick section of three or four inches or criss-cross the yarn for a more boy like look. This can also be done using a contrasting color of yarn. Insert a pair of DPN’s for decoration if you like.
Knit_Holiday_Wreath4

Continue Reading
Change Your Country
Please select your country, this will change the site to your country's currency:

Cancel