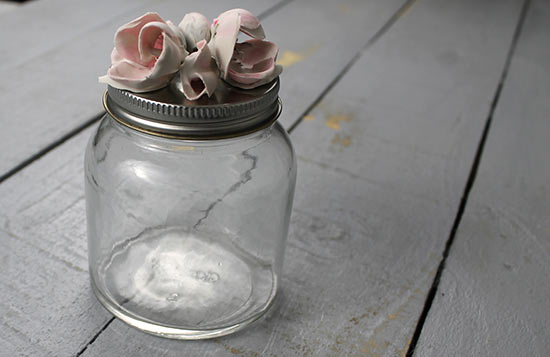
Store anything in these jars from toiletries like q-tips to craft supplies like pom poms. No matter what you fill the jar with, the plastered flowers give your storage just a little something extra special.
Difficulty level: Beginner
Time required: 30 minutes, plus 24 hours for drying
Age range: 12 and up with optional adult supervision using plaster
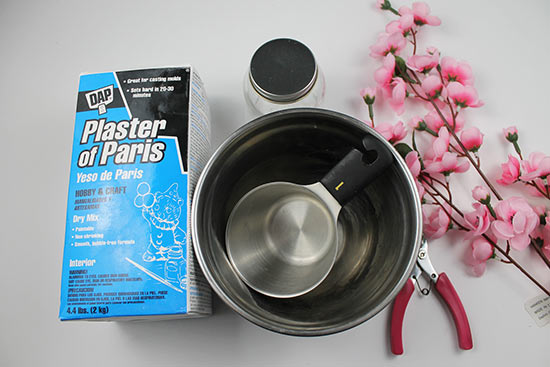
Things you’ll need:
Pink Artificial Plum Blossom Spray
Wire cutters
Plaster of Paris
Small bowl for mixing plaster
Measuring cups
Dowel or paint stick for stirring
Wax paper
Glass Jar with Lid
E6000 Glue
Things to do:
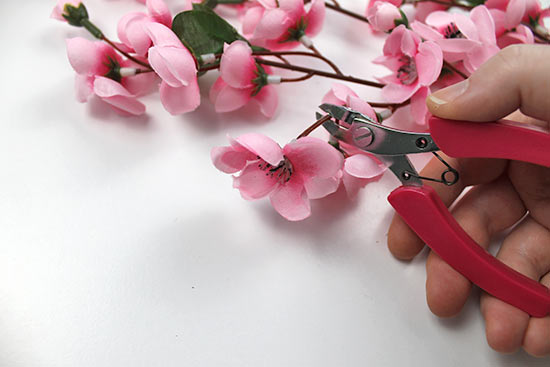
1. Using wire cutters, cut the flowers you want to use, leaving a few inches of the stem attached.
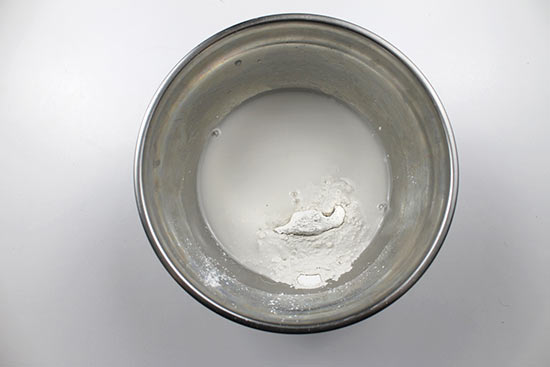
2. Prepare the Plaster of Paris by combining 1 cup of plaster with 1/2 cup of cold water in a small bowl.
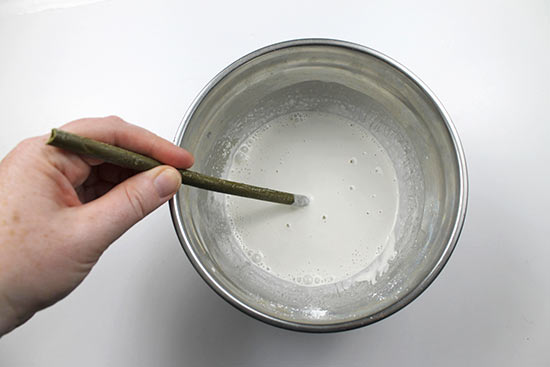
3. Use a stick or dowel to mix the plaster and water until it is smooth.
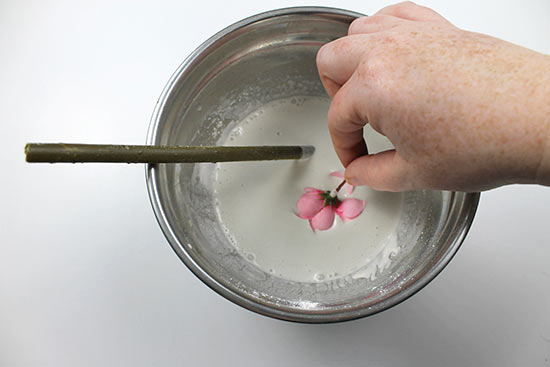
4. Holding onto the stem, dip each flower one at a time into the plaster.
5. Tap the stem of the flower and shake it to prevent dripping.
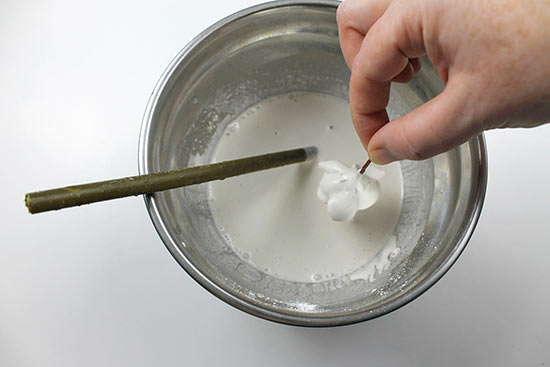
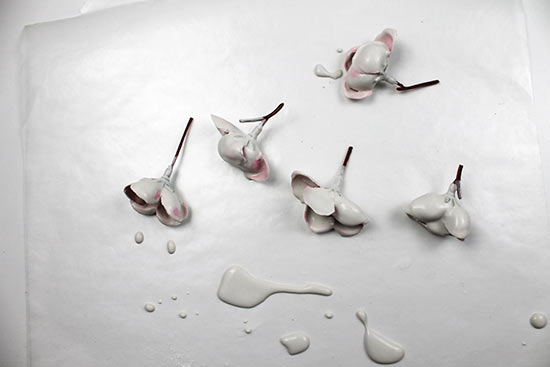
6. Place plastered flower on wax paper. Some excess plaster may fall onto the wax paper, but that’s ok.

7. Repeat steps 4-6 until you have dipped all the flowers. We used two full flowers and three small buds for our jar, but you can dip as few or as many as you’d like. Allow the flowers to dry for 24 hours.
Optional: If you don’t want any of the pink color to be visible on your flowers, you can repeat steps 2-6 to dip the flowers once more. (We liked the hint of pink, so we did not choose to do this.)
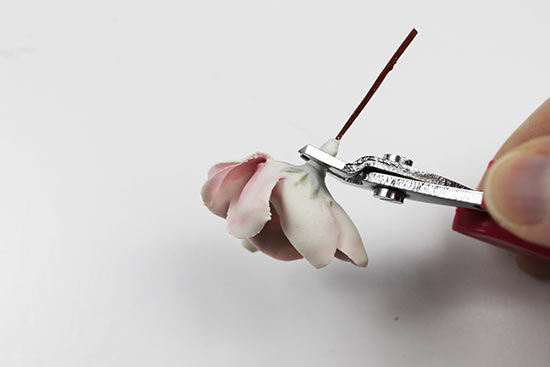
8. When the flowers are dry, use wire cutters to cut the flower stem away. Cut as close to the flower as you can.
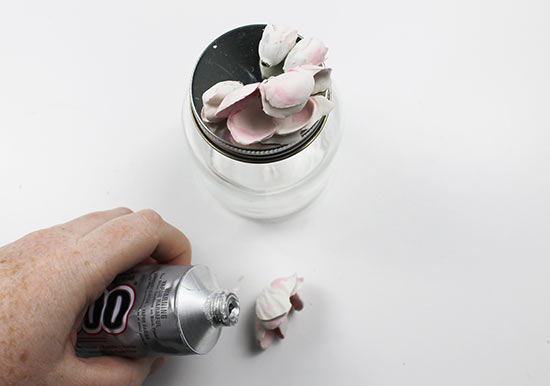
9. Glue the flowers to the jar lid.