Difficulty level: Beginner
Time required: 30 minutes (or more depending on the number of doilies used) plus 24 hours for drying
Age range: 12 and up
Things you’ll need:
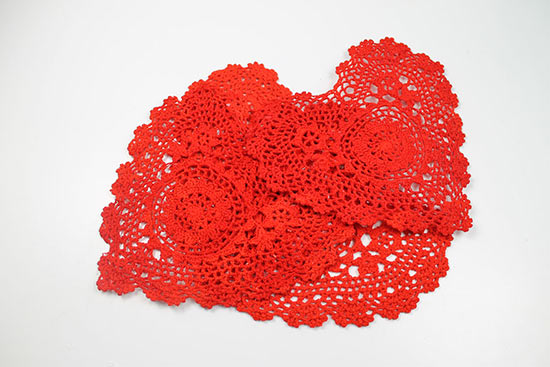
Doily hearts
Straight pins
Foam mat
Plastic wrap
Foam brush
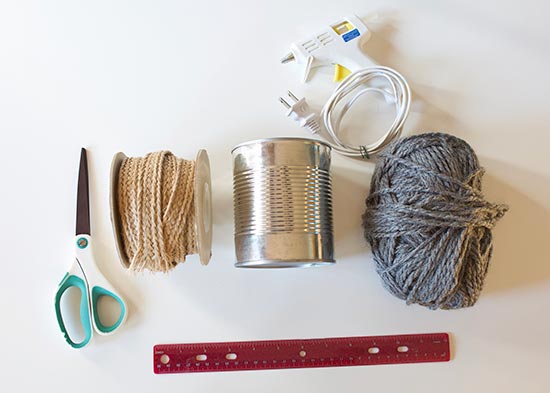
Jute twine
Scissors
Fabric stiffener
Things to do:
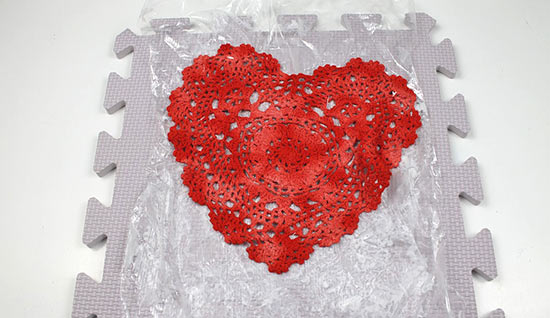
1. Tear off a sheet of plastic wrap that’s slightly larger than the doily.

2. Place the doily on the plastic wrap sheet. Using the fabric stiffener and foam brush, apply stiffener all over the doily. Be sure the entire surface is covered, especially the edges.
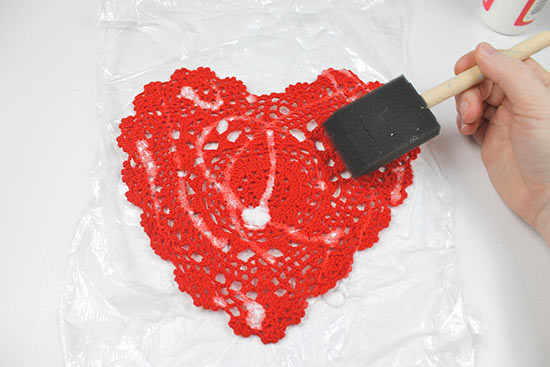
3. If you do not feel like the foam brush sufficiently covered the doily, you can add fabric stiffener straight from the bottle, then fold the plastic wrap and doily in half, using your fingers to apply the stiffener. (If you are not afraid of getting messy, you can also do this with your hands.)
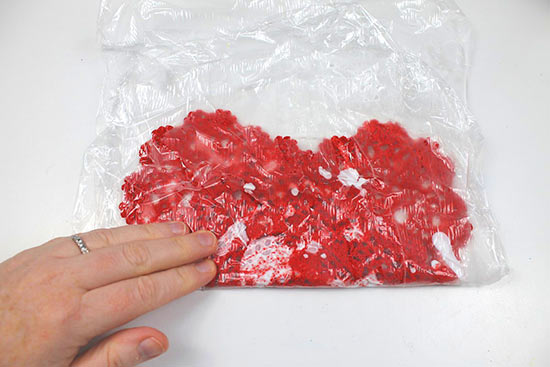
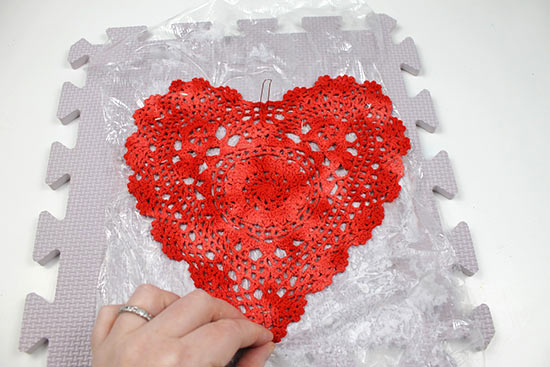
4. Place the plastic wrap on top of your foam mat.
5. Begin placing straight pins around the edges of the doily, stretching out the edges as you pin to make sure the doily is laying flat.
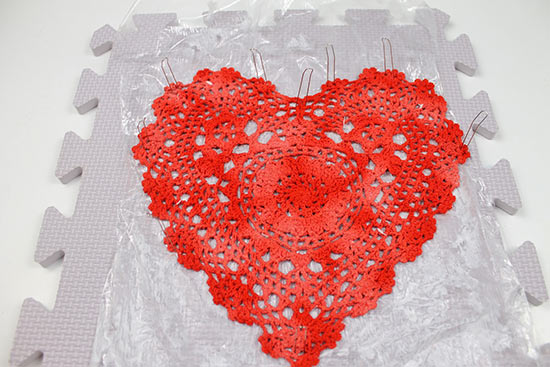
6. Continue to pin around the edges of the doily, especially around the curves. Repeat steps 1-6 for each doily you plan to use for your garland. Allow 24 hours for the doilies to dry.
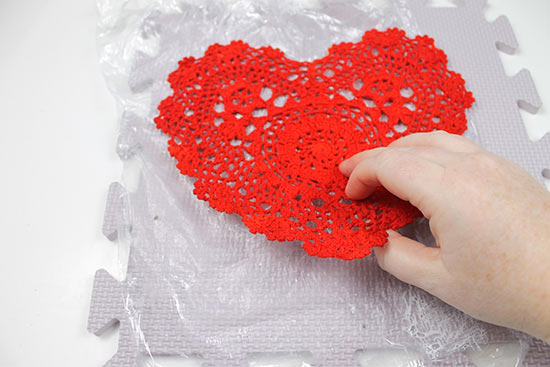
7. When the doilies are dry, peel each one carefully from the plastic wrap. Discard the plastic wrap.
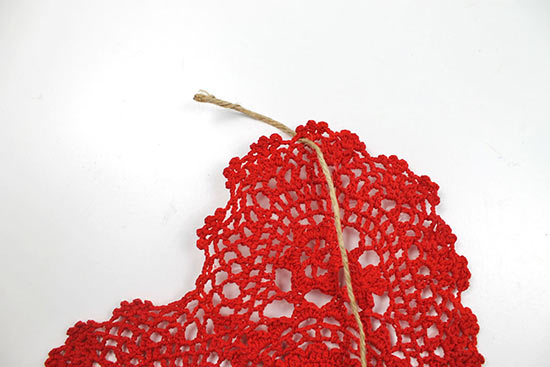
8. Cut a length of twine that’s the length you’d like your garland to be.

9. Insert the twine from front to back through any hole in the doily edge.
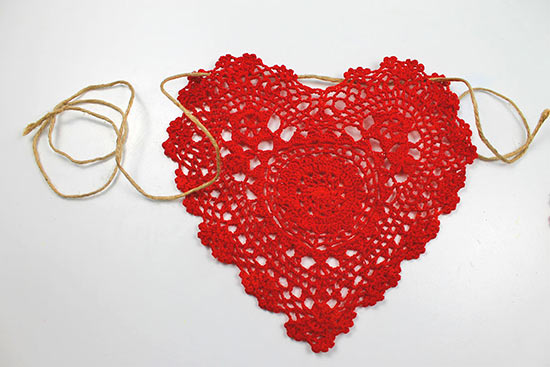
10. String the twine along the back of the doily, then bring it from back to front through the corresponding hole on the other side of the doily. Threading the twine through the same hole on the other side to ensures it hangs straight across the twine from side to side.
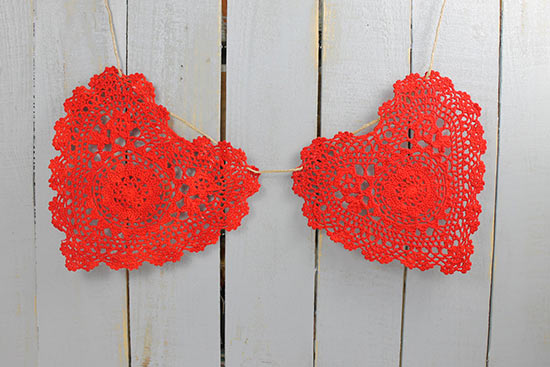
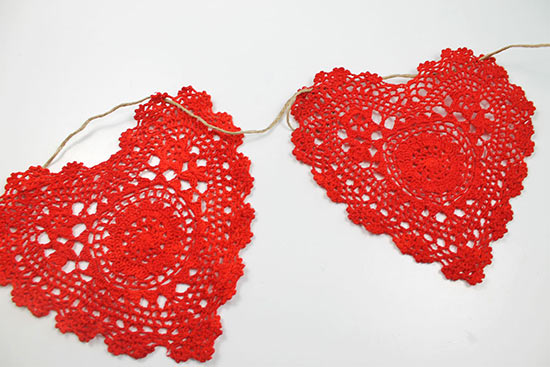
11. Repeat steps 9-10 for each doily on the garland. When you’re finished, hang the garland and feel the love!
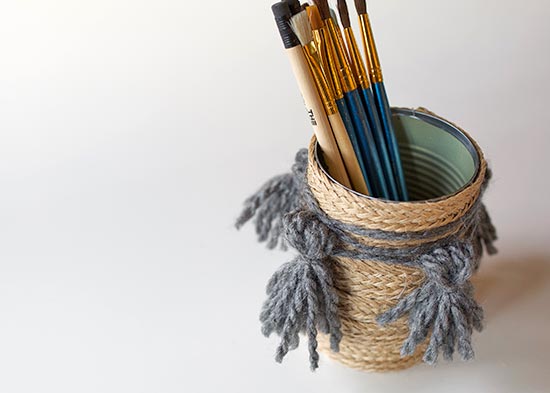
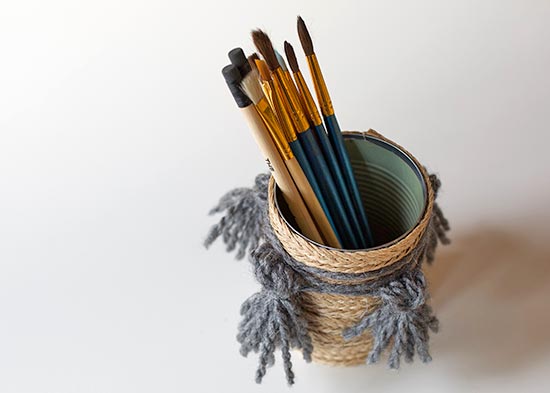
 2. Next, cut 6″ pieces of yarn for your tassels. You’ll need 10 pieces for every tassel.
 4. Tie a piece of yarn around the bundle 1″ from the fold and tuck the ends into the tassel.
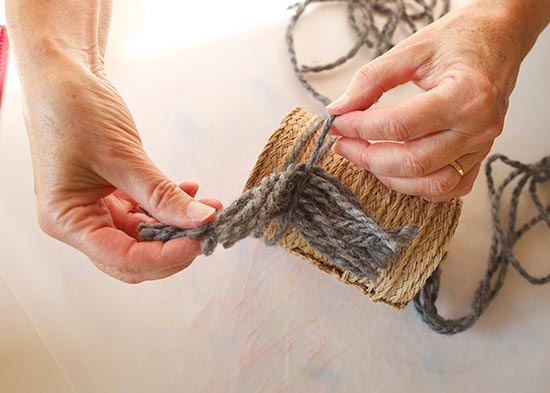
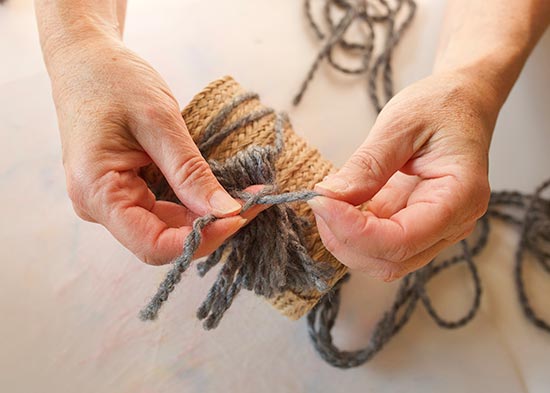 5. Repeat steps 3-4 until all of your tassel are attached.