Celebrate Valentine’s Day with a festive door hanger! This wreath alternative is a lovely way to decorate and it’s a lot of fun to make!
Difficulty level: Intermediate
Time to complete: 45 minutes
Age range: 12 and up
Things you’ll need:
Pip berry garland (pink and red)
Grapevine garland
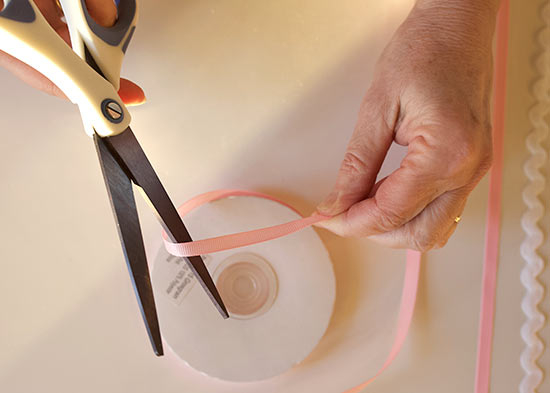
White ribbon
Hot glue gun and glue sticks
Wire
Wire cutters
Pruning sheers
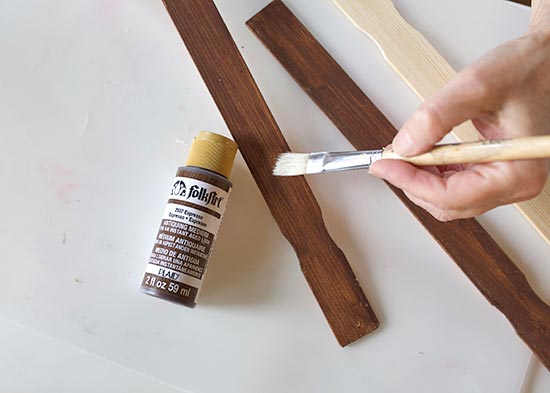
Paint sticks
Brown paint
Paint brush
Drill
Things to do:
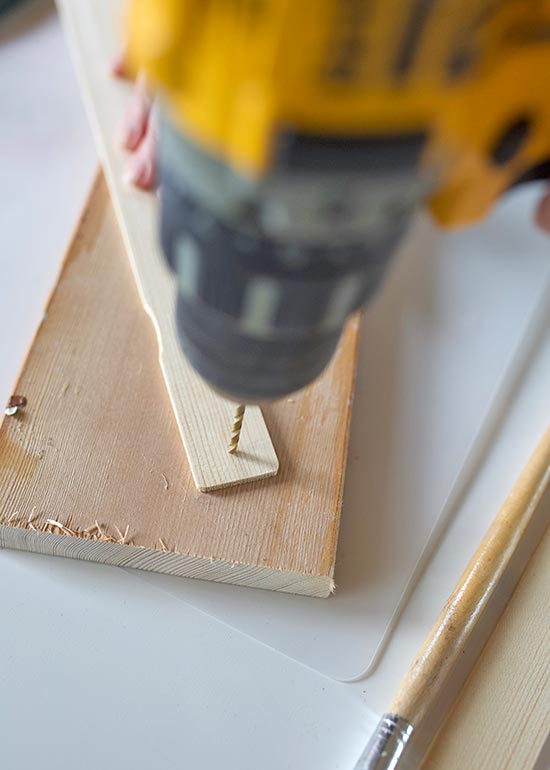
1. Drill holes in the bottom of both of your paint sticks about 1/2 ” up from the bottom.

 2. Paint your paint sticks and let them dry completely.
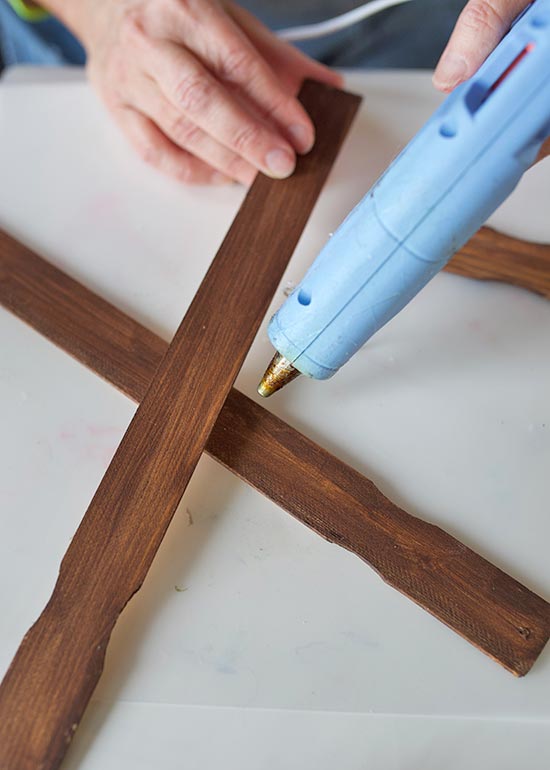
 3. Hot glue the sticks together to form an “X” shape.
 4. Use pruning sheers to cut two pieces of grapevine garland the same length as your “X”.
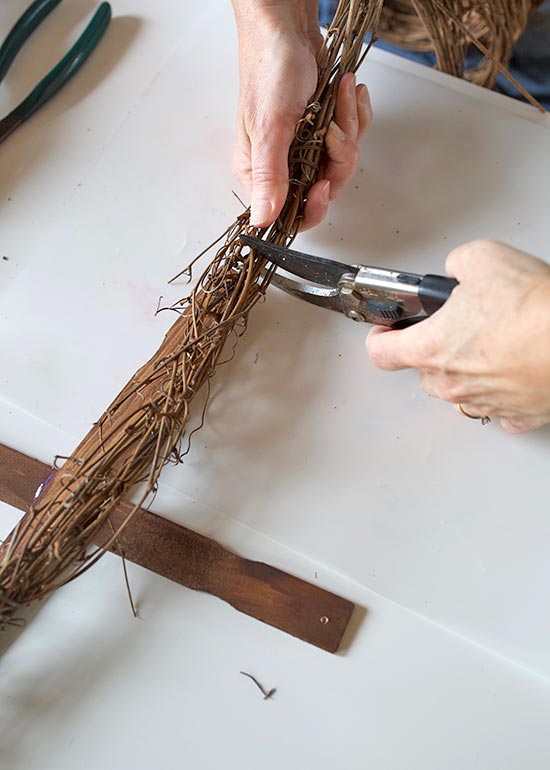 5. Use wire to attach the grapevine garland to the “X”, doubling it so it’s nice and thick.

 6. Wrap grapevine garland into an “O” shape and secure with wire.
 7. Use wire to attaching pink pip berry garland to the “X” and red pip berry garland to the “O”.

 8. Hot glue a piece of ribbon to the back of the “X,” creating a hanger.
9. Wire the “X” and the “O” together, sliding the wire through the drilled holes.