Keep the kiddos busy on a rainy spring afternoon with this bright and cheery craft project! You only need a few simple materials to create these whimsical flowers. They’re the perfect addition to a shelf in your kid’s room or a fun party decoration for a Dr. Seuss Themed soiree!
Difficulty level: Beginner
Time to complete: 30 minutes
Age range: 12 and up
Things you’ll need:
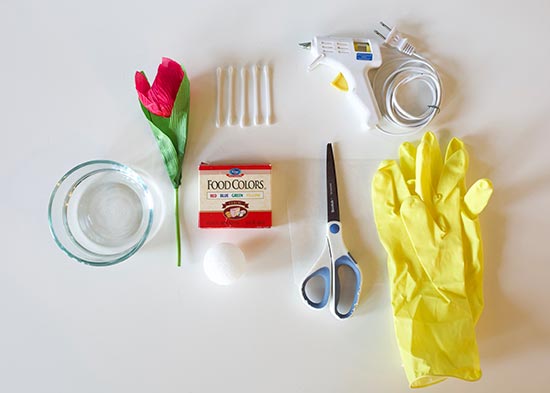
Q-Tips
Styrofoam balls
Floral stems
Hot glue gun and glue sticks
Food coloring
Waxed paper
Scissors
Gloves
Things to do:
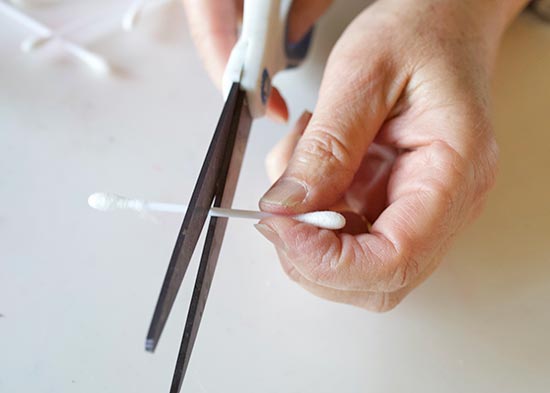
1. Cut all of your Q-Tips in half.
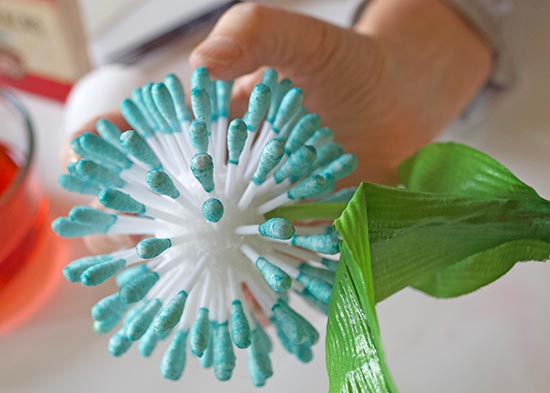
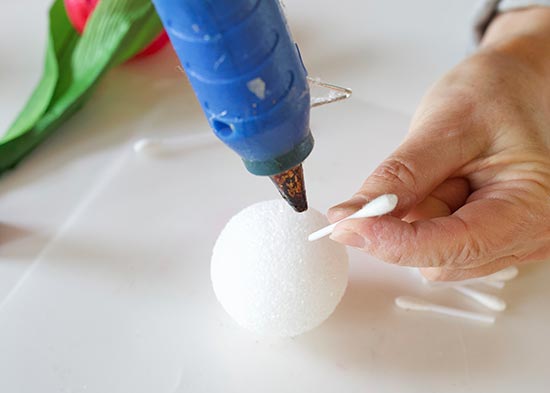
 2. Put hot glue on a small area of the Styrofoam ball and attach the Q-Tips, cotton side out. Continue attaching Q-Tips until the entire surface is covered.
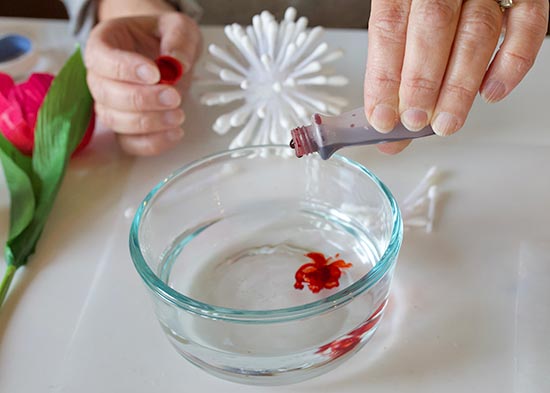
 3. Fill a bowl with water about 1/2 ” deep. Add a few drops of food coloring and mix it around.
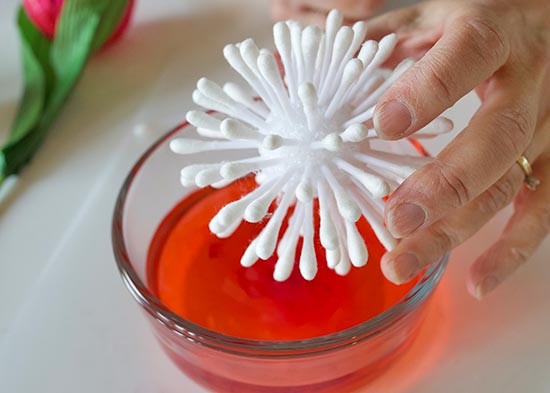
 4. Wearing gloves, dip the Styrofoam ball around in the water until all of the Q-Tips are dyed. Place it aside on a piece of waxed paper to dry.
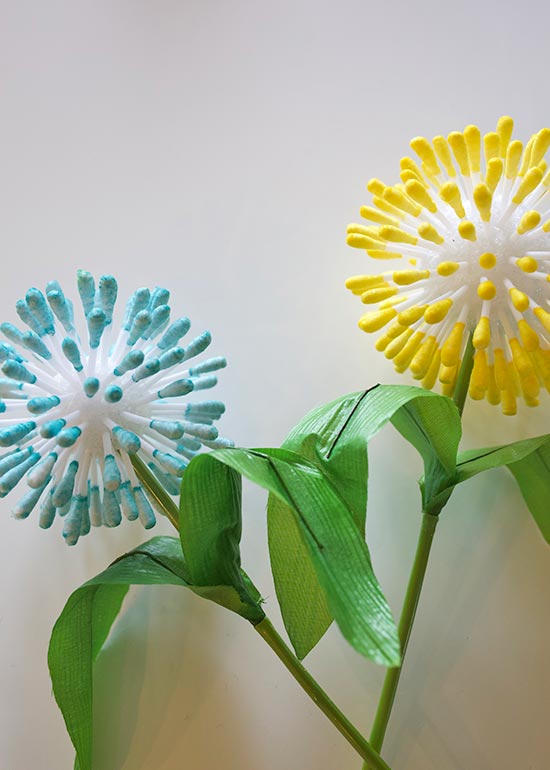
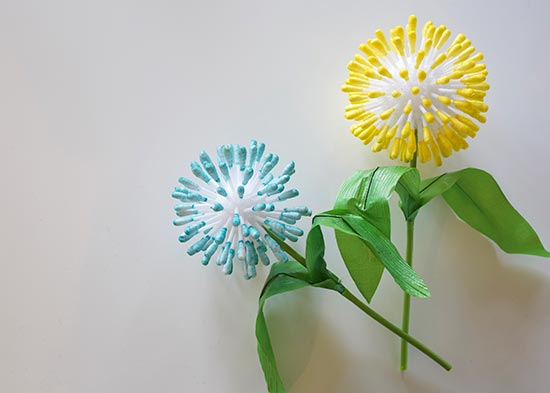
 5. Remove any flowers from the flower stems. Apply a small drop of hot glue to the end and stick it inside the Styrofoam ball.