
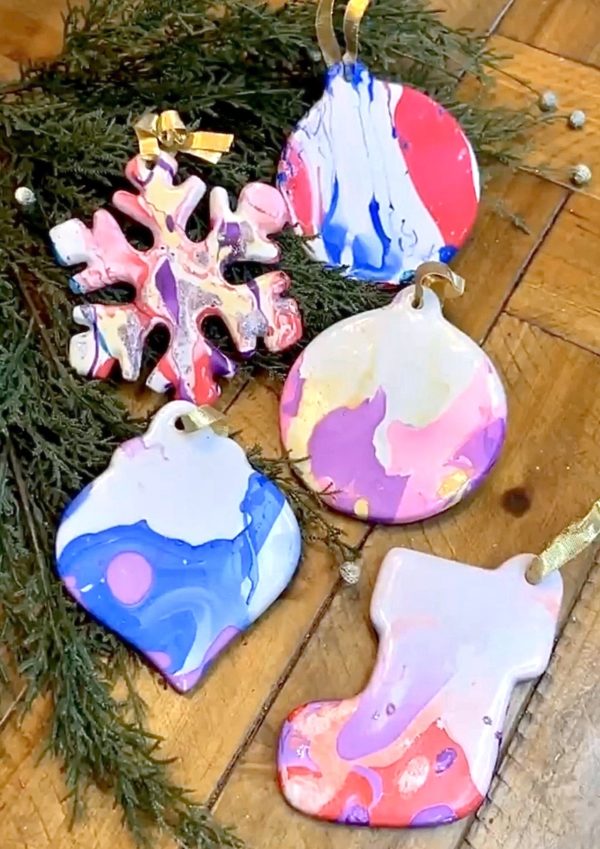
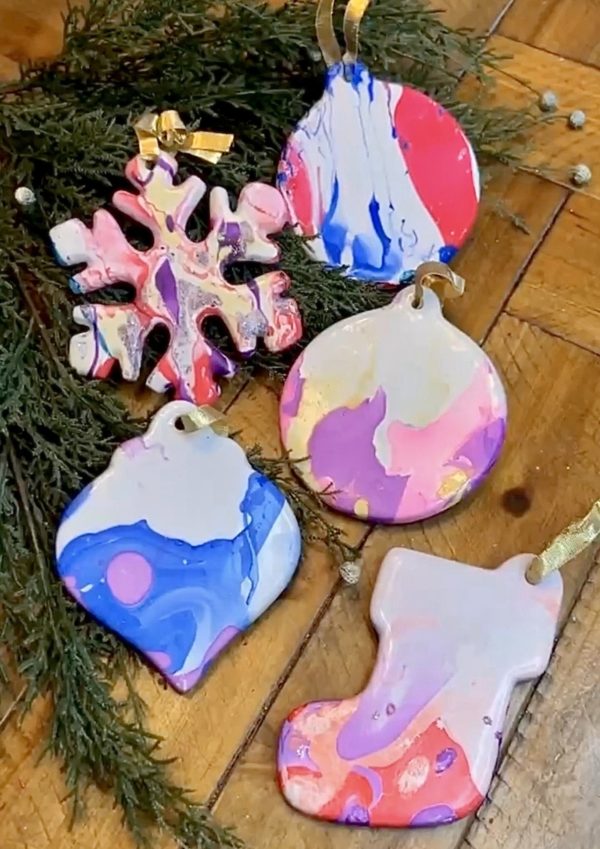
DIY nail polish marbled ornaments are a fun and easy way to add a personal touch to your holiday decorations. Not only are they beautiful to look at, but they also make for a great activity to do with friends or family.
Difficulty level:Beginner
Time to complete:20-30 minutes
Needed supplies:
Porcelain Ceramic ornaments
Nail polish in various colors
Shallow throw away container
Room temperature water
Q-tips
Gloves
Toothpicks or skewers
Parchment Paper
Things to do:
- Once all material is gathered together. Fill the throw away container half way with the room temperature water. The water should be deep enough to fully submerge the ornament.
- Choose the desired nail polish colors and drop about 3-4 drops close to the water. Appling the nail polish drops close to the water will allow it to not sink to the bottom. You will only want to have about 2 to 3 different colors.
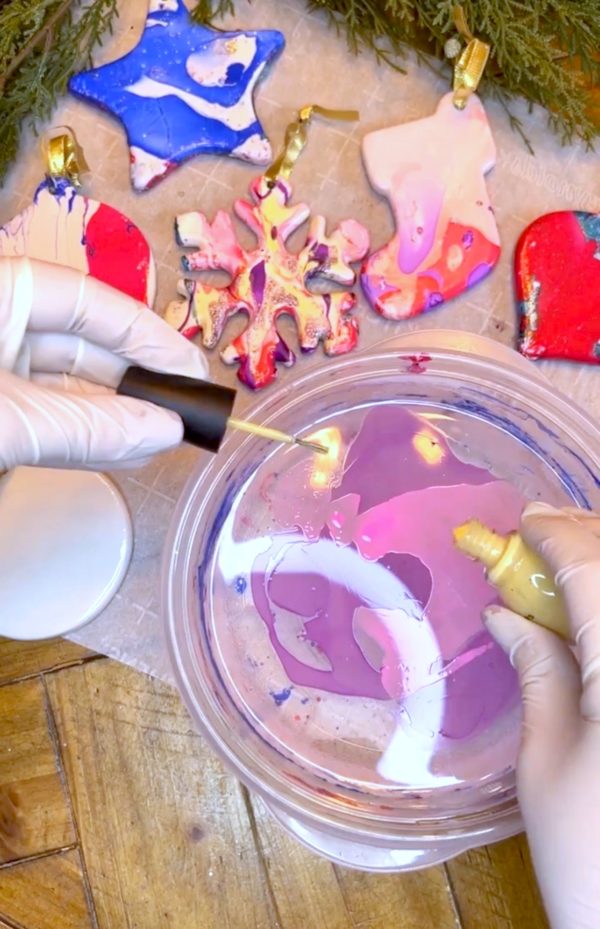
3. Take a toothpick/skewer to help mix the colors together for the desired look.
4. Carefully drop the ornament into the bowl of water. The nail polish will begin to spread out and create a marbled effect.
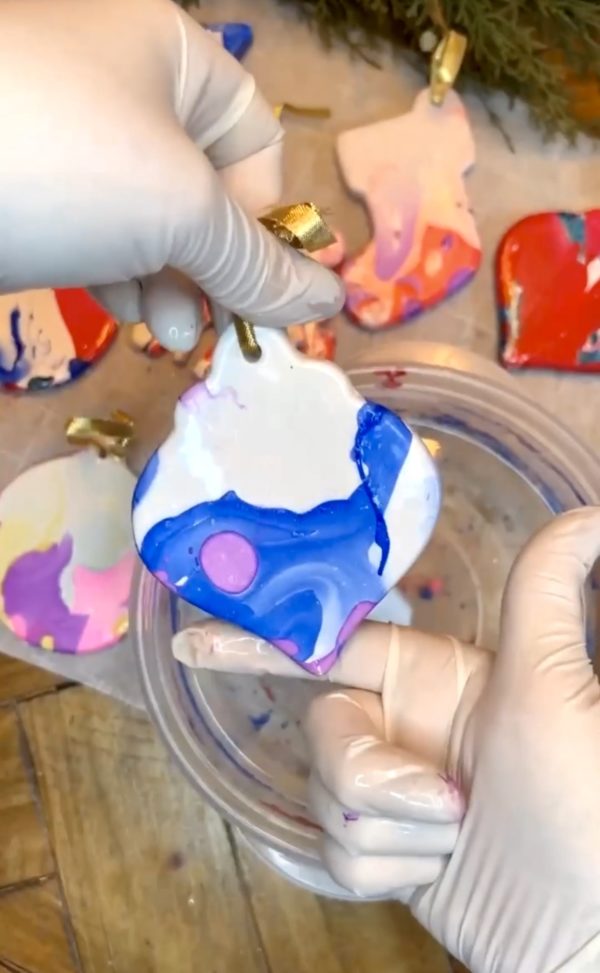
5. Once you are happy with the marbled effect, carefully remove the ornament from the water and let it dry completely on the laid out parchment paper. The dry time usually sets within 10-15 minutes.
And that’s it! With just a few simple steps, you can create your own unique and colorful nail polish marbled ornaments. These ornaments make great gifts for friends and family, or can be used to add some personality to your own holiday decorations. Happy crafting!
*Tips:
1. Make sure it is slightly warmer water as it will not spread out and transfer well.
2. Be sure you are in a area where it can be well ventilated.
3. You can paint a coat of mod podge over the surface to help protect.