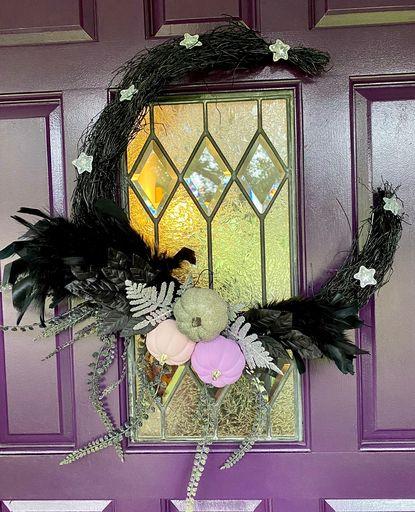
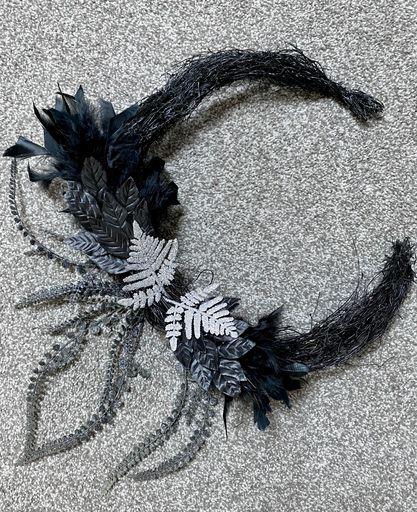
Halloween doesn’t always have to be creepy crawly and spooky. Add a bit more magic this Halloween season with this DIY crescent moon wreath.
Difficulty level: Beginner
Time to complete: 1 hour
Age range: 12 and up
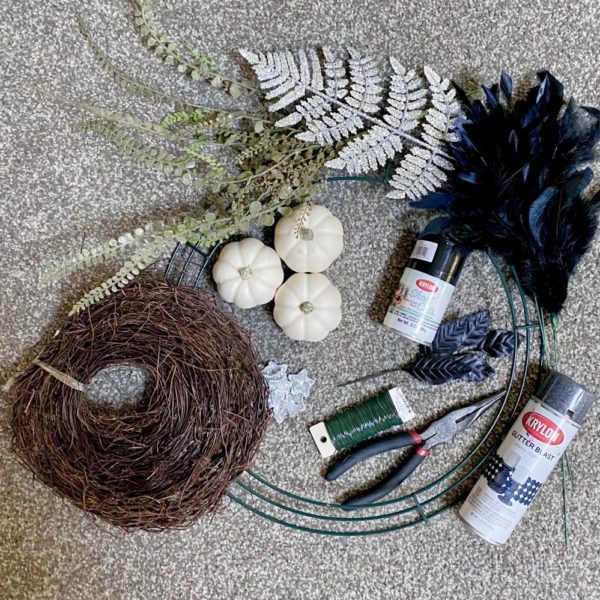
Things you’ll need:
1 Natural rattan twig vine wreath
1 package black fuzzy feather sprays
1 package black silk leaf picks
Krylon Glitter Blast Starry Night glitter spray paint
Krylon Short Cut Black Gloss Enamel Spray Paint
1 package Silver Nylon Stars
Heavy Duty Floral Wire Cutters
3 Apple Barrel paints of your choice
Things to do:
1. Cut about 7-8 inches section out of the wreath form
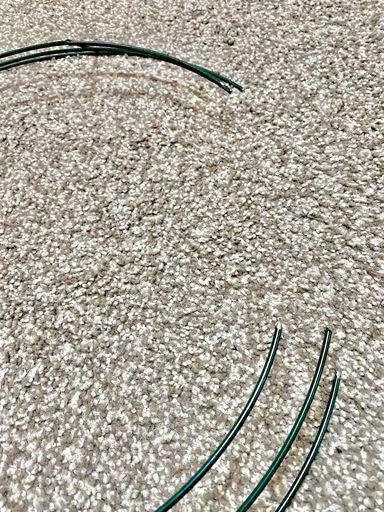
2. Take the floral wire and connect each side of the wreath form ends together.

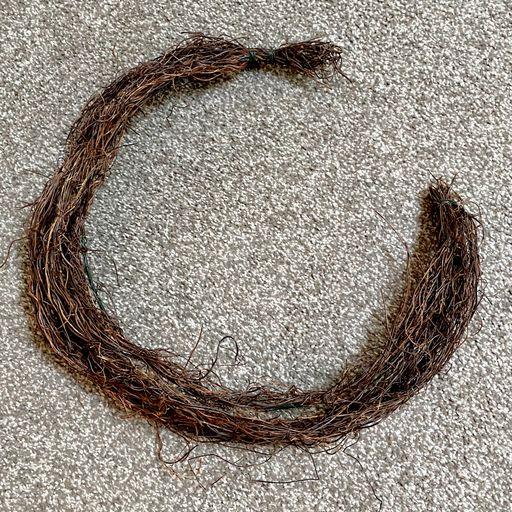
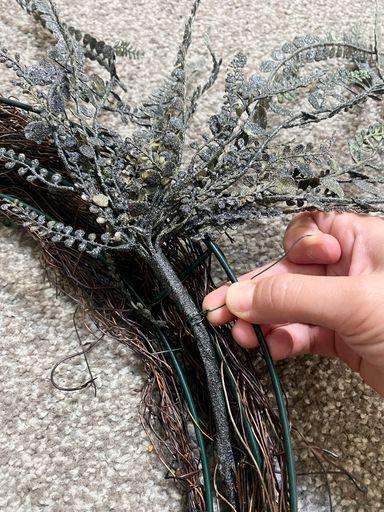
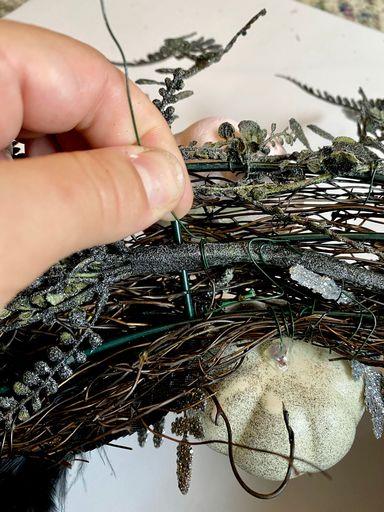
3. Grab your twig vine and attach it to one end of the wreath form. Continuously wrap it along the form, starting at the lower wire first then moving your way up to the top wire of the form. Using the floral wire, connect the twig garland every couple sections to secure the garland to the wreath. Once you get to the end points of the form, wrap with the floral wire as well. This helps with not cutting the twig garland and making too big of a mess.

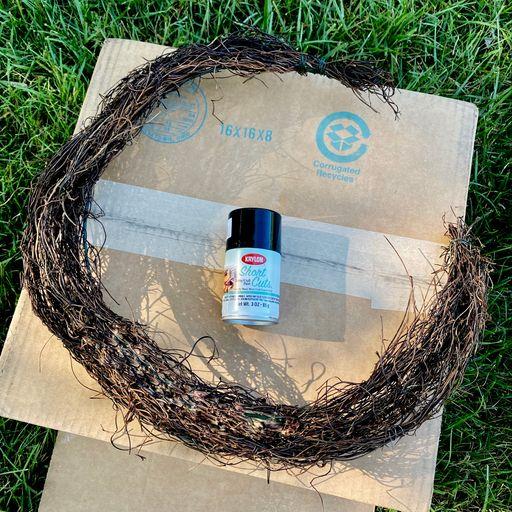
4. Once you have created the wreath, it is time to spray paint it with the black short cut Krylon spray paint.
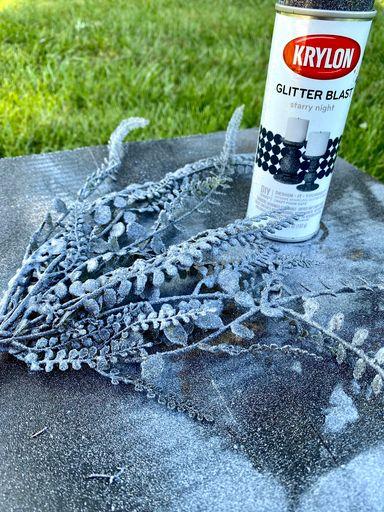
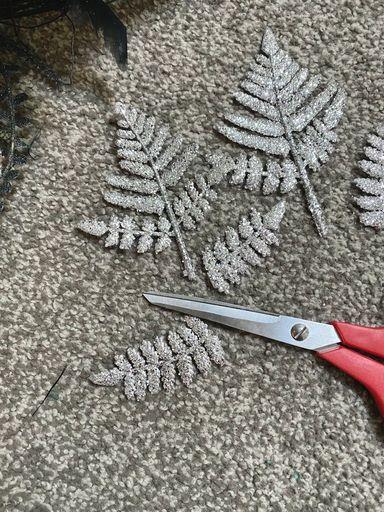
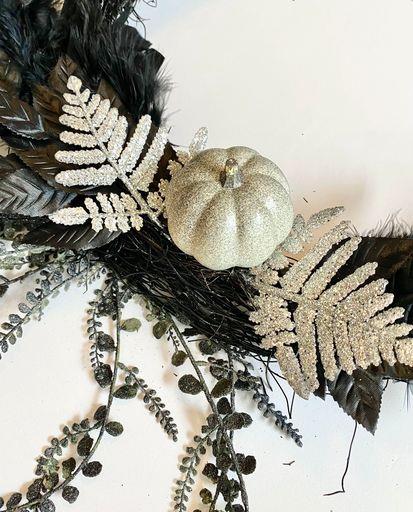
5. While the wreath is drying, take the Starry Night Black Glitter Blast and spray paint the fern spray. Coat the fern spray generously until you get the coverage you would like. Once everything is dry, then attach the fern spray on the backside of the wreath, toward the center of the wreath. This is roughly around the 15-inch marker starting from the bottom end up the ‘crescent moon’. Then fan out the fern spray and secured it with floral wire to help get a cascading look.
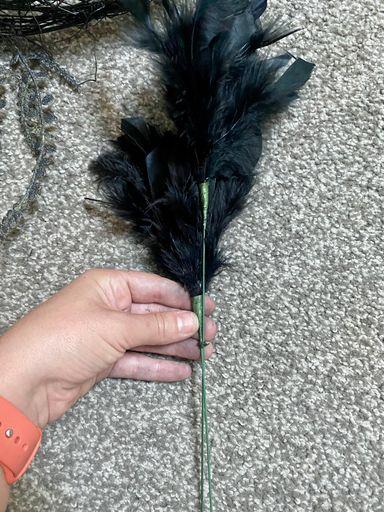
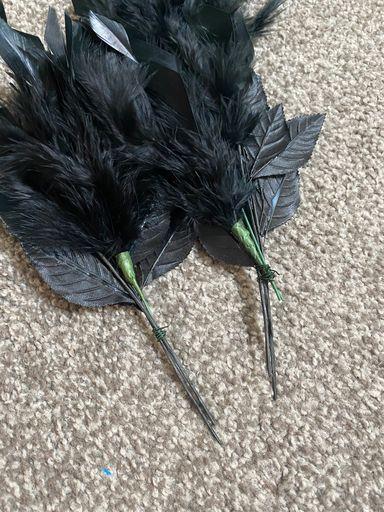
6. Take 2 feather picks and stagger on top of each other, making the top feather pick a little lower than the bottom. This will helps create the fullness and add length. Secure with the floral wire.
7. Take 3 leaf sprays and attach them to the feathers you have already put together. Make sure these are attached to the leaf picks a little lower to help create length and to not cover up too much of the feathers. Fluff out the leaves to get the desired look.
8. Then create a 2nd feather pick. You will just use 1 feather pick and 2 black leaf picks. Connect them together using the floral wire. Trim the picks to allow about a 1inch left to allow for attaching to the wreath.

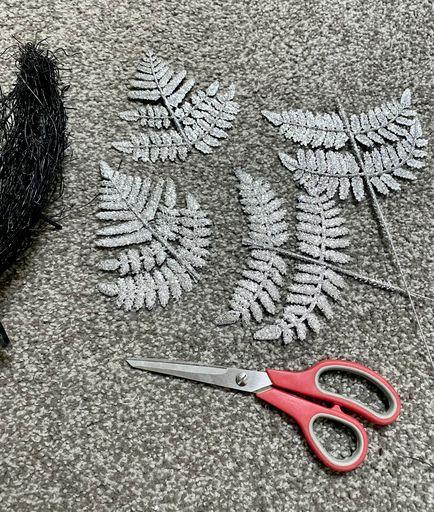
9. Grab the 2 silver glittery fern picks and cut them to desired length. I cut them about half way up and trimmed a stem on each side to help allow me to have a place to attached them to the wreath with floral wire.
10. Gather up the feather/leaf sprays and lay them outward on top of the wreath in the same location where the cascading fern pick was attached. Attach them along with the sliver fern picks with the floral wire.
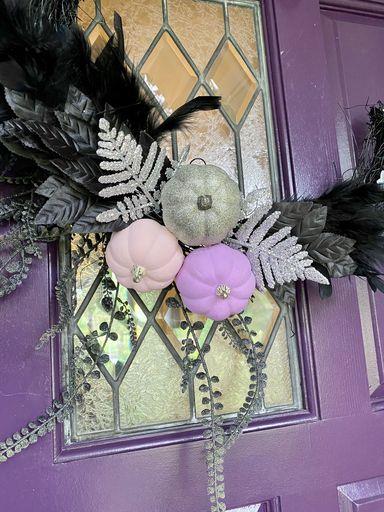
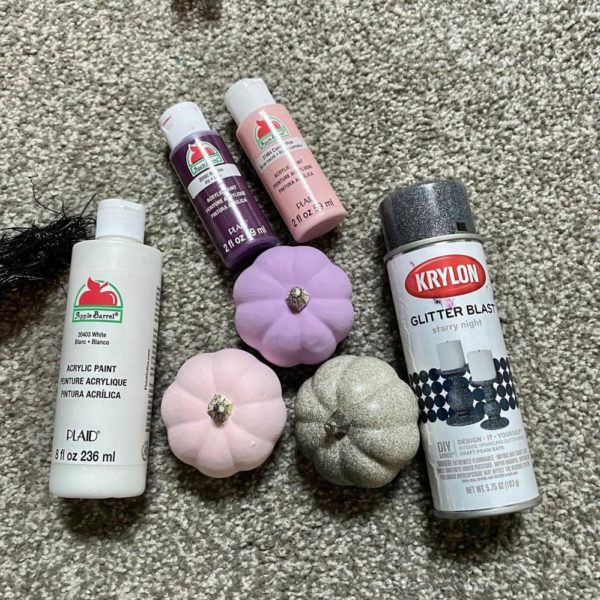
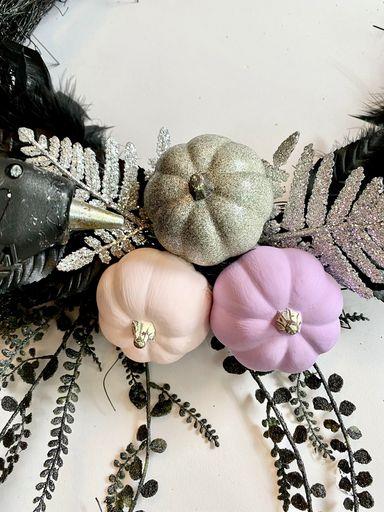
11. Next, take the 3 baby boo pumpkins and paint them with your desired colors. I used the Apple Barrel paint colors of Cameo Pink and Wild Iris. I mixed both with the Apple Barrel white to help give more of a pastel color. Then I did the 3rd in Glitter Blast Starry Night spray paint.
12. Once the pumpkins are dry, cut 3 pieces of floral wire that are about 4-5 inches long. Take a hot glue gun and attach the floral wire at the bottom of the pumpkins. This will allow you to then connect them in a triangle shape in the middle of the 2 feather stem pieces. Then take the hot glue gun and glue the pumpkins together so they keep their form.

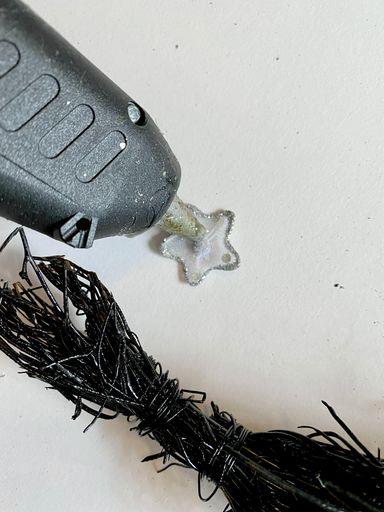
13. Lastly, take the nylon stars and lay them out on the twig wreath to add the finishing touches. Take a piece of wire to create a loop for the easy hanging.