

This is a great project for upcycling all those plastic bags you have around the house.
Difficulty level: Beginner
Time required: 30 minutes
Age range: 8 and up
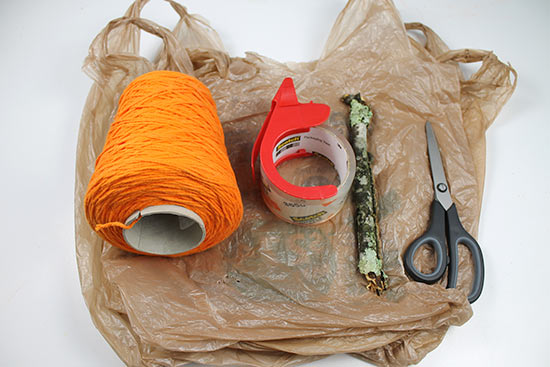
Things you’ll need:
Plastic bags
Packing tape or masking tape
Scissors
Thick branches from the yard
Orange yarn
Glue (optional)
Things to do:
1. Lay a plastic bag flat on your work surface. Begin rolling the outside edges toward the center to create a round shape.
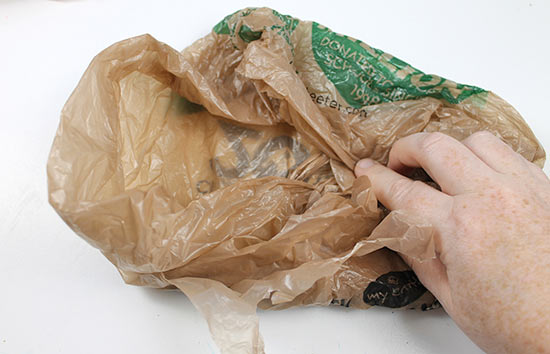
2. Tape the bag in the center of the fold to hold the circular shape of the pumpkin.

3. Repeat steps 1-2 two more times with two more bags.
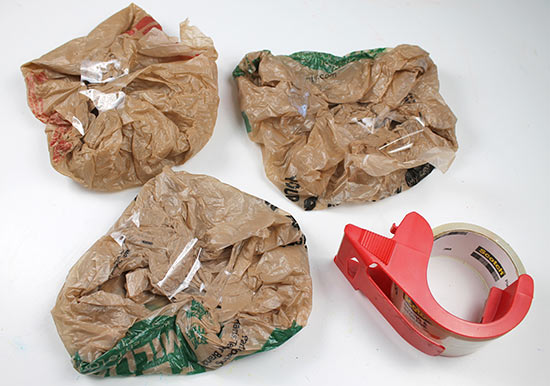
4. Stack the three plastic bags together, then tape them together to secure them.

5. Scrunch and fluff the bags with your hands to create a round shape.

Tip: If you want to create a smaller pumpkin, use only one or two bags. To create a larger pumpkin, use as many bags as you’d like.
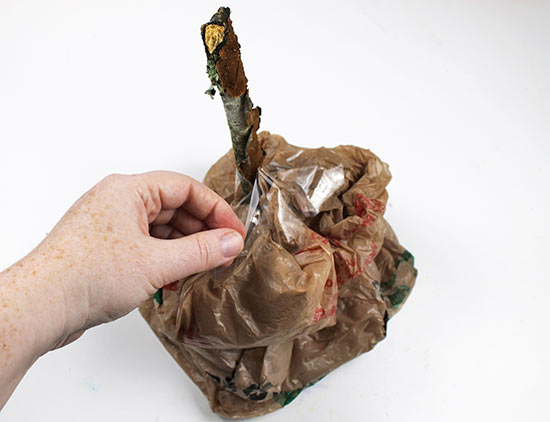
6. Using scissors, cut a slit into the top center of the stack of bags where you want the stem to go.
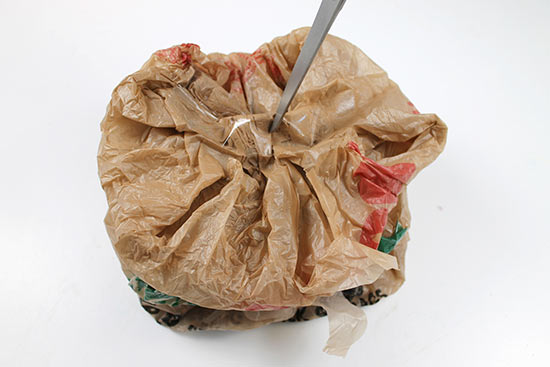
7. Insert the short branch into the cut. Remember that the yarn will cover part of the branch later, so don’t worry about choosing the perfect branch length just yet.
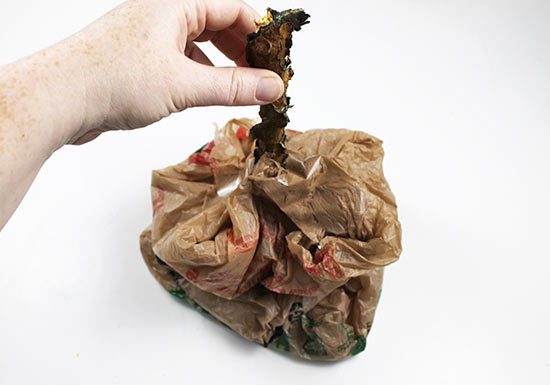
8. Tape around the branch to secure it.
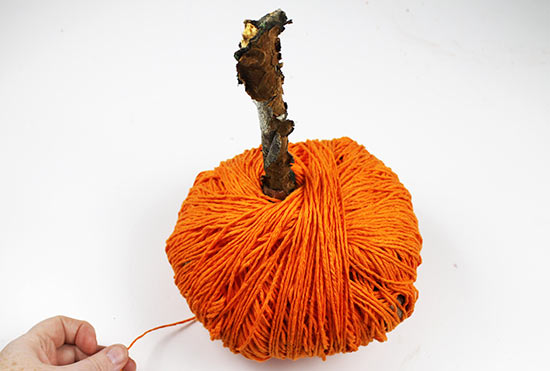
9. Grab the end of the yarn and begin wrapping around the plastic bag, wrapping over the yarn end to hold it in place.
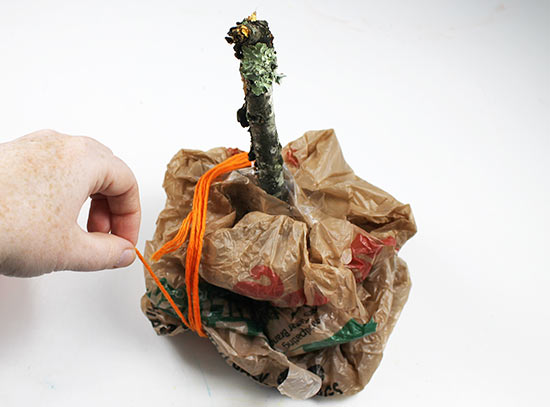
Tip: Try not to wrap too tightly, otherwise your plastic bags will collapse and make the pumpkin smaller.
10. Continue wrapping, changing the direction of the yarn after several dozen wraps and rotating the pumpkin. If your wraps appear loose, that’s ok. The more you wrap, the more the pumpkin will take shape.
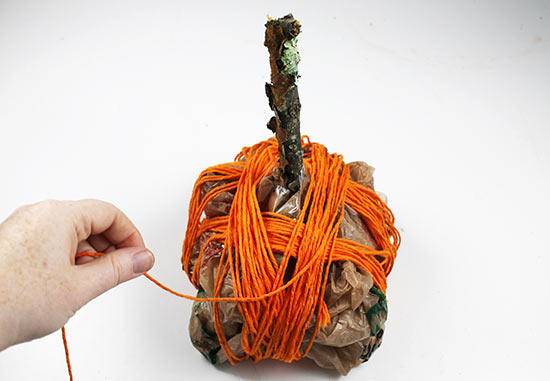
11. As you wrap, try to fill in spaces where the plastic bag is showing. When the pumpkin has a nice shape and you have covered all the open gaps where the plastic is showing, you’re finished wrapping.
12. Then the entire bag is covered with yarn, cut the yarn.
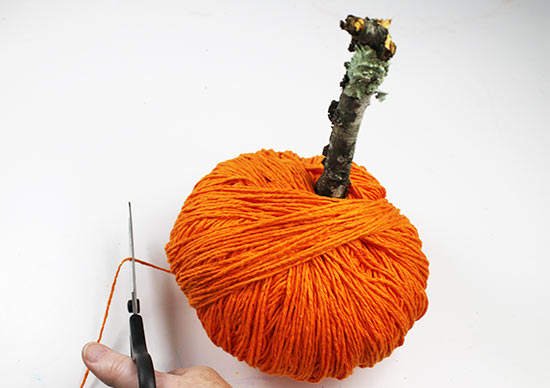
13. Tuck the yarn end into the nearby wraps.

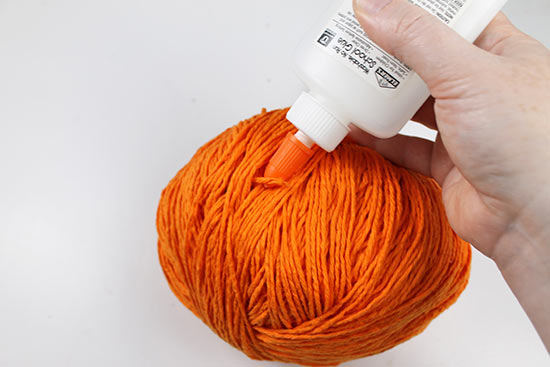
14. Optional: Secure the yarn end with a dab of glue.
Tip: If, after wrapping, your branch seems too long for a stem, you can break part of it off to shorten it.