Difficulty level: Beginner
Time required: 30 minutes
Age range: 8 and up
Things you’ll need:
Tracing tool such as a pen
Oval and circle templates (we used household items like lotion and glue bottles)
4-inch jumbo pom pom
1-inch pink pom pom
Scissors
Hot glue gun and glue sticks
White felt
Pink felt
Things to do:
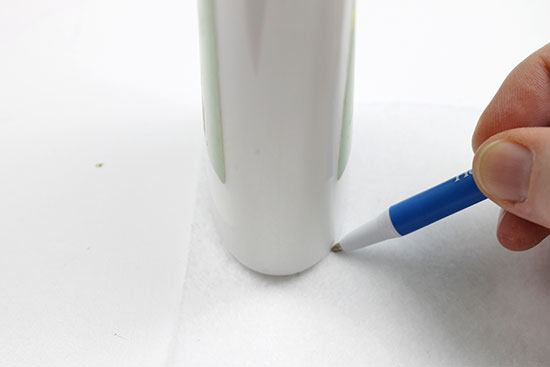
1. Using the tracing tool, trace two oval shapes onto the white felt. We used the bottom of a lotion bottle as our templates. You can also draw the feet freehand.
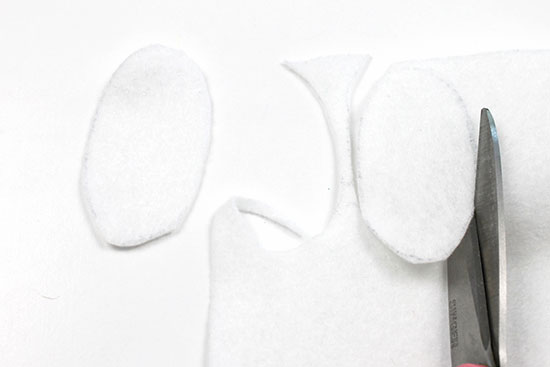
2. Cut the two oval shapes from the felt.
3. Using the tracing tool, trace eight small circles onto the pink felt. We used a glue bottle as our circle template. You can also draw the paws freehand.
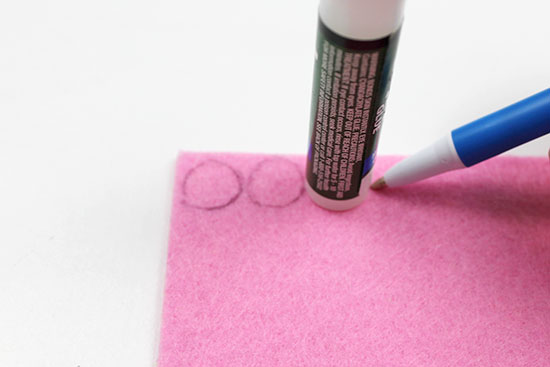
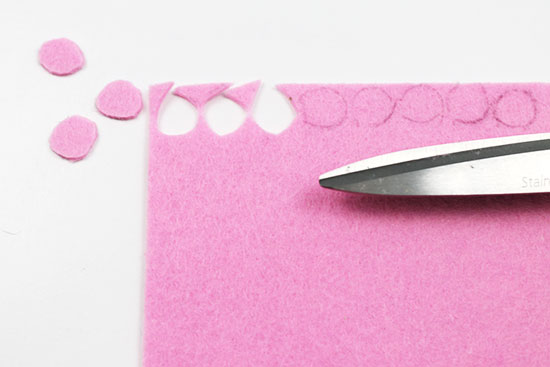
4. Cut out the circles.
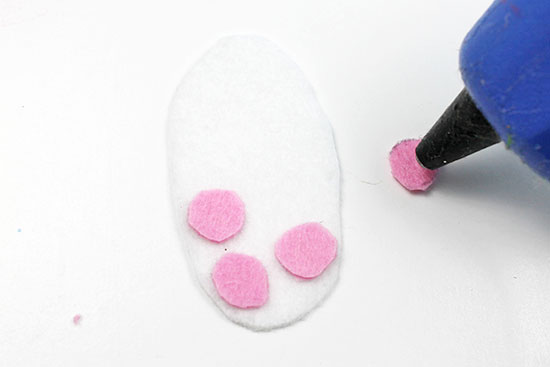
5. Flip the white felt ovals over so that the tracing marks are not visible. Begin hot gluing the tiny pink circles around the bottom of the foot. Be sure the pink felt is flipped over so that the tracing marks are not visible. You will need four pink circles on each white oval.
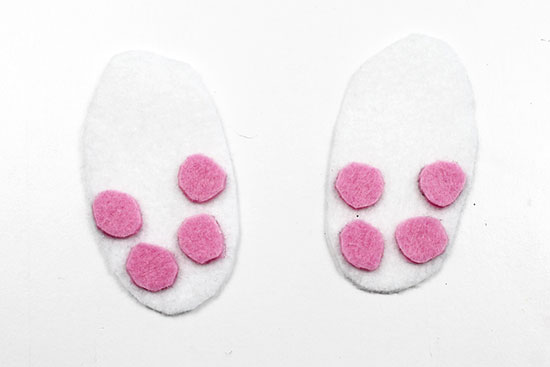
6. Continue to hot glue the pink circles until you have four circles on each white felt piece.
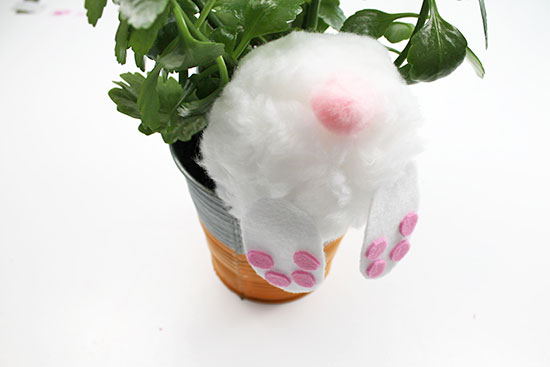
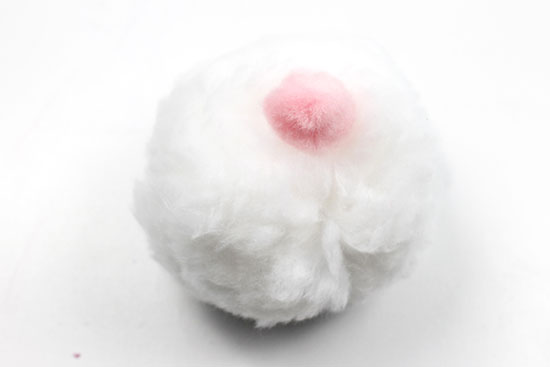
7. Hot glue a small pink pompom to the center of the large white pompom.
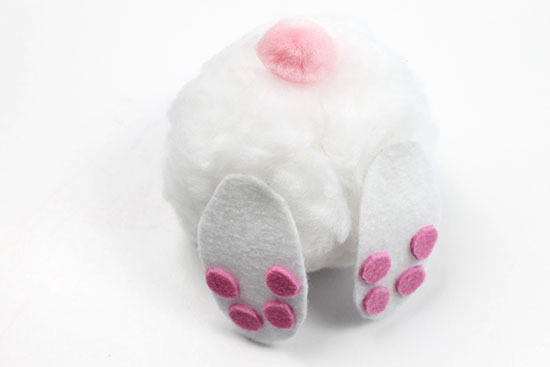
8. Hot glue each white felt foot to the large white pompom, slightly below the pink pompom.
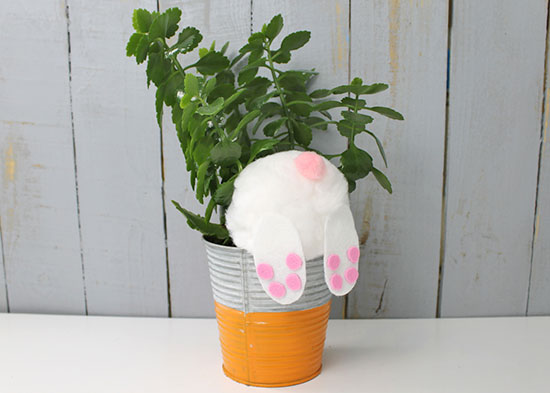
9. Push the white pompom into the side of the planter.