Difficulty level: Beginner
Time required: 45 minutes, including drying time
Age range: 8 and up
Things you’ll need:
Assorted wood eggs
Paper napkins
Mod Podge
Scissors
Paintbrush
Things to do:
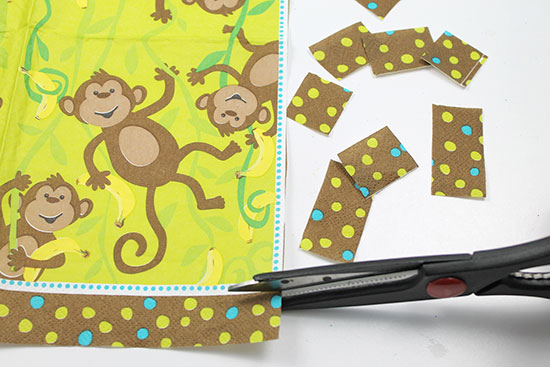
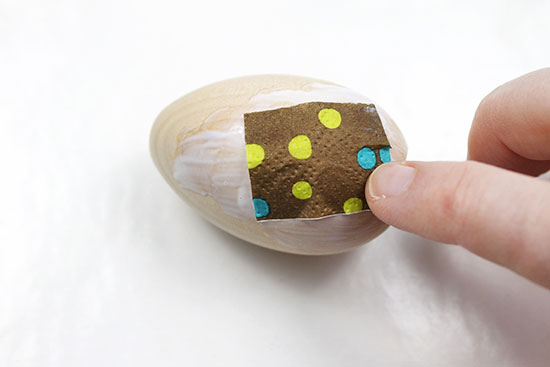
1. Using scissors, cut the parts of the paper napkin you want to use for the egg. We decided to use the polka dot border of this napkin, but you can use any part of the napkin you like. Cut the napkin into small pieces that will easily fit on the egg.
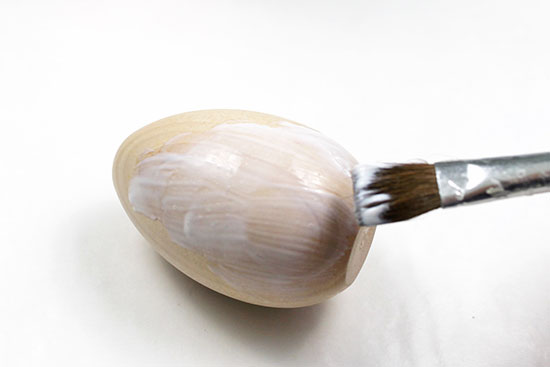
2. Using a paintbrush, cover the entire egg in Mod Podge.
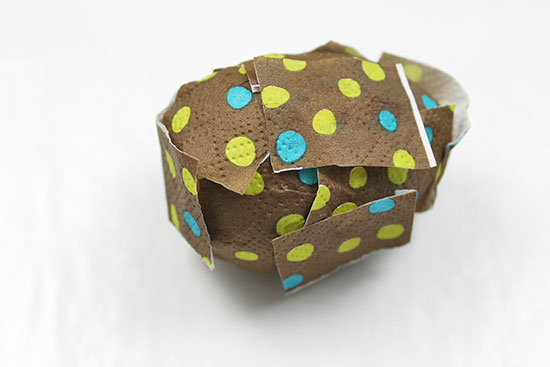
3. Begin adding the paper napkin pieces to the egg, smoothing them down as much as you can. There will be some corners that won’t lay down smooth, but don’t worry about those for now. Tip: If you’re finding it difficult to cover the entire egg because the egg is rolling around, you can work in small sections, adding Mod Podge and napkin pieces in one section, then moving on to the next.
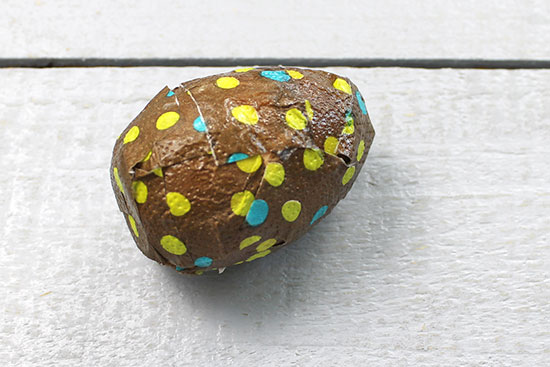
4. Keep adding paper napkin pieces until the entire egg is covered. Allow 15-20 minutes for the Mod Podge to dry.
5. When the Mod Podge is dry, use your paintbrush to add one more layer of Mod Podge over the napkin pieces. As you add Mod Podge, try to smooth down the corners of each piece.
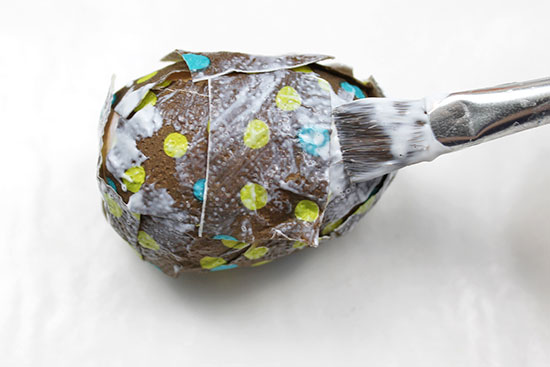
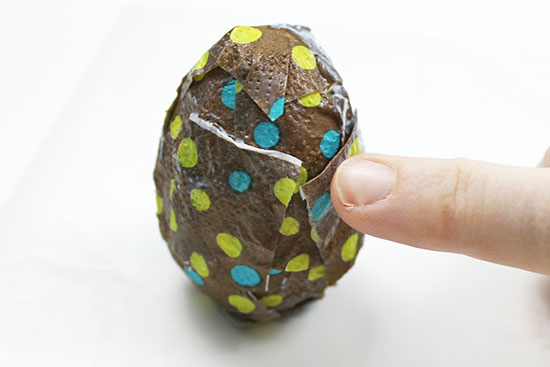
6. If there are still corners that won’t lay flat, you can also use your fingers to smooth down the corners. Once you’re finished, allow 15-20 minutes for the Mod Podge to dry.