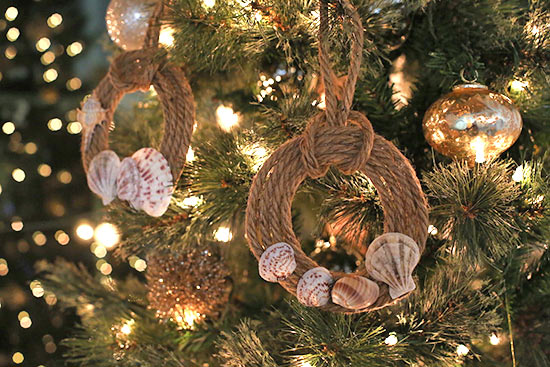
Celebrating the season by the seashore? These beautiful, themed ornaments will fit perfectly on your tree.
Difficulty level: Beginner
Time to complete: 20 minutes
Age range: 12 and up
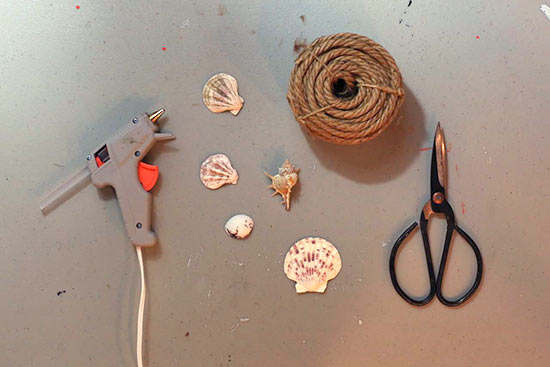
Things you’ll need:
Hot glue gun/glue sticks
Seashells
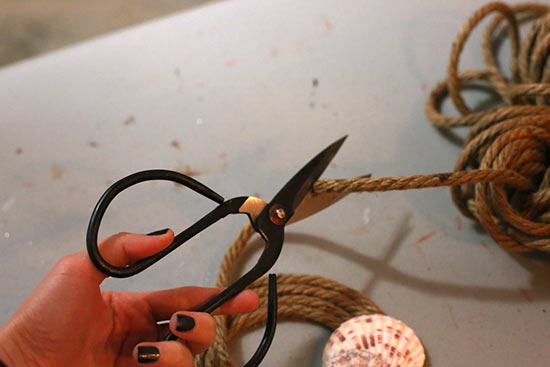
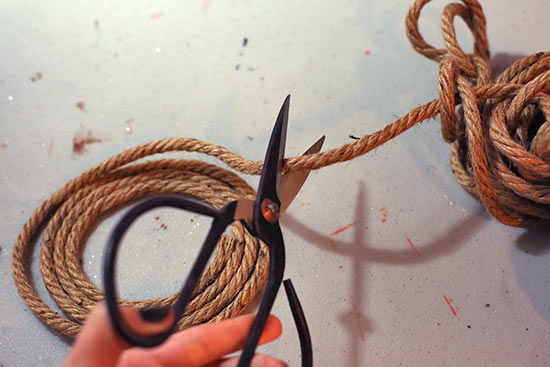
Scissors
Rope
Things to do:
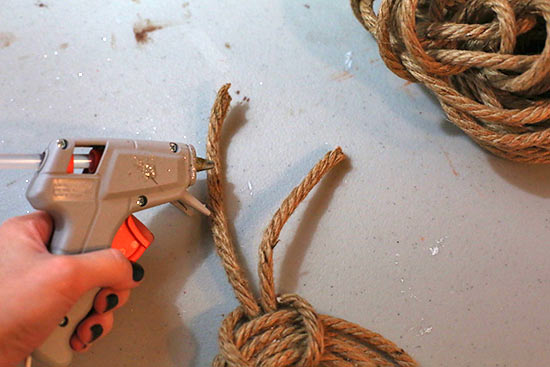
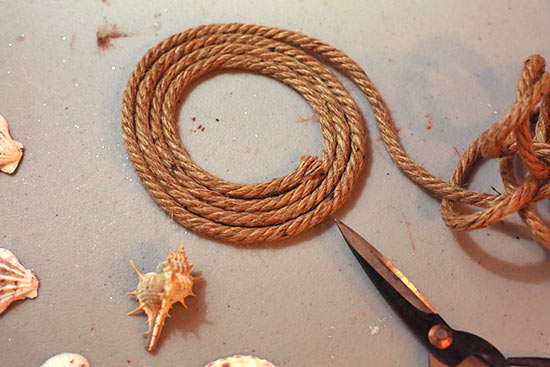
1. First, create a rope wreath. Wrap your rope around itself in a circle four times, using hot glue to secure the ends. Trim any excess rope.
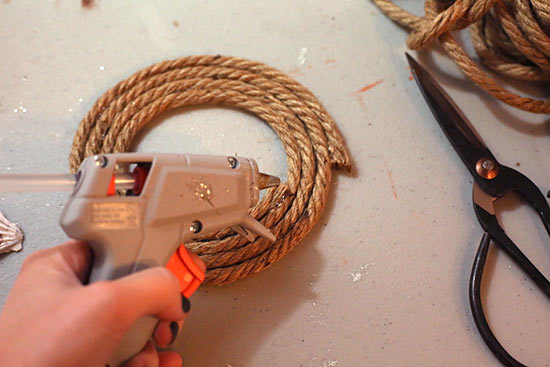
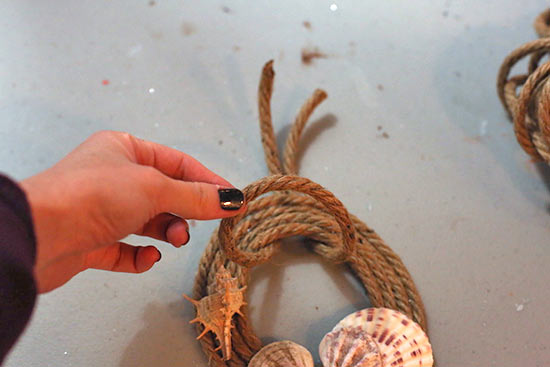
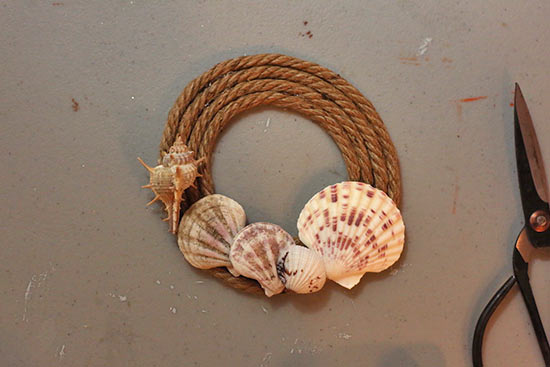
2. Next, decorate your rope wreath with seashells. Use hot glue to secure them in place.
3. The final step is creating a hanger. Cut a 12-inch pieces of rope, fold it in half and lay the wreath on top of it. Slide the ends of the rope through the loop, securing the wreath in place. Use hot glue to attach the ends of rope, creating a hanger.