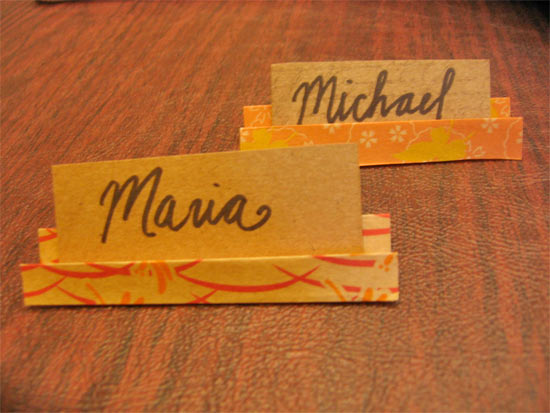
Origami Place Holders are an easy way to make dinner guests feel welcome. You can make large numbers of these place card holders very quickly with just a few simple folds and cuts. Use colorful paper to create handmade placeholders for your wedding or your next dinner party. Special markers or pens add an artistic touch to your place cards as well. Make sure to use a straight edge or ruler to measure out your place cards before cutting them so that they will all be the same size, or just use pre-measured name cards.
Difficulty level: Beginner
Age: Adult
Required time: less than 5 minutes (for about 6 place card holders)
Things you’ll need:
Colorful origami paper
Thick card stock paper (for your name cards)
Artistic pens or markers
Scissors
Things to do:
1. Fold your origami paper in half.
2. Cut along the fold.
3. Take one of the cut halves of your paper and fold down one short edge about 1/4 in.
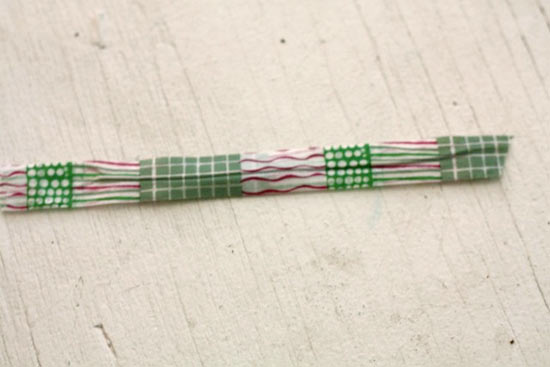
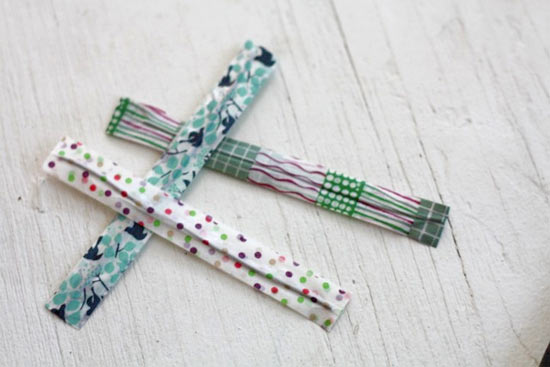
4. Begin folding the paper back and forth on top of itself, creating 1/4 in folds all along the rectangular paper.
5. Open the folded paper and make a cut between every 2 folds.
6. Place your name cards between the two folds of each place holder.
7. Set your place holders above each guest’s table setting so they know where to sit.
