Skip to search Skip to navigation menu Skip to main content Selecting option will reload page

Category: Kid's Arts and Crafts

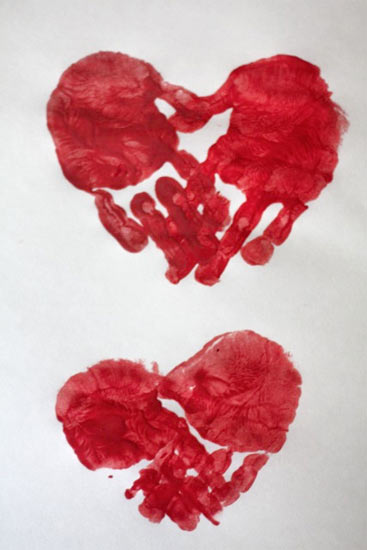
Handprint Heart

Handprint_Heart
Can’t think of anything to give dad this Father’s Day? Both my dad and my husband are notoriously hard to shop for so most years I help the kids make a little something handmade for the guys in my life. And this year they are getting some Handprint themed art. Here’s part one of that project!

Things you’ll need:
Acrylic Paint (two or more colors)
Foam brushes
White or light cardstock
Fine point pen
Little hands

Things to do:
1. Wash and dry those little hands. You’ll need two hands per heart. If you have two kids whose hands are close in size, use one from each (one right, one left) for one heart. Otherwise, one heart per child works best.
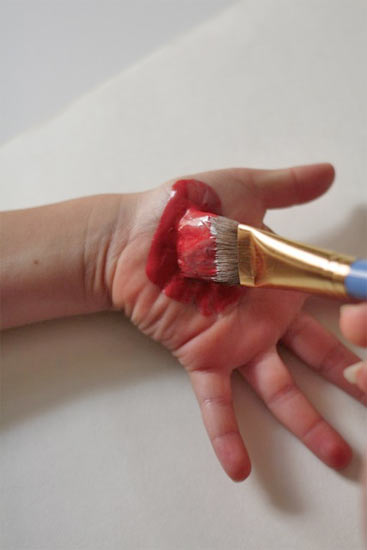
2. Spread a thin layer of paint on one hand and press it down on the paper at an angle, fingers together.
Handprint_Heart2
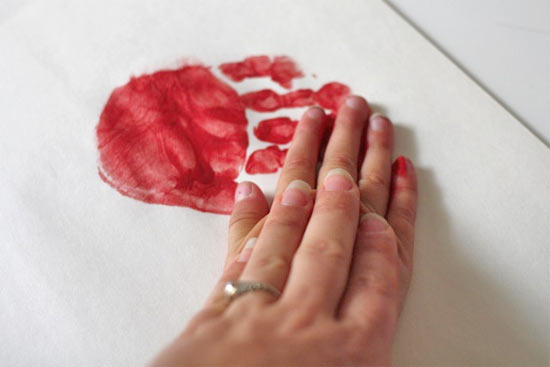
3. Allow the handprint to dry and then layer the other hand on top to form a heart.
Handprint_Heart3
4. Once both prints are dry, add a message, either around the heart or at the bottom and frame.
Continue Reading

Grosgrain Ribbon Covered Clips

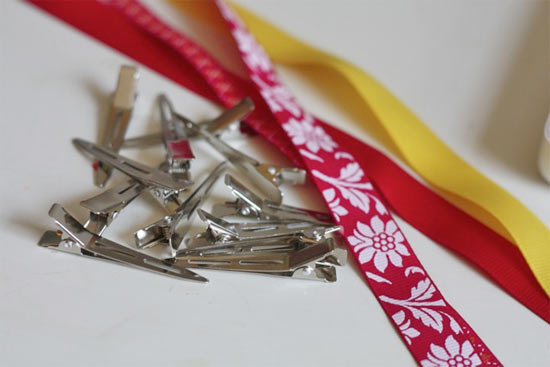
Ribbon_Covered_Clips
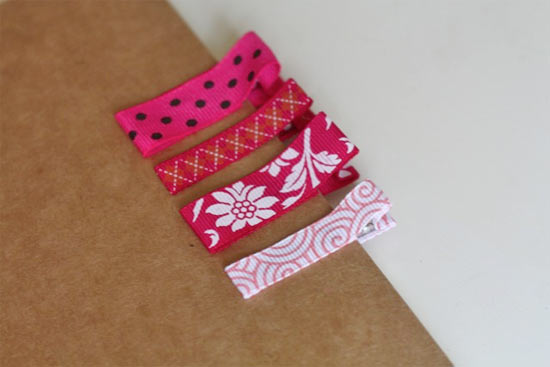
I have a little girl who loves all things flouncy, pink and otherwise fancy, and accessories, especially hair accessories, are a daily fact of life in our house because of it. Most days she prefers big flowers or bows to spruce up her hair, but sometimes, a simple little clip will do, as long as it’s not too simple. That’s when I turn to these little ribbon covered clippies. Perfect on their own and easy to make, they are also a great base for embellishing with beads, flowers or sparkles. Every little girl should have a few (dozen)!

Things you’ll need:
Alligator clips
Grosgrain ribbon, 1/4 – 1/2 inch wide
Craft glue
Scissors

Things to do:
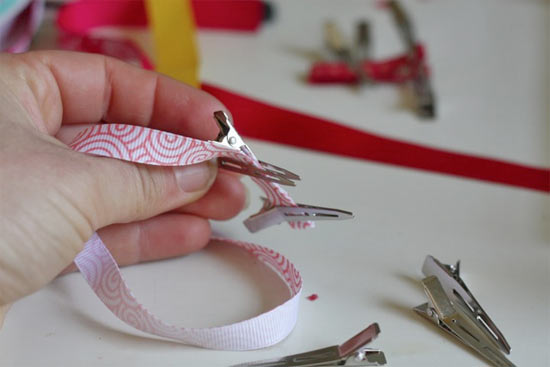
1. Dab a small mount of glue down the center of the first 1/2 inch of your ribbon. Open up the clip and press the ribbon onto the bottom side of the top half of the clip and close.
Ribbon_Covered_Clips2
Ribbon_Covered_Clips3
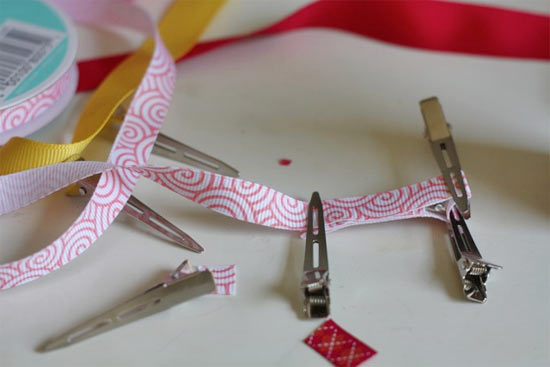
2. Dab a little more glue onto the next 1/2 inch and bring the ribbon around to the top of the top side, pressing the two pieces of ribbon together and holding it in place for the moment with a spare clip.
Ribbon_Covered_Clips4
3. Run a thin bead of glue up over the angled end and around the spring end pieces, avoiding the spring and press ribbon into place. Hold the ribbon onto the spring end pieces with more spare clips.
4. Wrap the ribbon around the bottom half of the clip in and out, adding glue as you go.
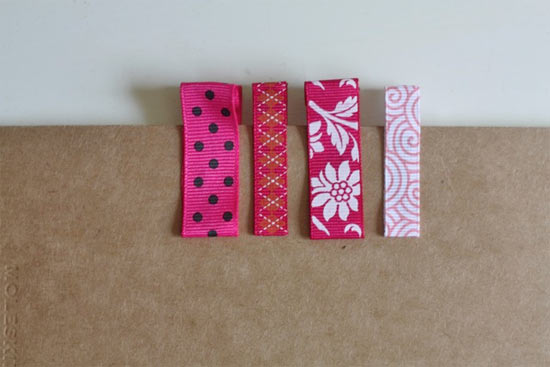
5. Clean off any excess glue and let them dry with the spare clips still in place for until set.
Ribbon_Covered_Clips5

Continue Reading
Change Your Country
Please select your country, this will change the site to your country's currency:

Cancel