Give Princess Poppy a place on your wall with this tutorial to create Poppy from popsicle sticks. Experiment with the concept to create a whole family of trolls.
Difficulty level: Intermediate
Time required: 2 hours
Age range: 8+
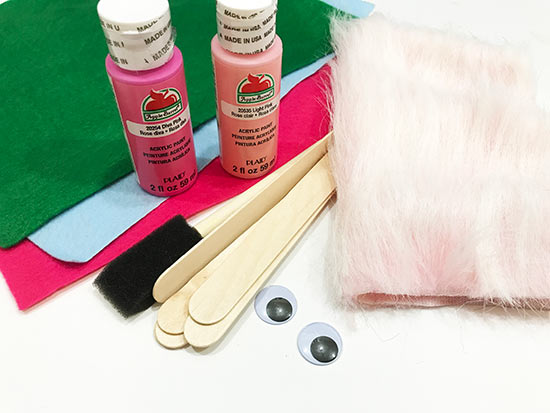
Things you’ll need:
Popsicle sticks
Pink paint
Paint brush
Faux fur
Felt
Googly eyes
Permanent marker
Hot glue
Hot glue gun
Things to do:
1. Gather your supplies.
2. Paint 6 popsicle sticks pink (adjust the number if you are using a different size) and set them aside to dry.
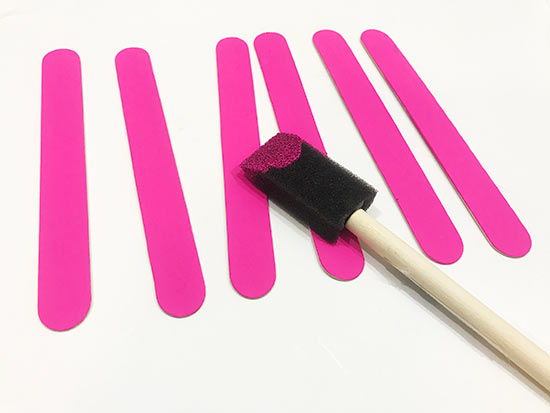
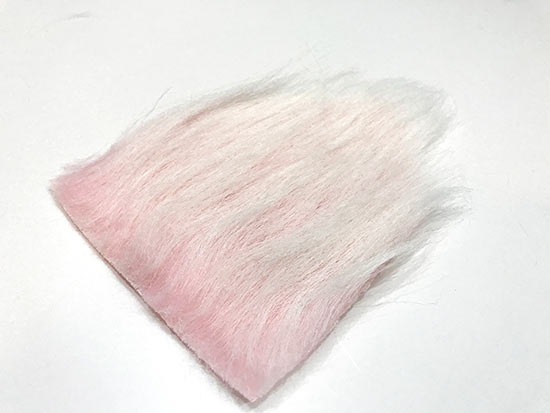
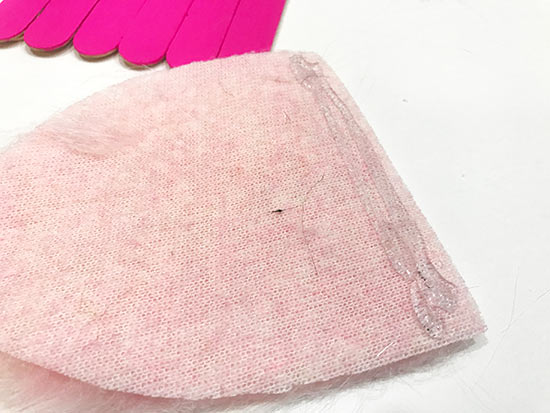
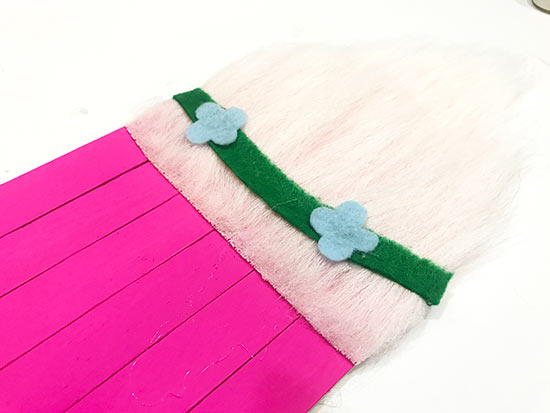
3. While the paint is drying, cut the faux fur in the shape of Poppy’s hair. You want the bottom flat and the top to come to a rounded point.
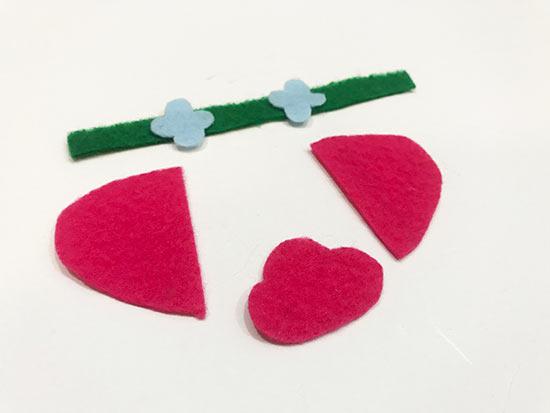
4. Cut a green headband, a couple blue flowers, two pink ears, and a pink nose from felt.
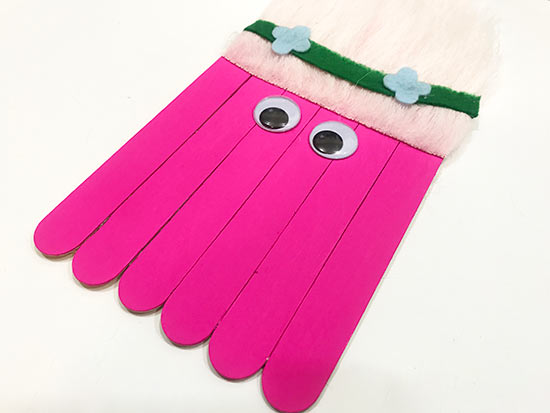
5. When the paint is dry, turn the pink popsicle sticks over and line up side by side.
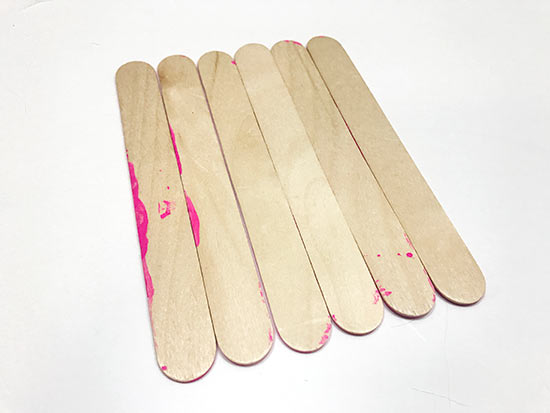
6. Apply a line of glue to an unpainted popsicle stick.
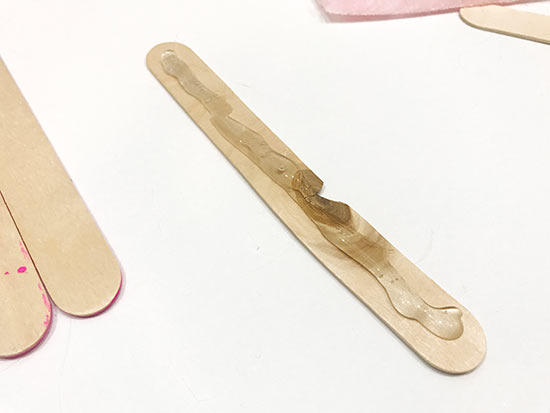
7. Press the popsicle stick across the back of the pink popsicle sticks, securing all 6 together. Repeat with an additional unpainted popsicle stick for added strength.

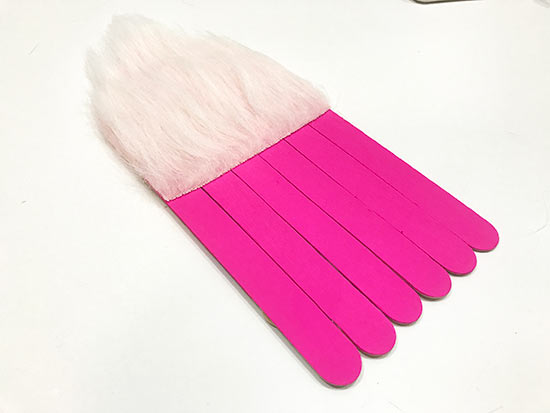
8. Apply a line of glue along the back, bottom, flat edge of Poppy’s hair and press firmly in place across the top of the pink popsicle sticks.
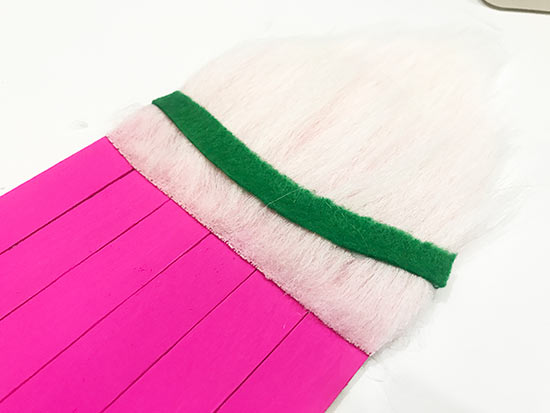
9. Glue the green headband in place at the base of the hair.
10. Glue a couple blue flowers along the headband.
11. Glue the google eyes in place beneath the hair to start the face.
12. Glue the ears and nose in place. You want to line up the ears slightly with the eyes and position the nose just under the eyes
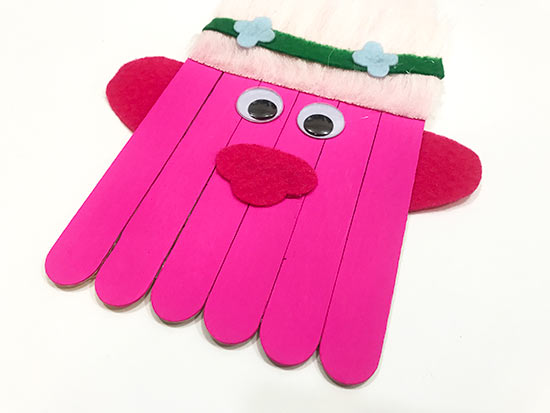
13. With the permanent marker, draw a smile below the nose and eyelashes on the edge of each eye.