Skip to search Skip to navigation menu Skip to main content Selecting option will reload page

Category: Kid's Arts and Crafts

How to Make No Sew Felt Pillows

No_Sew_Felt_Pillows7
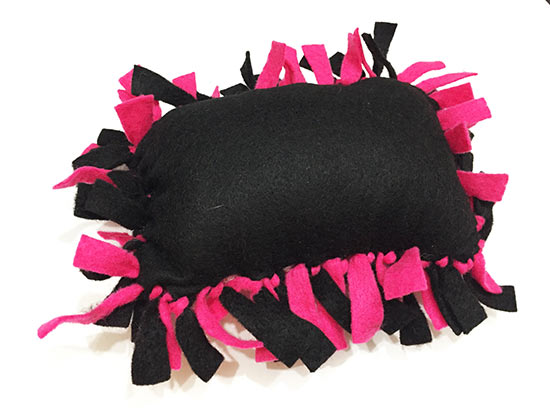
Make these felt pillow in any size or shape for endless options. They are perfect for a doll’s bed!

Difficulty level: Beginner
Time required: 1-2 hours (depending on size)
Age range: 8+

Things you’ll need:
Assorted felt
Scissors
Poly-fil stuffing

Things to do:
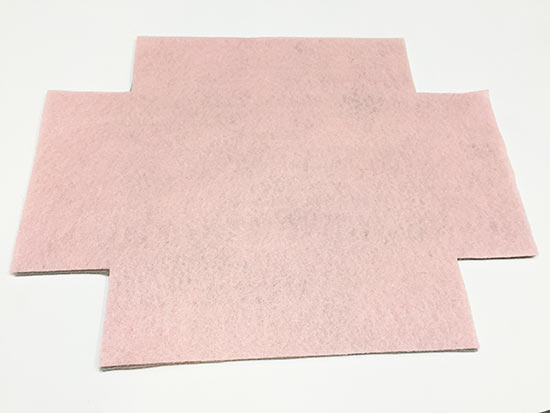
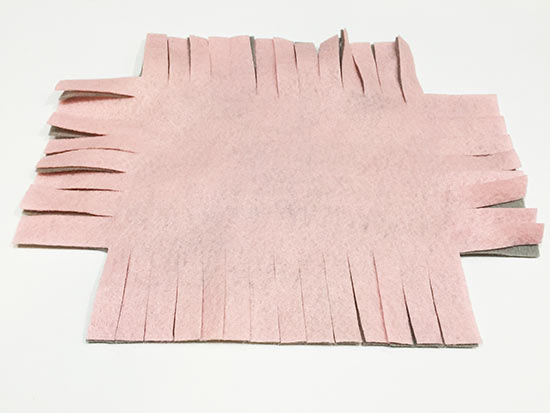
1. Cut two pieces of felt the same size (I used two whole sheets of felt).
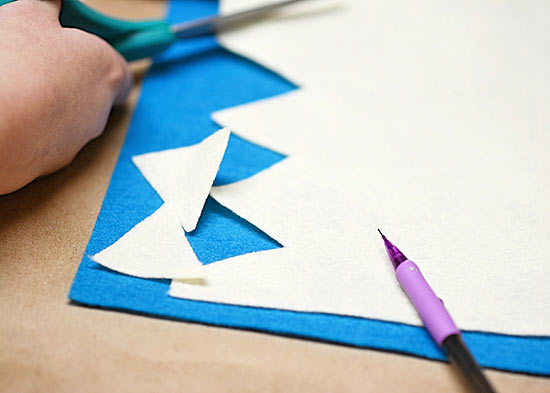
2. Cut one inch squares out of each corner (these squares will be smaller or larger depending on the size of your piece of felt).
No_Sew_Felt_Pillows2
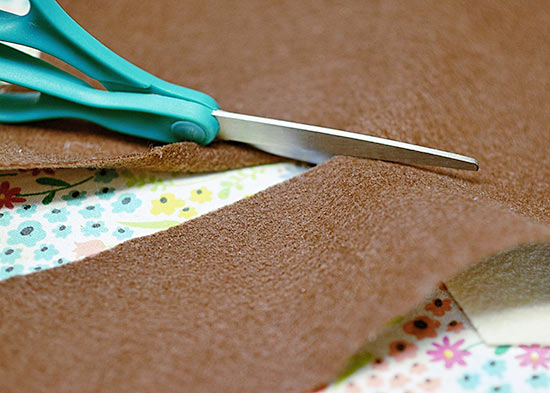
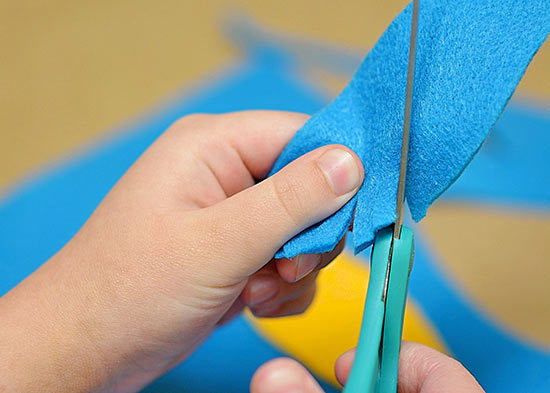
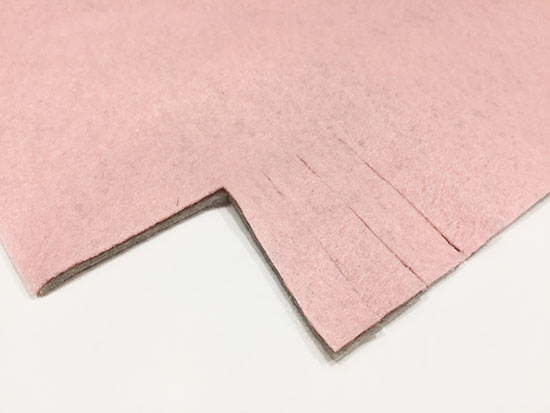
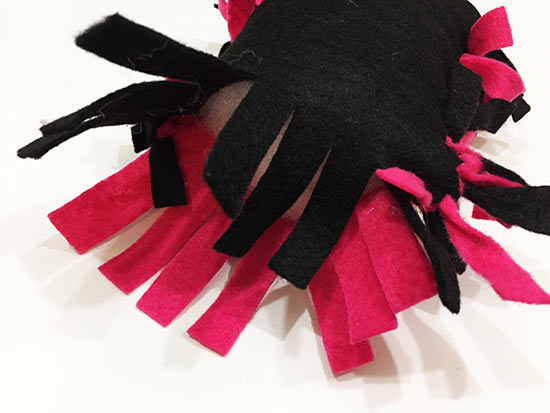
3. Cut one inch strips of felt into each edge of the remaining sections. You will be left with two pieces of felt that look like they have fringe. (It is easier to make sure your fringe pieces match if you line up your pieces and cut through both layers at once).
No_Sew_Felt_Pillows3a
No_Sew_Felt_Pillows3b
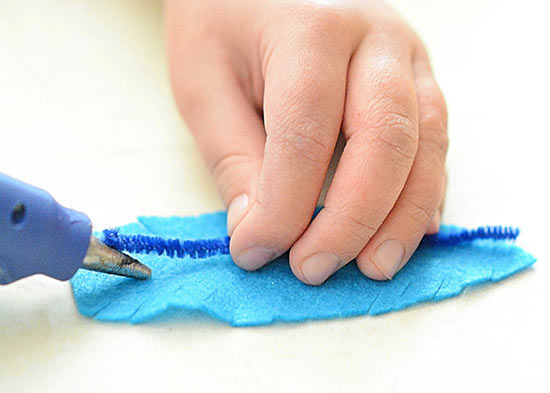
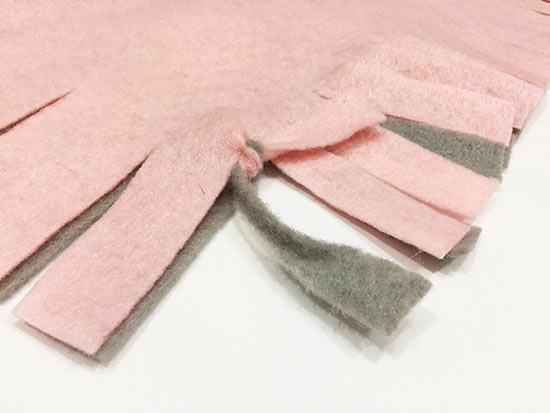
4. Line up the two pieces of felt, matching the corners, and tie two matching fringe pieces together.
No_Sew_Felt_Pillows4
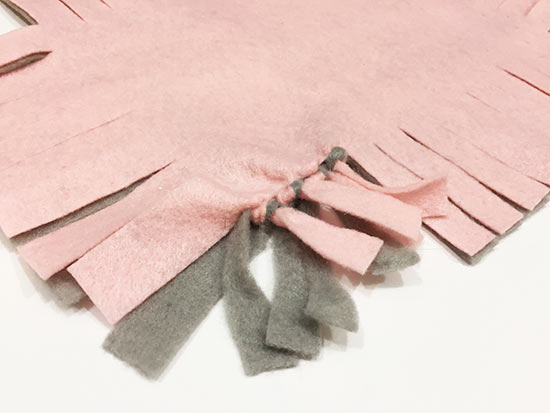
5. Continue tying matching fringe pieces together all the way around three of the sides.
No_Sew_Felt_Pillows5a
No_Sew_Felt_Pillows5b
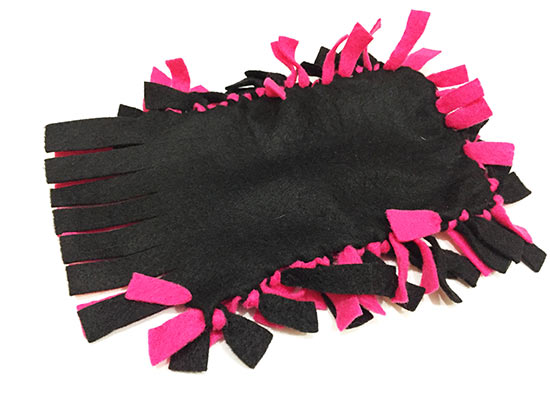
6. Stop on the fourth side and stuff the pillow.
No_Sew_Felt_Pillows6
7. Continue tying the fringe pieces until your pillow is completely tied shut.

Continue Reading

DIY Felt Dress Up Headdress

DIY_Felt_Dress_Up_Headdress
Create an adorable felt headdress, perfect for dramatic play as well as a fun addition to a costume chest!

Difficulty level: Intermediate
Time required: 30+ Mins
Age range: 8+

Things you’ll need:
Felt
Pipe cleaner
Ribbon, string or elastic
Hot glue gun
Hot glue sticks
Scissors
Ruler

Things to do:
1. Create the base of your headdress using felt. It is not necessary to measure, though helpful in creating a customized fit for the wearer. We used a 6 inch strip of felt for a toddler sized head.
DIY_Felt_Dress_Up_Headdress1
2. On each end of your base, attach either string, ribbon or elastic to the backside of your headdress using your hot glue. Using elastic works well for creating a one size fits one headdress, and is especially helpful if creating these for party favors. We used 11 inches of string on each side for our toddler sized headdress.
DIY_Felt_Dress_Up_Headdress2
3. Draw out feathers on your felt. Perfection is not necessary, as feathers aren’t perfect!
DIY_Felt_Dress_Up_Headdress3
4. Cut notches into each side of your feathers. It is helpful to fold your feather in half and cut your notches into both sides at once.
DIY_Felt_Dress_Up_Headdress4
5. Hot glue a piece of pipe cleaner in the middle of each feather. Each pipe cleaner piece should be the length of your feather. Note: You can choose to keep your pipe cleaner forward facing when attaching to your base, depending on your preference.
DIY_Felt_Dress_Up_Headdress5
6. Hot glue your feathers to the backside of our headdress. Press down firmly to assure the feathers hold sturdy to the base.
DIY_Felt_Dress_Up_Headdress6
7. Embellish! Decorate the base of your headdress to your preference, cutting out and gluing different shapes of felt to give your headdress a little flair!
DIY_Felt_Dress_Up_Headdress7
DIY_Felt_Dress_Up_Headdress_last

Continue Reading
Change Your Country
Please select your country, this will change the site to your country's currency:

Cancel