Skip to search Skip to navigation menu Skip to main content Selecting option will reload page

Category: General Crafts

Felted Tissue Cover

Felted_Tissue_Cover
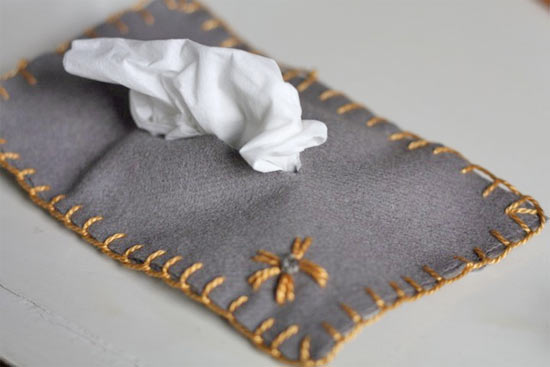
This time of year, when winter and spring colds are rampant, tissues always seem to need to be on hand, but that doesn’t mean they need to be in their ugly little plastic packets! Carry your tissues in cozy style with this felted pocket tissue cover.

Things you need:
Felt Squares (your choice of color)
Embroidery thread and needle
Scissors
Pocket Tissue pack

Things to do:
1. Using the tissue packet as a template, cut three rectangle about 1/2 inch larger than the packets.
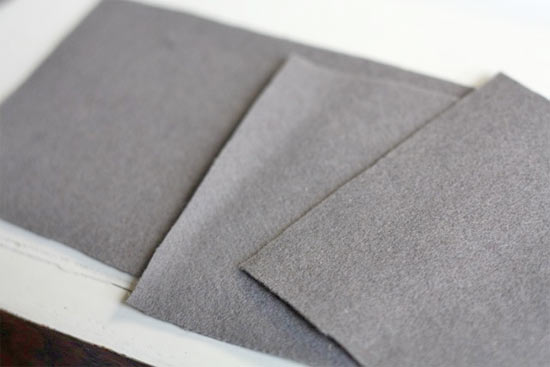
Felted_Tissue_Cover2
2. Trim one inch off of the end of two of the rectangles. Cut a two inch slit in the center of the third (longways). If you want a little extra decoration, embroider a fun shape, initials or add a few beads to this third rectangle at this point.
3. Lay the rectangle with the slit on a work surface and the line the ends of the other two up on top of it, overlapping the inner edges of the rectangles.
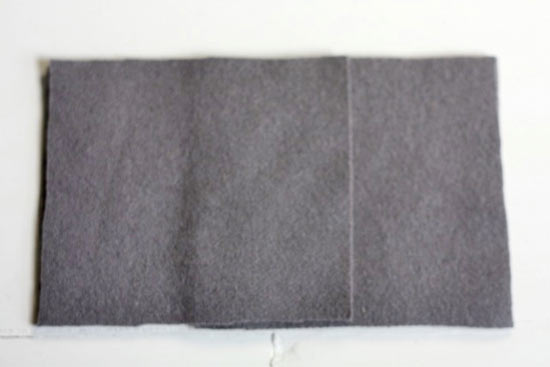
Felted_Tissue_Cover3
4. Thread your embroidery needle and, using a blanket stitch, sew all the way around the layered rectangles.
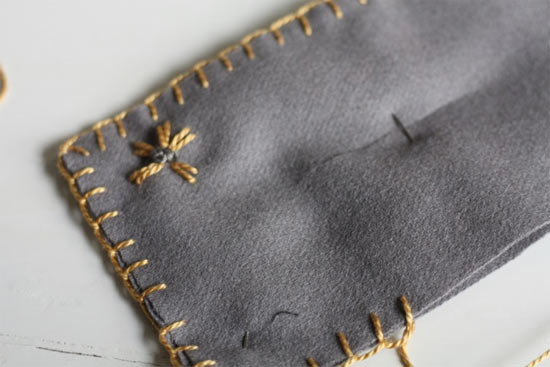
Felted_Tissue_Cover4
blanket_stitch
5. Slip the packet of tissues into the underside (where the two layers overlap, like a pillowcase) and pull the first tissue through the slit in the top.
Continue Reading

Upcycled Rocket Crayons

Upcycled_Rocket_Crayons

Photo Credit: Crab Apple Designs

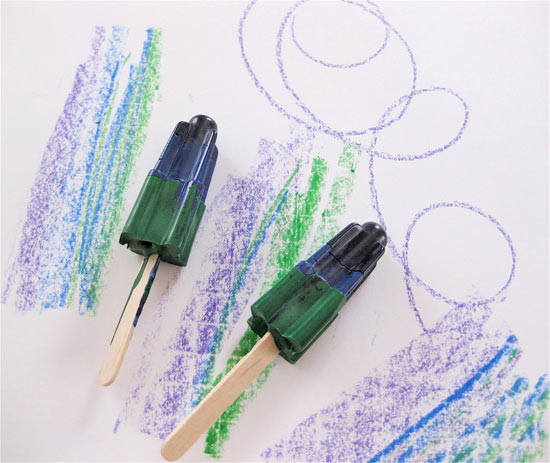
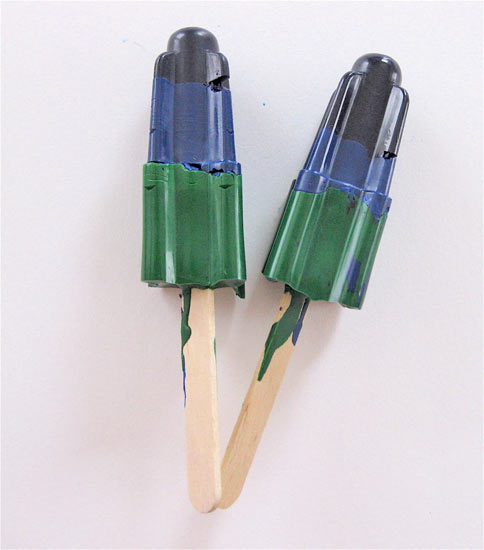
If you have a house of young children, you probably have a box or drawer somewhere full of partially used, broken old crayons, as well as nubs of crayons lurking in unexpected corners and beneath couch cushions. Instead of throwing those old crayons out, give your little artists a fresh way to draw while giving your budget a break from the expense of new childrens art supplies. These crayons are larger size, making them easier to hold for younger children whose manual dexterity skills are still developing. Plus, the rocket shape means they have one narrow end and one wider end, allowing children to experiment with different drawing effects.

Things you need:
Old Crayon Pieces
Glass jars
Rocket-style popsicle molds
Pan
Stove
Popsicle sticks

Upcycled_Rocket_Crayons2

Photo Credit: Crab Apple Designs

Things to do:
1. Collect old crayons and remove any paper wrappings.
2. Sort crayons by color groups. you are going to be melting them together and you don’t want to end up with a mish-mash of brownish-grayish-black. Place each color group in a separate jar.
3. Fill the pan about halfway with water. Place the jars inside and turn on the heat. As the water boils, the crayons will melt.
4. When crayons have melted completed, remove pan from heat. Use an oven mitt to remove individual jars from the surrounding hot water.
5. Pour melted crayon wax into rocket popsicle molds. You can either fill each mold entirely with one color, or mix colors by partially filling a mold with one hue, waiting for that layer of crayon wax to cool and set, then pouring a new layer in a different color on top.
6. Once you are done pouring the melted crayon, gently place a popsicle stick in each mold, about a 1/3 of the way in the mold.
6. Put the popsicle molds into the freezer for about half an hour.
7. Take popsicle mold out and twist to pop rocket crayons out.

Continue Reading
Change Your Country
Please select your country, this will change the site to your country's currency:

Cancel