Skip to search Skip to navigation menu Skip to main content Selecting option will reload page

Category: General Crafts

Felted Beads

Felted_Beads
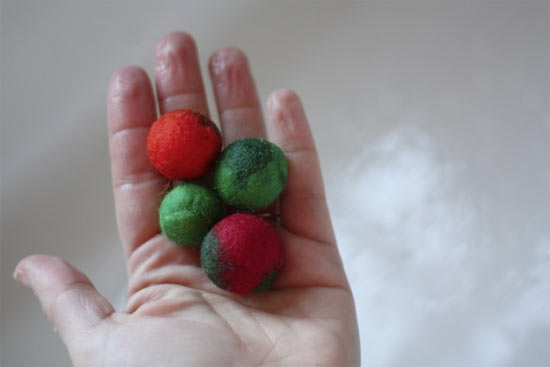
These wool beads have so many uses it’s almost ridiculous. String them together an you have a soft, interesting necklace. Wire a loop out of the back and you have a shank button for a hand knit cardigan, roll them all the same size and bag them up for a set of soft marbles” Fill a bowl full of varying sizes and you have an unusual centerpiece. Stitch tiny beads and string them up for earrings, Make an oversized one for a soft and natural baby ball. The sky’s the limit.

Things you’ll need:
Wool Roving
Liquid Hand Soap
Access to hot and cold water

Things to do:
1. Pull out a hunk of roving about three times as big as the finish bead size you are looking for. If you want a bunch of bead that area all the same size, use a digital scale to weigh each hunk before you start felting.
2. Tease apart the fibers and layer them on top of one another to form a rough ball.
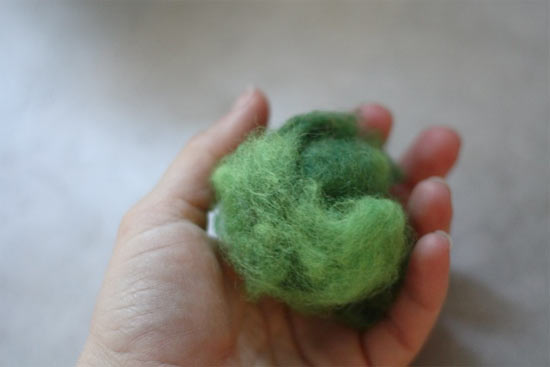
Felted_Beads2
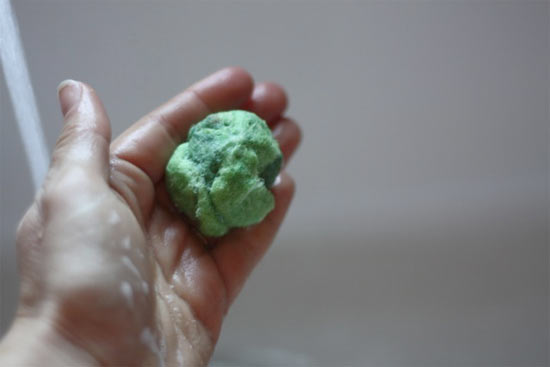
3. Wet the wool and start rolling lightly between your hands. Don’t squeeze or press, use as light a touch as possible.
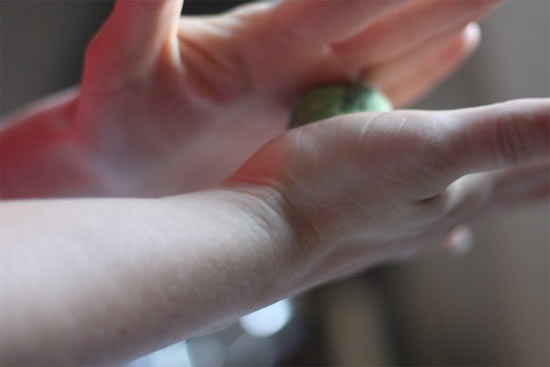
4. Once the ball is rollable, soap up your hands and continue rolling. It helps to slightly cup your hands so that you avoid pressing the ball. The agitation of the rolling and the soap are what make the wool fibers bind together.
Felted_Beads3
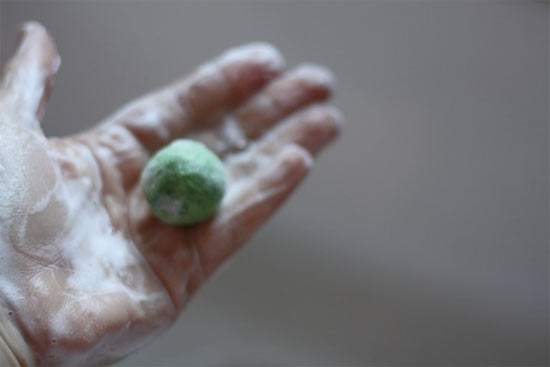
5. Continue to roll, rinsing the ball every now and then and reapplying soap, until the bead has reduced by about 2/3 and is firm. Run water over the bead, if it soaks it up like a sponge, the bead is not fully felted.
Felted_Beads4
6. Once the bead is fully felted, shock them by pouring boiling water over them and then cold water, this will help bind up any loose fibers and tighten the bead further.
Felted_Beads5
7. Allow the beads to dry fully before using them. This can take three or more days depending on the size of the bead.

* Wool roving can be dyed with acid dyes, purchased already colored or left natural.
Continue Reading

Simple Pocket Scarf

Simple_Pocket_Scarf
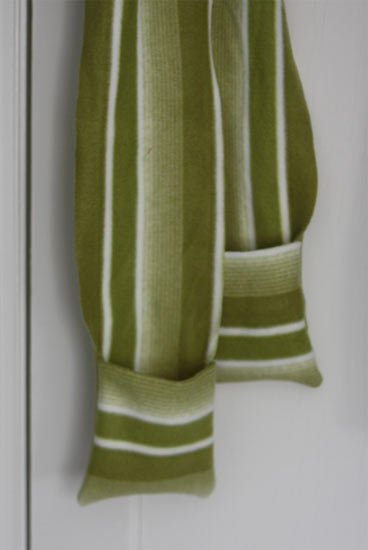
Once upon a time, when I was a young kindergarten teacher with recess duty every day, I fell in love with an overly long scarf that my teacher grandmother made me. The genius of this scarf was that it could be wrapped around the throat several times and still be long enough to tuck your hands into the generous pockets on the ends. It was wonderful. And it’s the perfect winter accessory for those mitten and glove hating kids out there. This version, made from fleece, is an extremely quick to make project. So quick, in fact, that you’ll probably find yourself making them for the whole family.

Things you’ll need:
Fleece, about 2 yards for most kids
Sewing machine and notions
Fabric scissors
Fabric measuring tape
Pins

Things to do:
1. Measure from the nape of your child’s neck to the tips of their fingers when it is laying against their leg. Multiply this by 1-1/2.
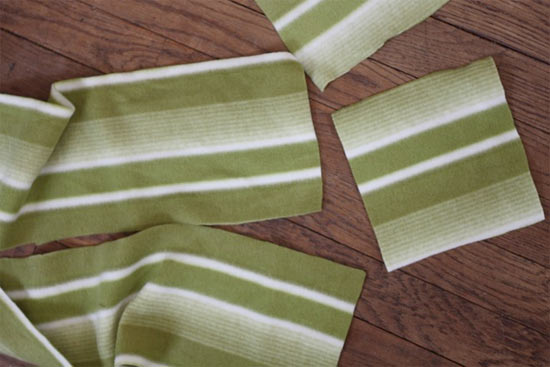
2. Lay your fleece out on a flat work surface and cut two lengths of fabric to this length and 6 inches wide. (You can also cut one long piece 3 times that dimension if your fabric is long enough) You’ll also need to cut two pieces that are 6 inches by 6 inches (or 6 x 8 for bigger kids)
Simple_Pocket_Scarf2
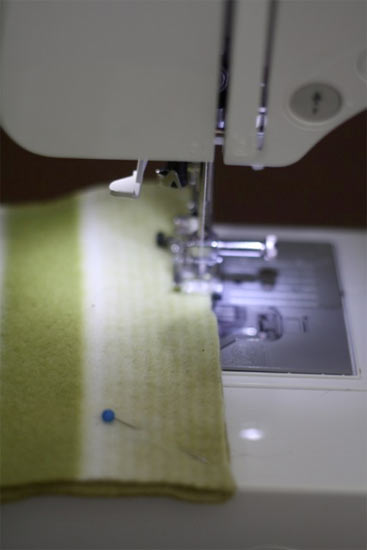
3. Pin the two long pieces together along the short sides and sew with a 1/4 inch seam allowance.
Simple_Pocket_Scarf3
4. Lay the scarf out flat and pin the squares at the ends (make sure you are sewing them on the same side!)
5. Sew the pockets in place along the three outside edges, leaving the top open.
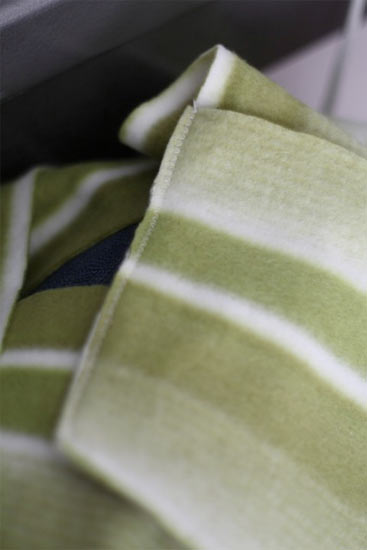
6. Turn the pockets inside out or leave as they are and embellish the edges of the scarf with a decorative stitch.
Simple_Pocket_Scarf4

Continue Reading
Change Your Country
Please select your country, this will change the site to your country's currency:

Cancel