Skip to search Skip to navigation menu Skip to main content Selecting option will reload page

Category: General Crafts

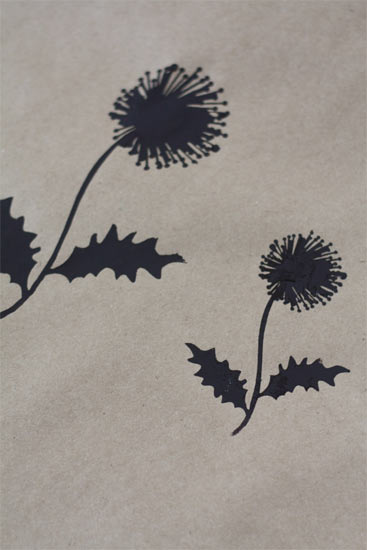
Craft Paper Botanical Print

Craft_Paper_Botanical_Print
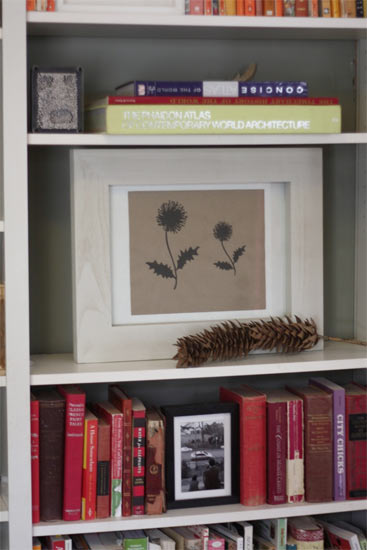
I love those old fashioned botanical prints. They are elegant and interesting. But they don’t quite fit with my decor. Instead I’ve decided to use a modern twist on the botanical print by creating a painted silhouette on craft paper. This craft is best done with the use of an electronic cutter but if you are patient, you can also hand cut your stencil.

Things you’ll need:
Botanical image imported into your cutting software
Digital cutter or craft knife
Contact paper
Craft paint
Paintbrush
Craft paper
Scissors

Things to do:
1. Load your cutter with a sheet of contact paper and cut the image out.
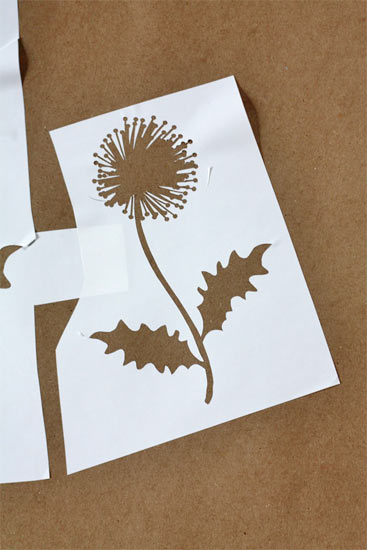
Craft_Paper_Botanical_Print2
2. Peel off the contact paper and carefully place onto the craft paper. Pay attention to the small details, making sure they are well placed, for the best result.
3. Smooth out any bubbles and apply two coats of craft paint allowing it to dry between coats. (Here we used a brown on brown look, but any color of paint, or paper, would be fun!)
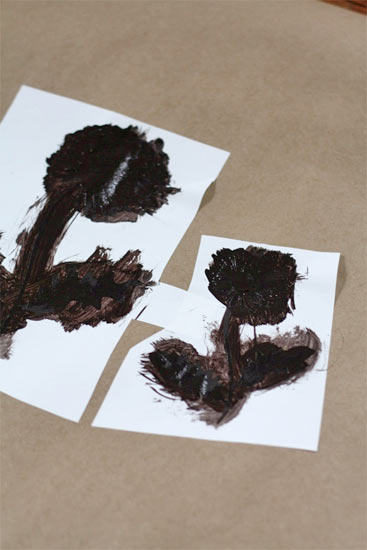
Craft_Paper_Botanical_Print3
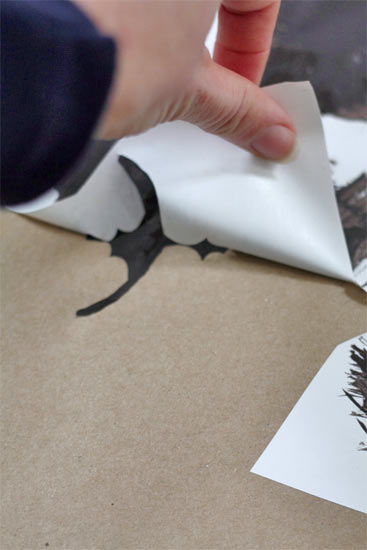
4. Allow the paint to dry then carefully peel the contact paper away to reveal your print. Trim the paper to size and frame.
Craft_Paper_Botanical_Print4
Craft_Paper_Botanical_Print5

Continue Reading

Embroidery Hoop Clock

Embroidery_Hoop_Clock
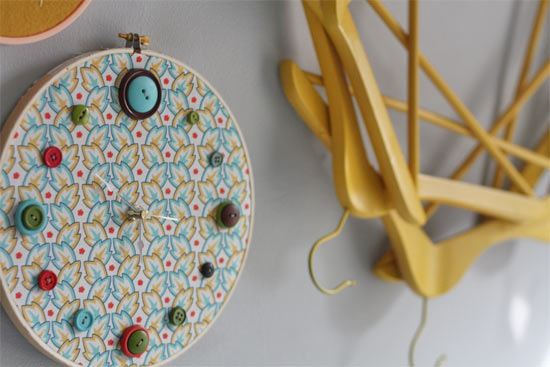
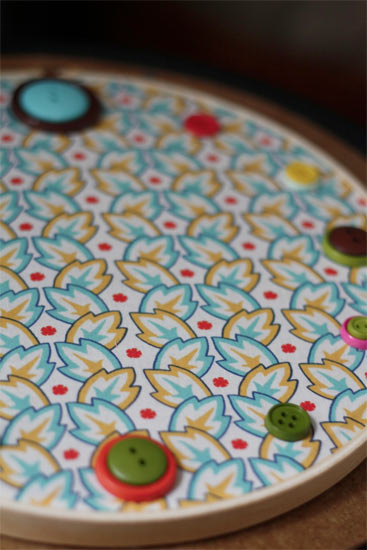
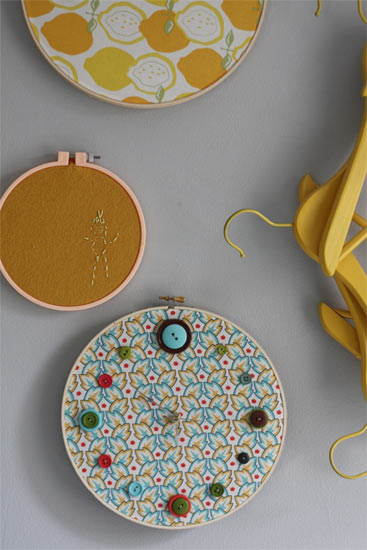
The other day, while trying to teach my preschooler about telling time, I looked up to show her a real clock and realized, I don’t have one. Not anywhere in my house. We have come to rely on digital clocks on our phones, computers and appliances around here, which is fine, but when it comes to learning time, an old school analog clock is a must. And in our house the most obvious place to have one is the office/craft room. We spend a lot of time in there and having a clock that doesn’t involve turning on the computer (and getting distracted!) would be a big plus. So of course it had to be crafty, and it had to go with the decorations we already had there, which mostly involve embroidery hoops. So an embroidery hoop clock seemed pretty natural. If your craft area needs a clock, try out this simple, fun, DIY clock for yourself.

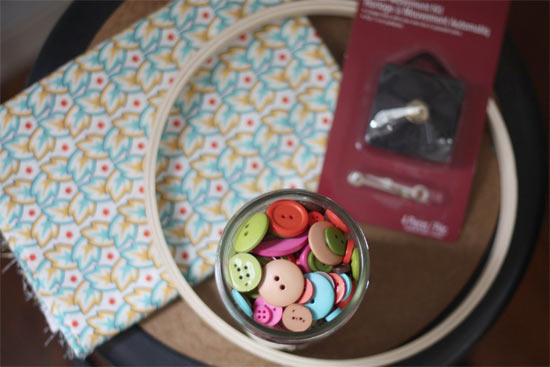
Things you’ll need:
Clock kit with hands
Embroidery hoop
Buttons
Thread and needle
Scissors
Fabric
Cardboard
Craft Knife
Pencil

Embroidery_Hoop_Clock2

Things to do:
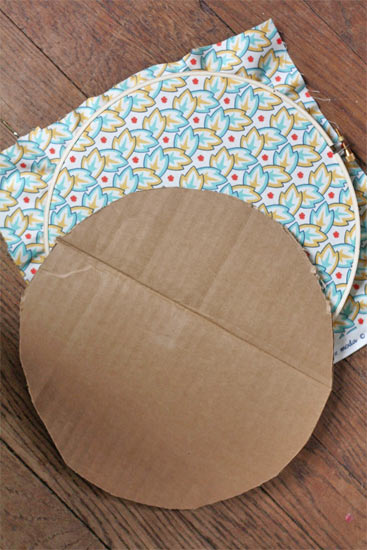
1. Start by tracing the inside of the inner hoop onto your cardboard and cutting it out with the craft knife. Test the fit and adjust as needed. It should fit snugly into the hoop.
Embroidery_Hoop_Clock3
2. Stretch the fabric onto the hoop, keeping the excess on for now for later adjusting. Tighten the screw as much as you can.
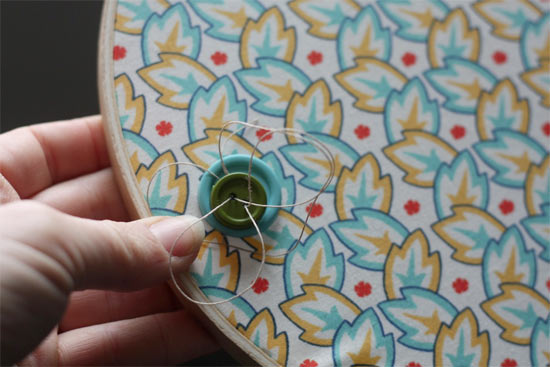
3. Mark the spots for 12, 3, 6 and 9 with your pencil, keeping them all the same distance in from the edge of the hoop. Stitch the buttons in place (Here we used a double layer of button for these numbers. Stitch smaller buttons in place to represent the remaining numbers.
Embroidery_Hoop_Clock4
Embroidery_Hoop_Clock5
4. Insert the cardboard into the back, pressing it against the fabric to stabilize
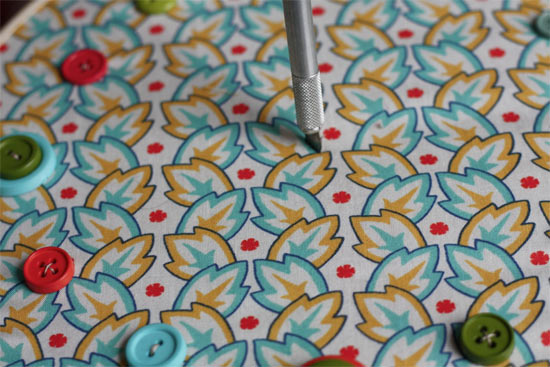
5. Find the center of the circle and cut through both the fabric and cardboard in an x”.
Embroidery_Hoop_Clock6
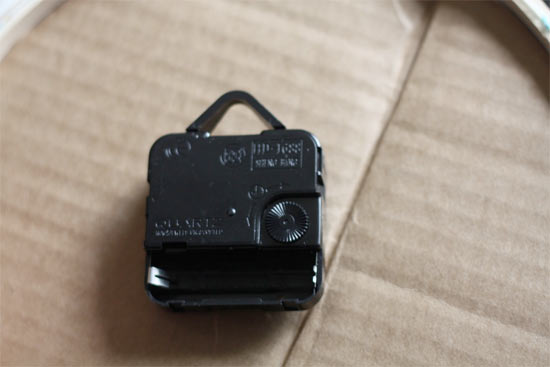
6. Push the pin of the clock through the hole and assemble the hands. Pull the fabric all the way around to check the tightness and trim the excess.
Embroidery_Hoop_Clock7
Embroidery_Hoop_Clock8

Continue Reading
Change Your Country
Please select your country, this will change the site to your country's currency:

Cancel