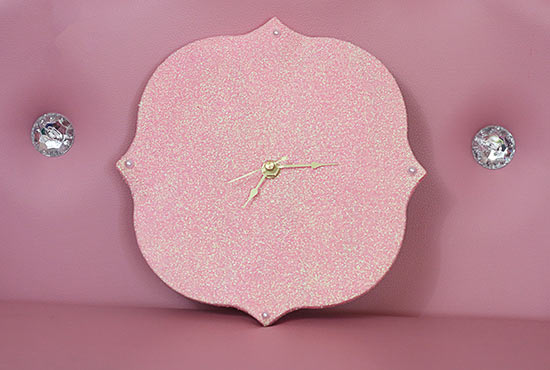
The DIY Pink Glitter Clock is ready to add a little glam to any room. Here is how to make your own fancy clock.
Difficulty level: Beginner
Time required: 2 days
Age range: 10+
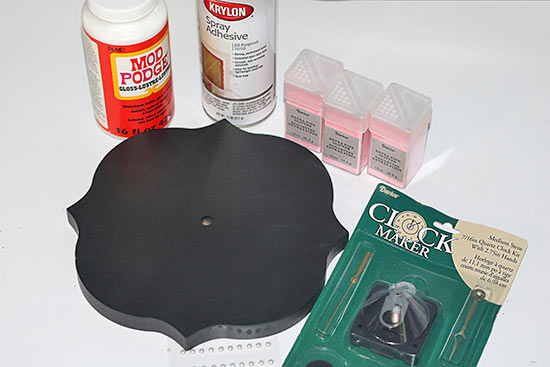
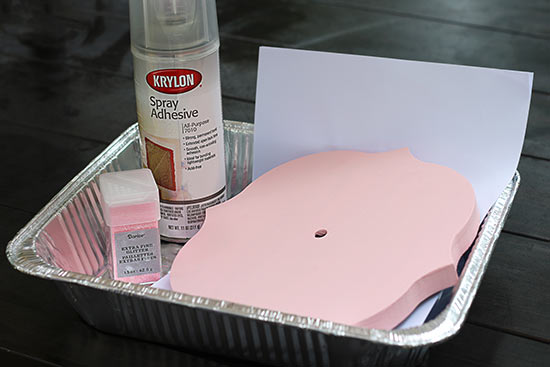
Things you’ll need:
Fancy Chalkboard Clock Face
All-Purpose Spray Adhesive
Blush Pink Extra Fine Glitter
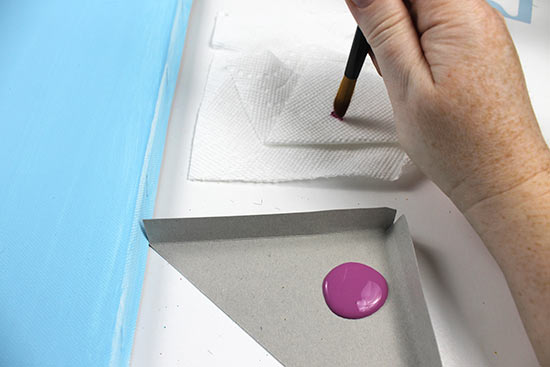
Cameo Pink Apple Barrel Acrylic Paint
Walnut Hollow Clock Movement with Quartz Hands
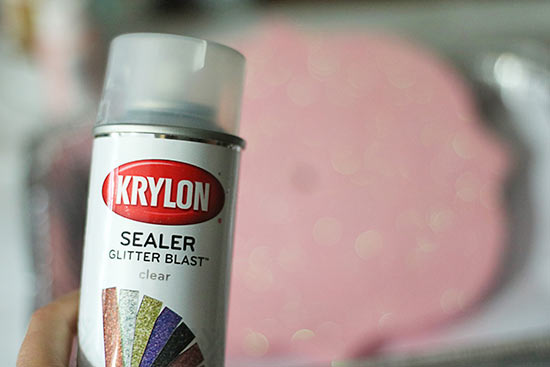
Krylon Glitter Blast Clear Sealer Spray
Assorted White Flat Back Adhesive Pearl Embellishments
Mod Podge Gloss-Lustre *optional
Things to do:
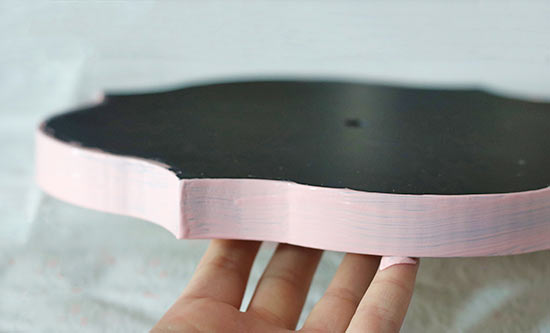
1. Paint the edges of the clock with the Cameo Pink Apple Barrel Acrylic Paint. Allow paint to fully dry. One coat of paint is sufficient.
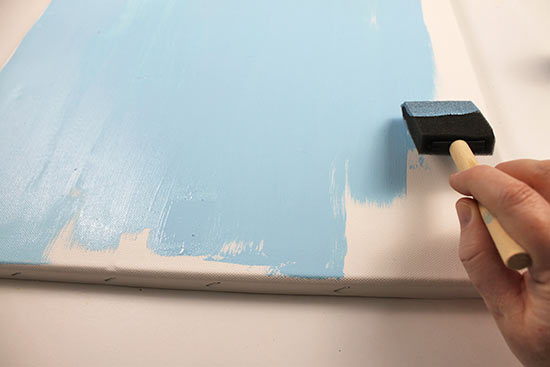
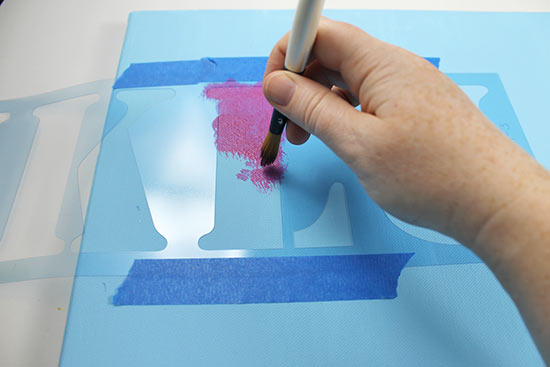
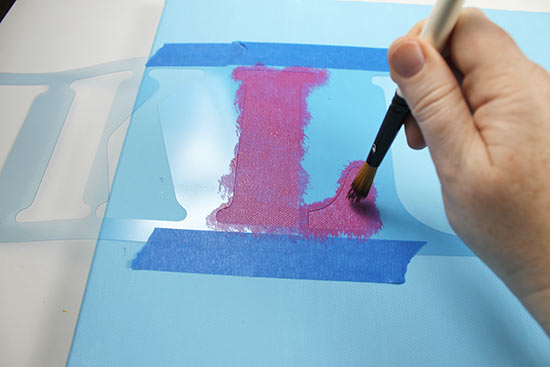
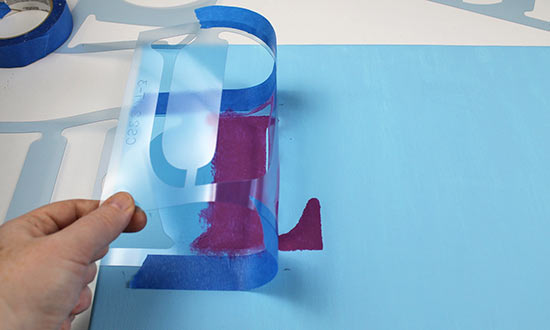
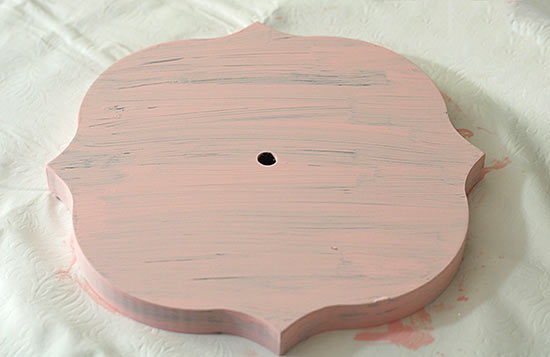
2. Paint the front of the Fancy Clock Face. Since, we will be adding glitter on top, there is no need for full coverage paint. Allow the pink paint to fully dry.
3. You may either use Spray Adhesive or Mod Podge to add the glitter. For this project, I prefer spray adhesive. Spray Adhesive is best used in a well ventilated area, so if that is not possible, Mod Podge may be the better option.
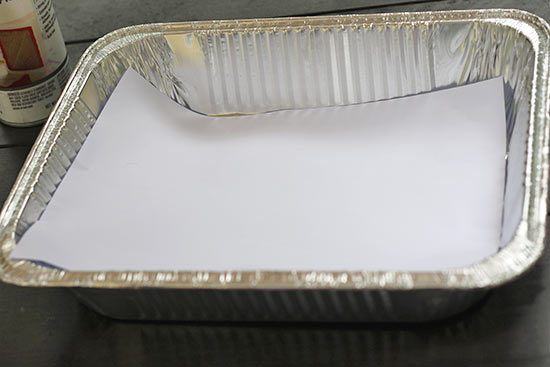
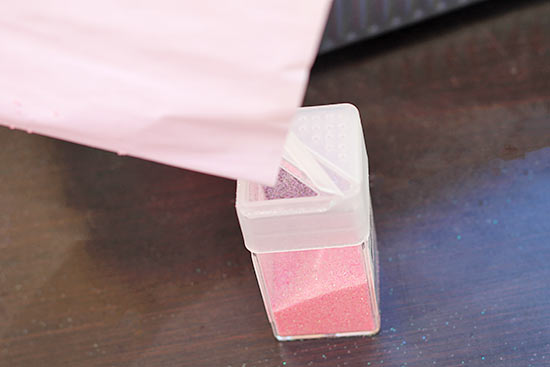
4. Grab a container and lay a single piece of paper inside.
5. Spray one small side edge of the fancy clock with the spray adhesive (or brush on Mod Podge.) Then, pour on the glitter onto same side of clock over the piece of paper lined container. Wait a few seconds then shake off excess glitter. Be sure to do the above step in small sections or glitter will fall off too early as you turn the clock.
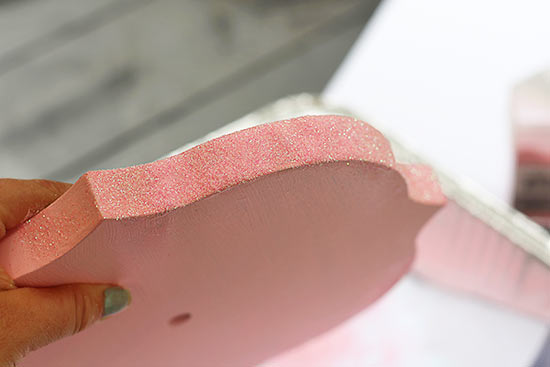
6. Repeat step 5 until one side of the clock is finished. Allow the glitter to dry then repeat on opposite side of the clock. Once glitter is dry, touch up any spots with more spray adhesive and more glitter.
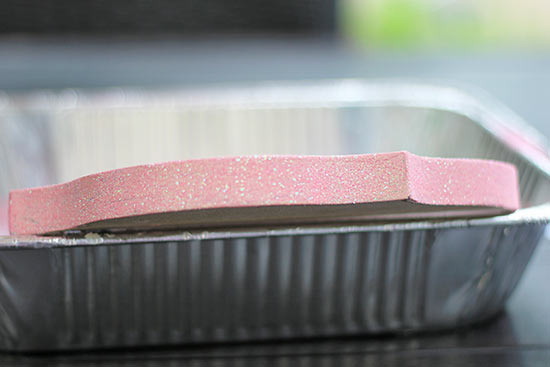
7. Once the sides of the clock are dry, fold the piece of paper in half and pour the excess glitter back into the container.
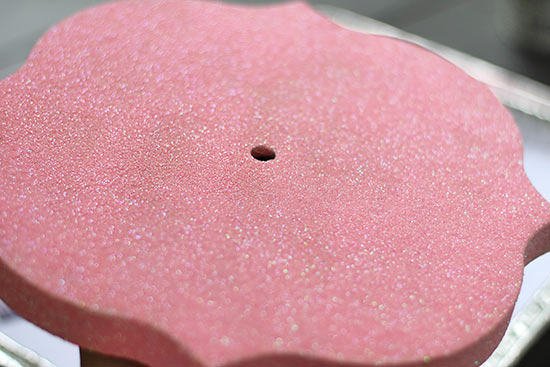
8. Spray the front of the fancy clock with the spray adhesive in well ventilated area. Then over the container lined with the piece of paper pour on glitter to the front of the clock.
9. Repeat step 8 until you have reached your desired coverage of glitter. Then allow the clock to dry completely.
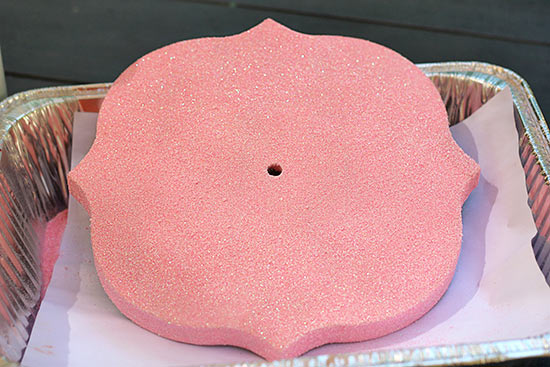
10. Once the glitter on the front of the clock is completely dry, spray the clock with Krylon Glitter Blast Clear Sealer Spray. Then spray the edges of the clock as well. Allow sealer to dry. Do not fret. When the clock is still wet, the glitter may look a little clumpy, however once dry it will have a smooth glittery finish.
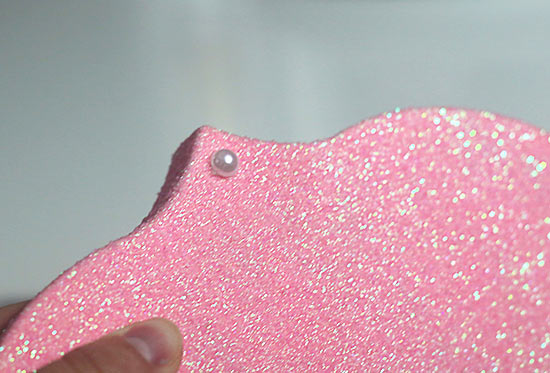
11. Determine the size of Assorted White Flat Back Adhesive Pearl Embellishments you wish to use.
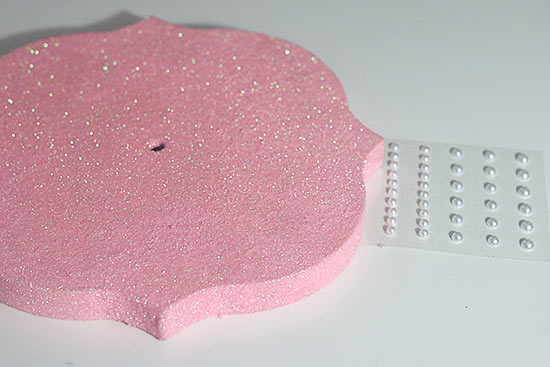
12. Stick one pearl in the all four edges of the clock, representing 12, 3, 6, and 9.
13. Assemble and insert clock maker kit per labeled instructions.
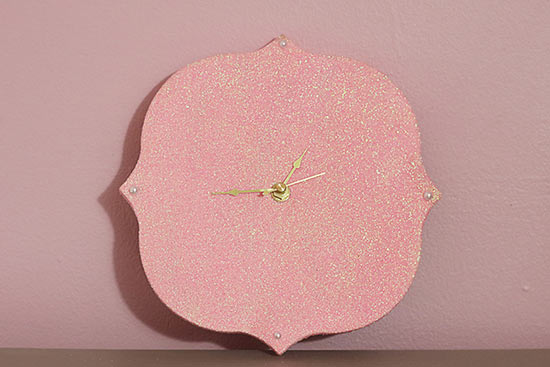
Viola, you now have your own DIY Fancy Pink Glitter Clock.