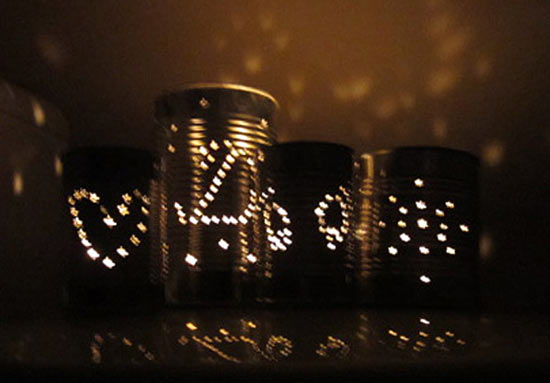
This simple craft is fun, personal, and green! Use recycled tin cans to make candle holders for use on your deck, in your trees, or on a table. Save odd-sized cans to give you a wide range of options. When the season ends, recycle them and make more next time!
Age range: 7+ (with adult help)
Time to complete: 20 minutes over several days
Difficulty level: Beginner Crafter (Great for Kids)
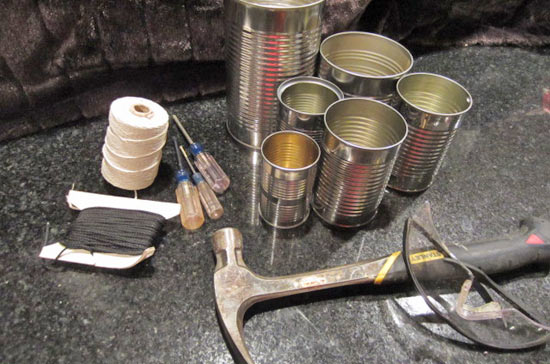
Things you’ll need:
Tin cans
Water
Freezer
Permanent marker
Screwdrivers or metal punches
Hammer
Tea-light candles
Rocks or sand
Wire or twine
Things to do:
1. Wash your tin cans in the dishwasher and dry them.
2. Fill cans with water, dry any spillage, and place in a pan. Spilled water will stick the can to the pan, making removal difficult!
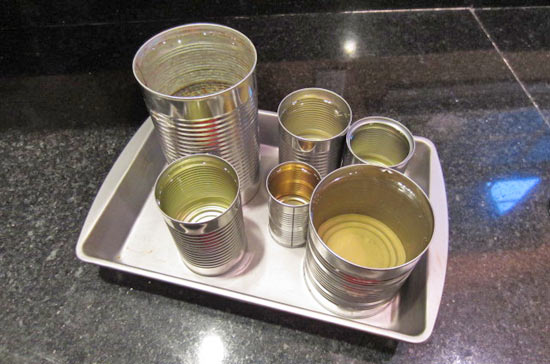
3. Place pan in the freezer and freeze until the water is solid. We left ours in for a few days because we forgot!
4. Remove and carry everything outside (the next part is messy!)
5. Plot your pattern and make small marks where your holes should be. We made eyes, stars, monograms, and hearts. You’re only limited by your imagination! You might sacrifice a can to experiment with different pokey-things to see what shapes you can achieve. Best of all, if you screw up, recycle your mistake and start over! We really like a Phillips head screwdriver!
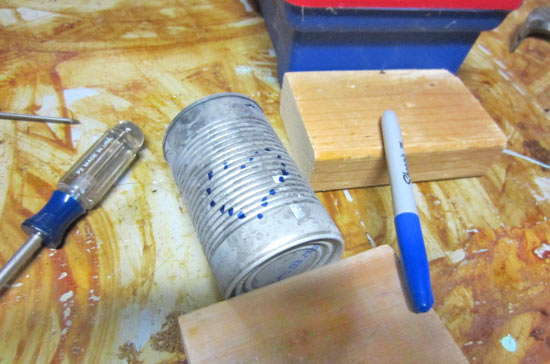
6. Secure the can, place tip of screwdriver, and tap with hammer to make a hole.
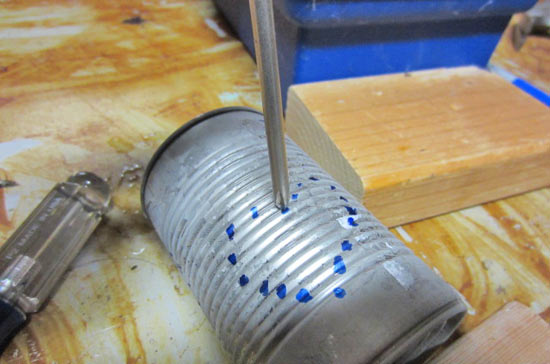
7. Continue poking holes until you complete your design.
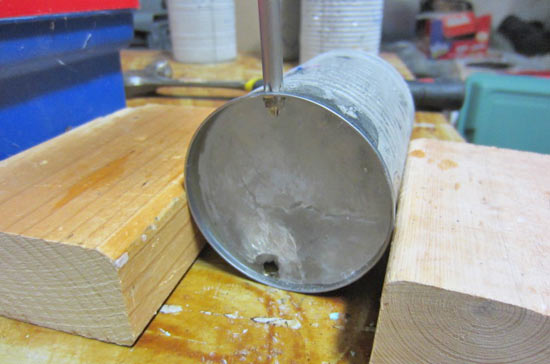
8. If you want to hang your candle holder, poke two holes on opposite ends of the can, near the rim. Use these holes to add wire or string.
9. When you’ve finished poking holes, thaw and drain your candle holders. Upside down in a plant is good; may as well water the plants while you’re at it!
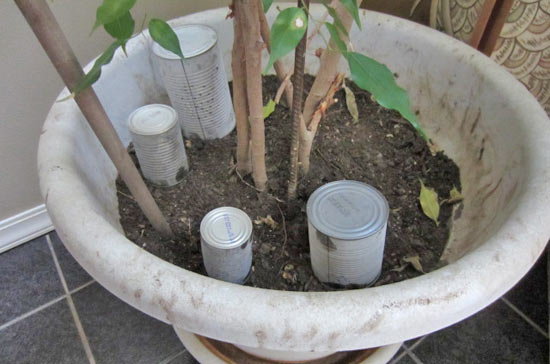
10. Add a little sand or some gravel to the bottom of your cans for stability, if necessary.
11. Light a tea-light candle and carefully place it inside your holder. We used a pair of tongs to avoid the sharp surfaces inside and minor burns! Enjoy!
