Difficulty level: Beginner
Time required: 1 hour plus drying time
Age range: Adults
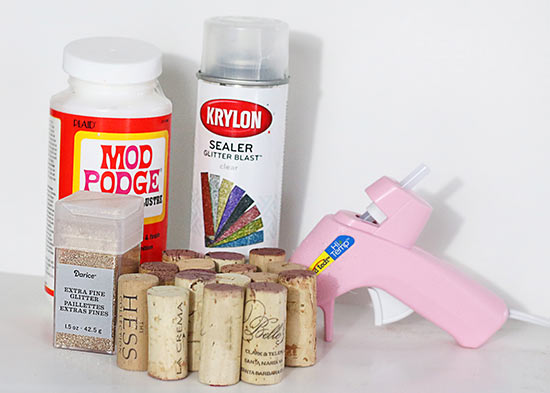
Things you will need:
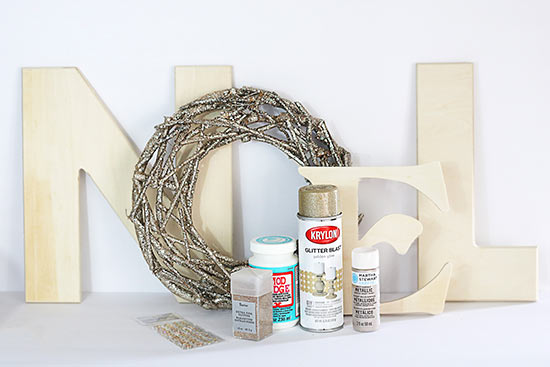
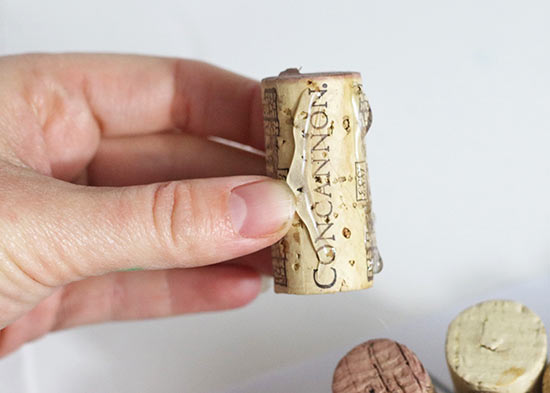
Wine Corks
Hot Glue Gun
Hot Glue
Mod Podge
Champagne Extra Fine Glitter
Krylon Glitter Blast Clear Sealant Spray
Things to do:
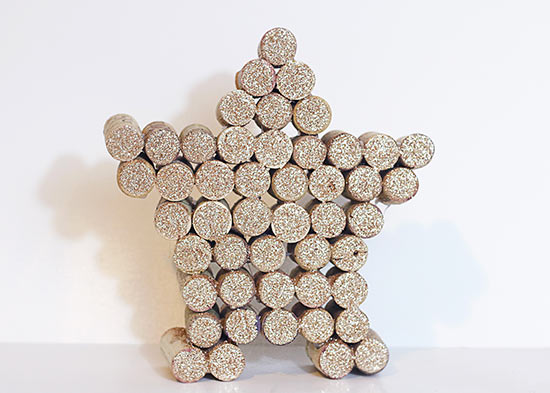
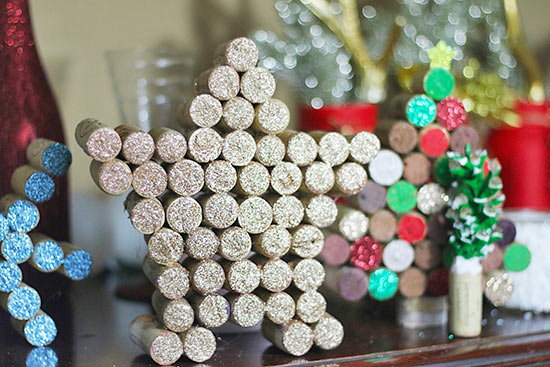
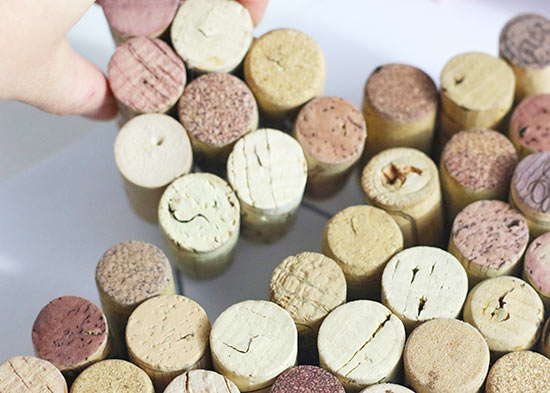
1. Arrange the wine corks in a star shape.
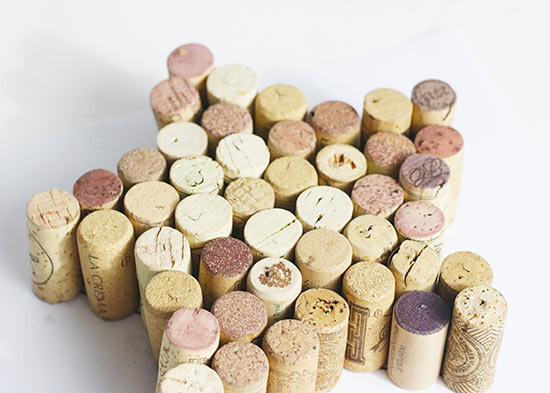
2. Starting with the top wine cork, place a line or two of hot glue and glue the corks together.
3. Before starting each new row of corks, make sure the corks are still in a star shape. You may need to add or reduce the amount corks or change their positioning.
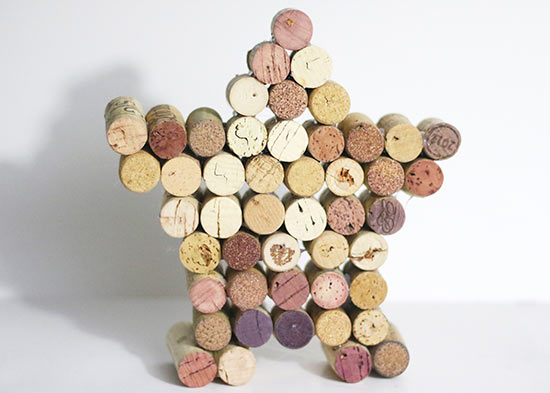
4. Continue glueing corks together until all corks are glued together. Your star may be a different shape than the original layout. I decided to change mine a little to give the star flatter edges on the bottom, so it would stand up nicely.
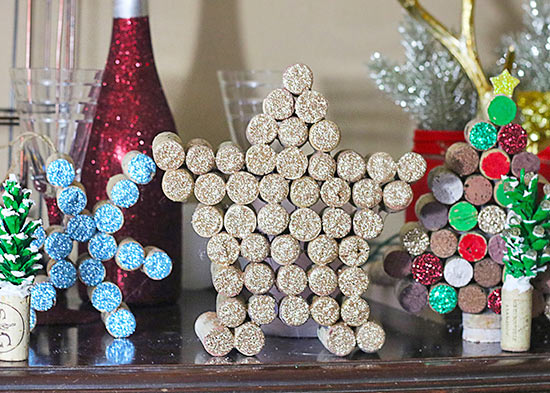
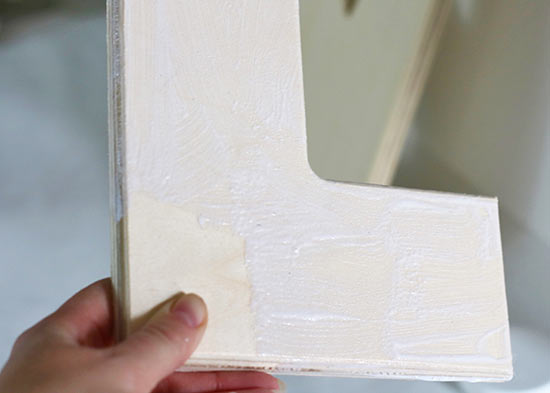
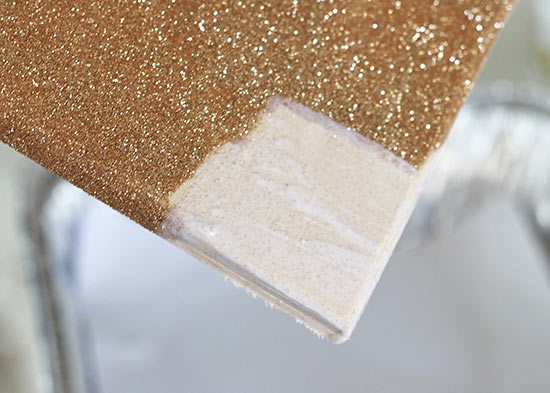
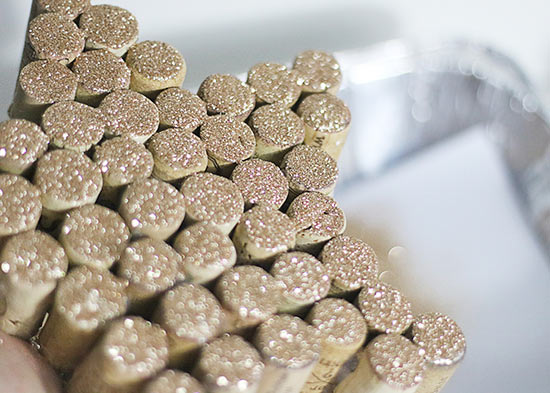
5. With a paint brush, coat each wine cork top with Mod Podge.
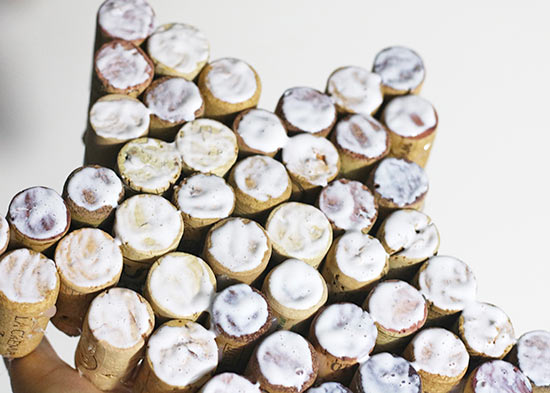
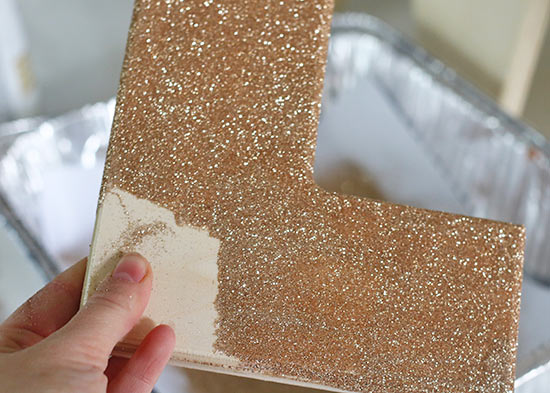
6. Over paper lined container, pour on the champagne extra fine glitter. Shake of excess glitter. Allow to dry. Some colors of glitter may need more than one coat of paint.
7. Fold paper in half and pour the glitter back into the container.
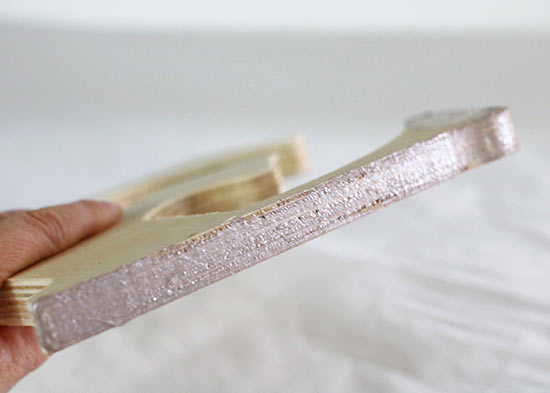
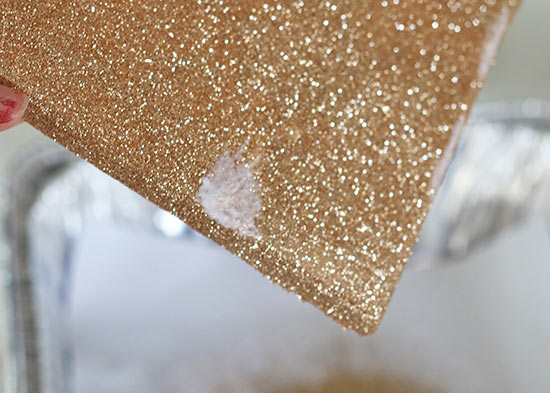
8. Spray the star with the Kyrlon Glitter Blast Clear Sealant Spray to reduce amount of glitter falling off. Set aside to dry.