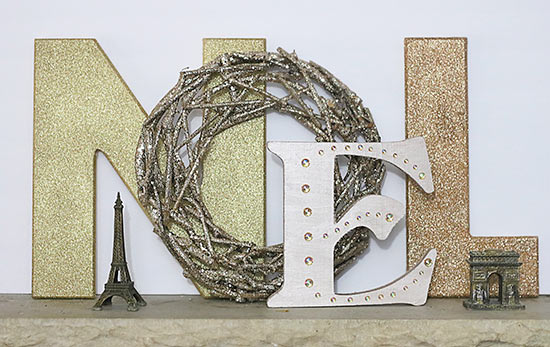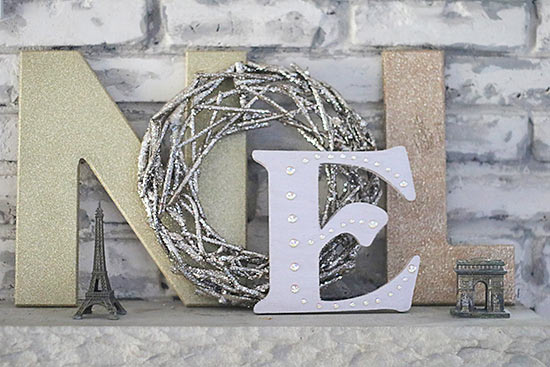
The Noel Holiday Letter DIY Kit is fun and easy to customize to fit your home’s Christmas decor. Here is an example how to decorate the Noel Kit with multiple shades of gold.
Difficulty level: Beginner
Time required: 2 hours plus drying time
Age range: 10+
Things you will need:
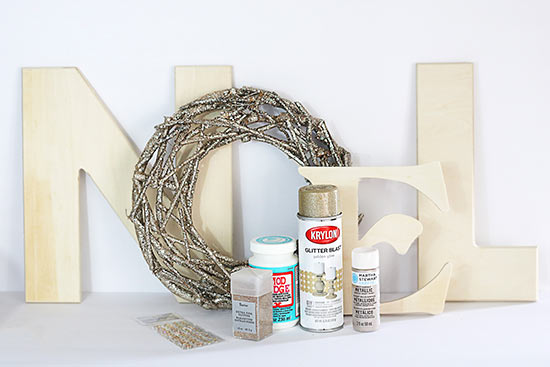
NOEL Holiday Letter DIY Kit
Krylon Glitter Blast Golden Glow Glitter Spray Paint
Champagne Extra Fine Glitter
Champagne Craft Paint
Champagne Gold Rhinestone Stickers
Mod Podge
Krylon Glitter Blast Clear Sealer Spray
Things to do:
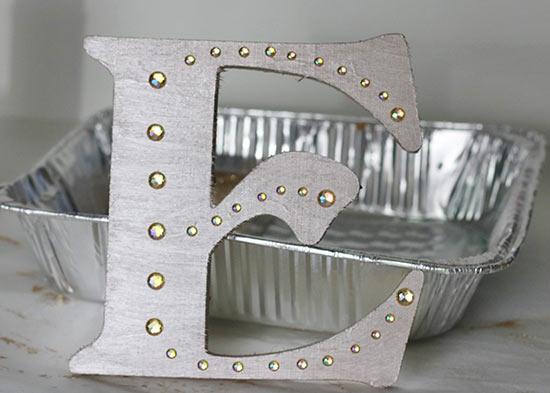
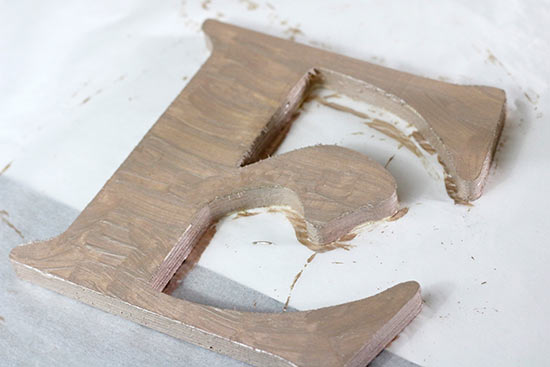
1. Paint the edges of the letter E with the Champagne Martha Stewart Multi-Surface Craft Paint.
2. Then coat the top of the wooden letter E with the same champagne paint. Set aside to dry. Repeat with additional coats. I painted three coats of champagne paint.
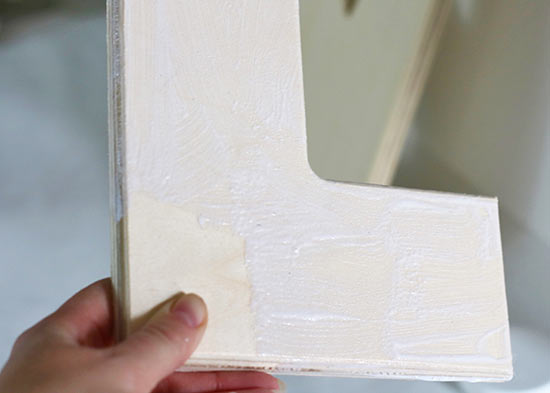
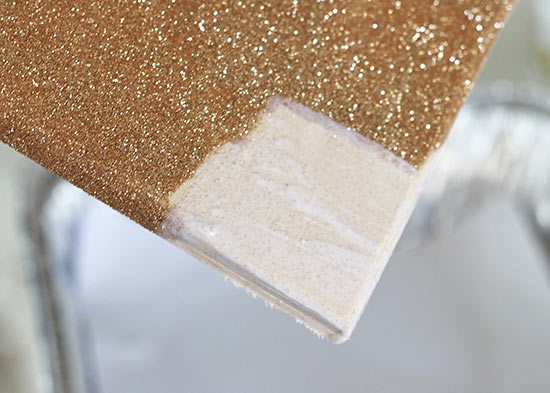
3. All except of the bottom corner of the the wooden letter L, cover with a coat of Mod Podge. Be sure to include the side edges as well.
4. Over a paper lined container, generously pour on the Champagne Extra Fine Glitter. Completely cover all of the Mod Podge. Set the letter L to dry.
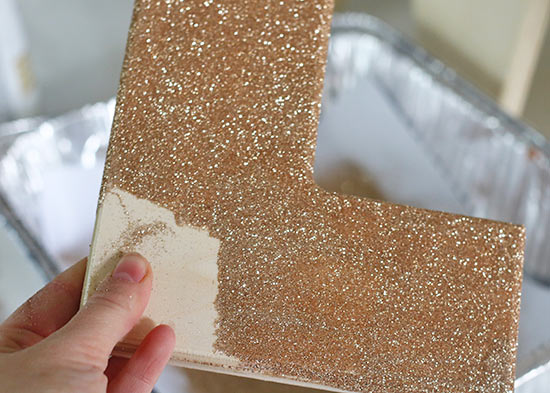
5. Once the glitter on the wooden letter L is dry, cover the bottom corner with Mod Podge and glitter. Set aside to dry.
6. Once the glitter is dry. Gently dab on Mod Podge to any spots that may need more coverage. Then cover again in glitter. Set aside to dry.
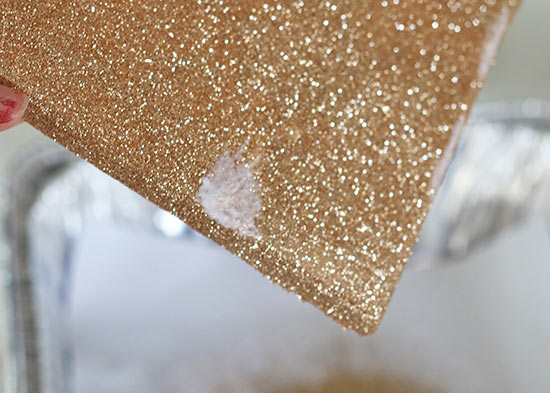
7. Once you are finished with the glitter, fold the piece of paper in half and pour the excess glitter back into the container.

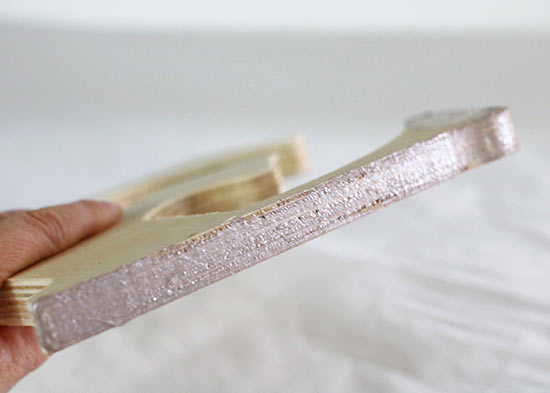
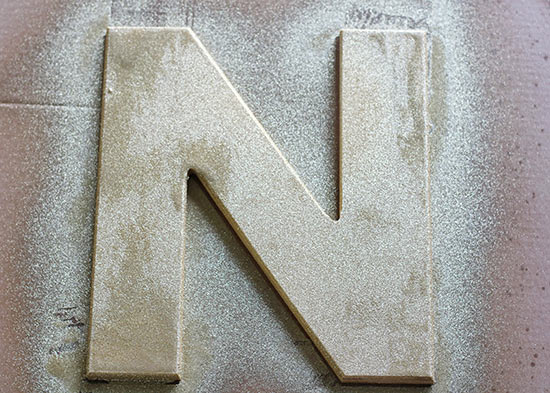
8. In a well ventilated area, spray the wooden letter N with the Krylon Glitter Blast Golden Glow Glitter Spray Paint. Set aside to dry. Repeat coats if desired. I used two coats, but one probably would have been enough.
9. Once the letters N and L are dry, spray with a coat of Krylon Glitter Blast Clear Sealer Spray. This will keep the glitter from falling off.
10. When the wooden letter E has fully dried, place the Champagne Gold Rhinestone Stickers onto the front of the letter E.