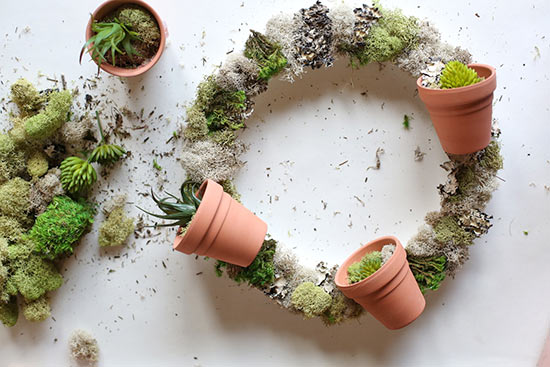
This mossy wreath adds a lovely touch of green to your front door. Enjoy the beauty of potted succulents without worrying about watering them!
Difficulty level: Beginner
Time to complete: 20 minutes
Age range: 12 and up
Things you’ll need:
Dried moss
Terracotta pots
Faux succulents
Hot glue gun
Hot glue sticks
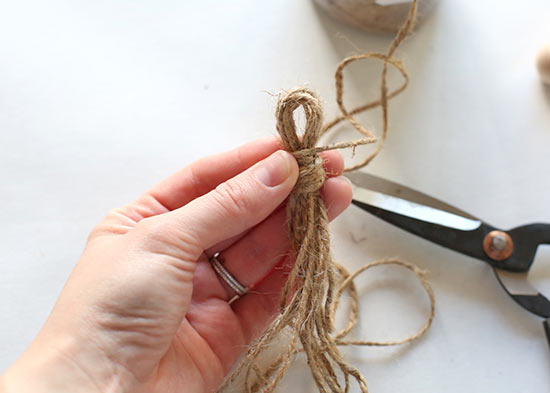
Scissors
Styrofoam wreath form
Things to do:
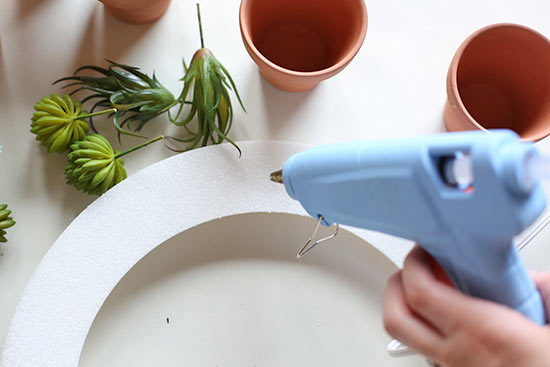
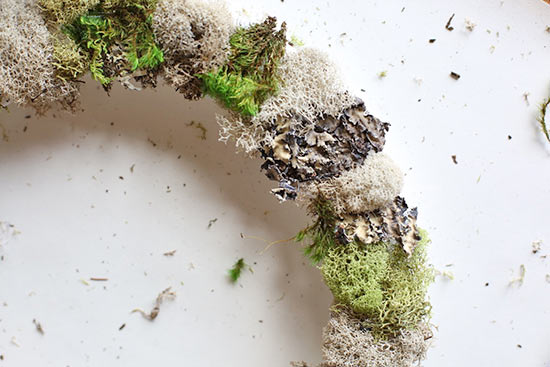
1. This first step is covering your wreath form with moss. Apple a thin layer of hot glue to the flat back and stretch moss over the surface. Continue adding moss until the Styrofoam is no longer visible. 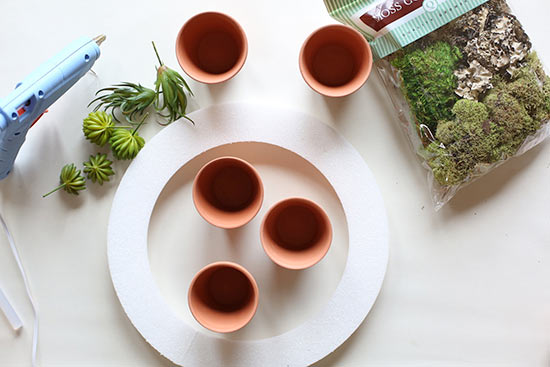
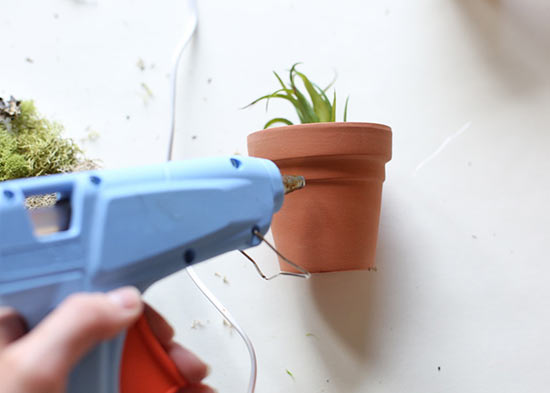
2. Next, decorate your terra cotta pots. Run hot glue along the inside and add a layer of moss. 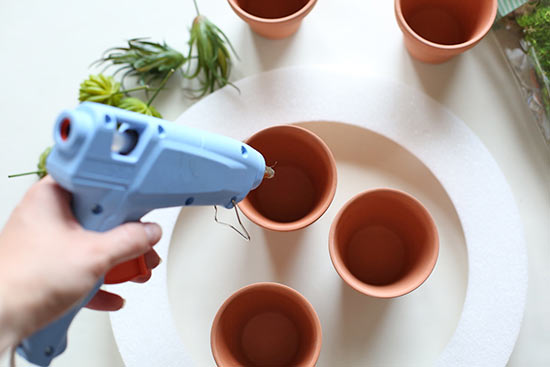
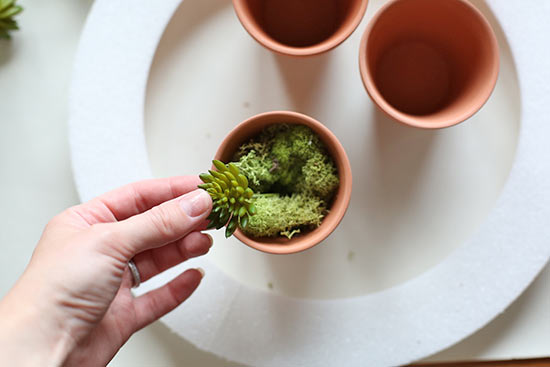
3. Apple a thick coat of hot glue to the stem of your succulent and stick it down in the pot.
4. Use hot glue to attach the pots to your wreath form.