Skip to search Skip to navigation menu Skip to main content Selecting option will reload page

Category: For the Home

Beach-Inspired Picture Frame Tutorial

Beach_Inspired_Picture_Frame_Tutorial
The best way to remember a great vacation is to print out photos and keep them where you can see them every day. It’s even better if the photo can be in a frame that also has something to do with where you traveled.

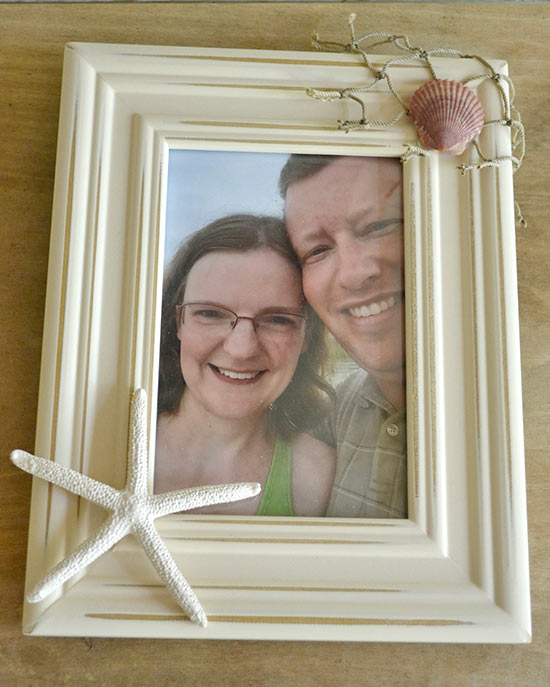
Keep your favorite picture from your beach vacation in a frame that will remind you of your travels. Use items you’ve picked up on the beach if you have them for an even more authentic look.

Difficulty level: Beginner
Time to complete: 10 minutes
Age range: 10+

Things you’ll need:
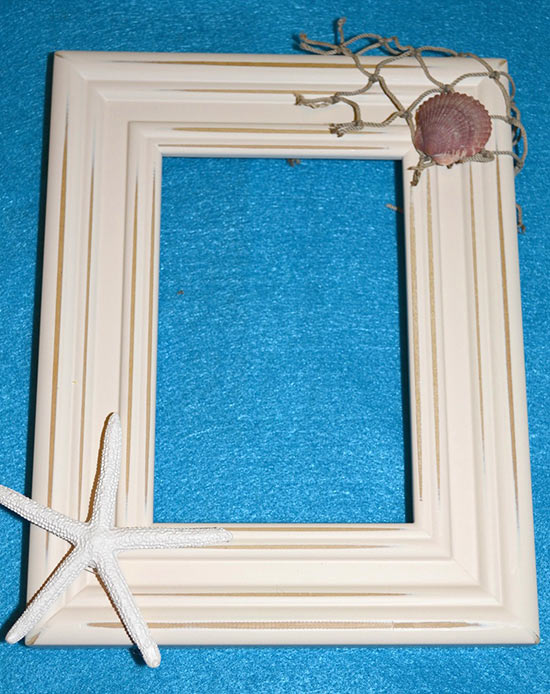
Distressed photo frame
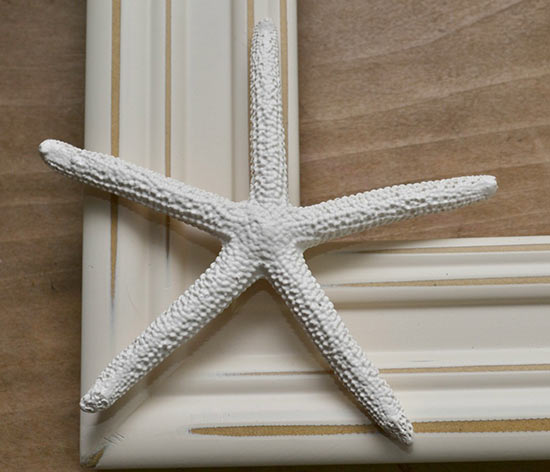
White resin starfish
Authentic fish net
Shells
E6000 or hot glue gun and glue sticks
Scissors
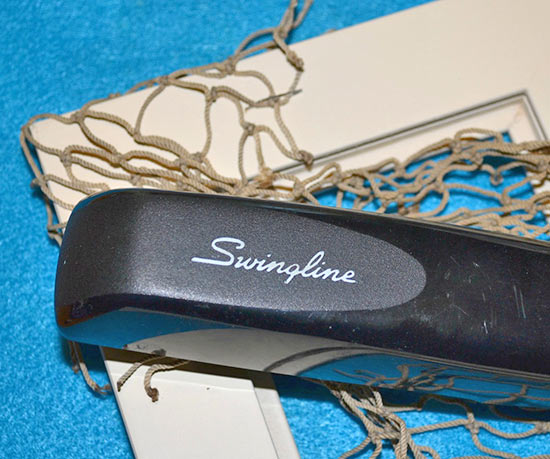
Stapler or staple gun **optional

Things to do:
1. Warm up glue gun if you are using one. Decide on the layout of your items before you begin.
Beach_Inspired_Picture_Frame_Tutorial1
2. Attach the fish net to the back of the frame using staples or glue. Trim excess using scissors.
Beach_Inspired_Picture_Frame_Tutorial2
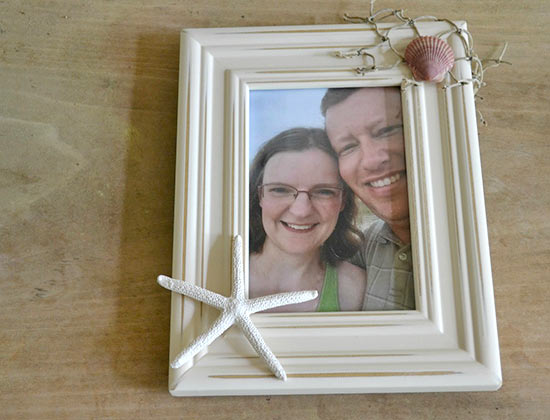
3. Use glue to attach the starfish and shells to the frame. Remember that if you want your frame to sit on a surface rather than being hung on the wall, you need to make sure nothing hangs over the edge that will be the bottom. If you use hot glue, you can easily pull items off, pull the dried glue off the back and reposition if necessary. E6000 is really permanent, so make sure you have things placed just where you want them the first time.
Beach_Inspired_Picture_Frame_Tutorial3
4. Allow glue to dry. Insert your photo. Hang on the wall or place on your desk or shelf where you will enjoy seeing it every day.
Beach_Inspired_Picture_Frame_Tutorial4

Continue Reading

No-Sew Faux Fur Pillow Tutorial

No_Sew_Faux_Fur_Pillow_Tutorial
You can make this funky pillow even if you don’t know how to sew. If you can sew, you can make a custom-fit pillow form and still finish this project in just a few minutes (and of course you can sew the outside pillow if you like, too).

This is a great project for a kid’s room, but please remember that faux fur should not be used around babies and toddlers who may put things in their mouths. This is also a somewhat messy project. You will want to try to keep the glue off your hands as you go, or you will get a little furry yourself.

Difficulty level: Beginner
Time to complete: 10-30 minutes, plus drying time
Age range: 10+

Things you’ll need:
2 pieces of faux fur
Fabric glue or Tacky Glue
Scissors
Pillow form, or fabric and stuffing to make your own, or just stuffing if you don’t want to make your own
Binder clips

Things to do:
1. Measure your faux fur on the shortest side. This will affect where you cut the pieces, because we’re going for a square pillow.
No_Sew_Faux_Fur_Pillow_Tutorial1
2. Trim the faux fur pieces so they are square. Mine came out about 8-1/2 inches.
No_Sew_Faux_Fur_Pillow_Tutorial2
3. Optional: make a pillow form. Mine is made from a piece of fabric 8 inches wide and 16 inches long. I pinked the edges, folded it in half, sewed around two sides, filled it lightly with stuffing and sewed the other side closed. If you don’t want to make your own pillow form, you may be able to buy one, or just stuff the pillow directly.
No_Sew_Faux_Fur_Pillow_Tutorial3
4. Place one piece of the faux fur face down on your work surface. If you have a pillow form, center it on top.
No_Sew_Faux_Fur_Pillow_Tutorial4
5. Apply glue to one edge of the faux fur and press the second layer on top. Continue around each edge. If you need to stuff the pillow, do that when you have glued down three sides.
No_Sew_Faux_Fur_Pillow_Tutorial5
6. Use binder clips to hold the edges together while the pillow dries.
No_Sew_Faux_Fur_Pillow_Tutorial6
7. Remove clips and add the pillow to your favorite chair or reading spot.
No_Sew_Faux_Fur_Pillow_Tutorial7

Continue Reading
Change Your Country
Please select your country, this will change the site to your country's currency:

Cancel